Glass Etching Tutorial

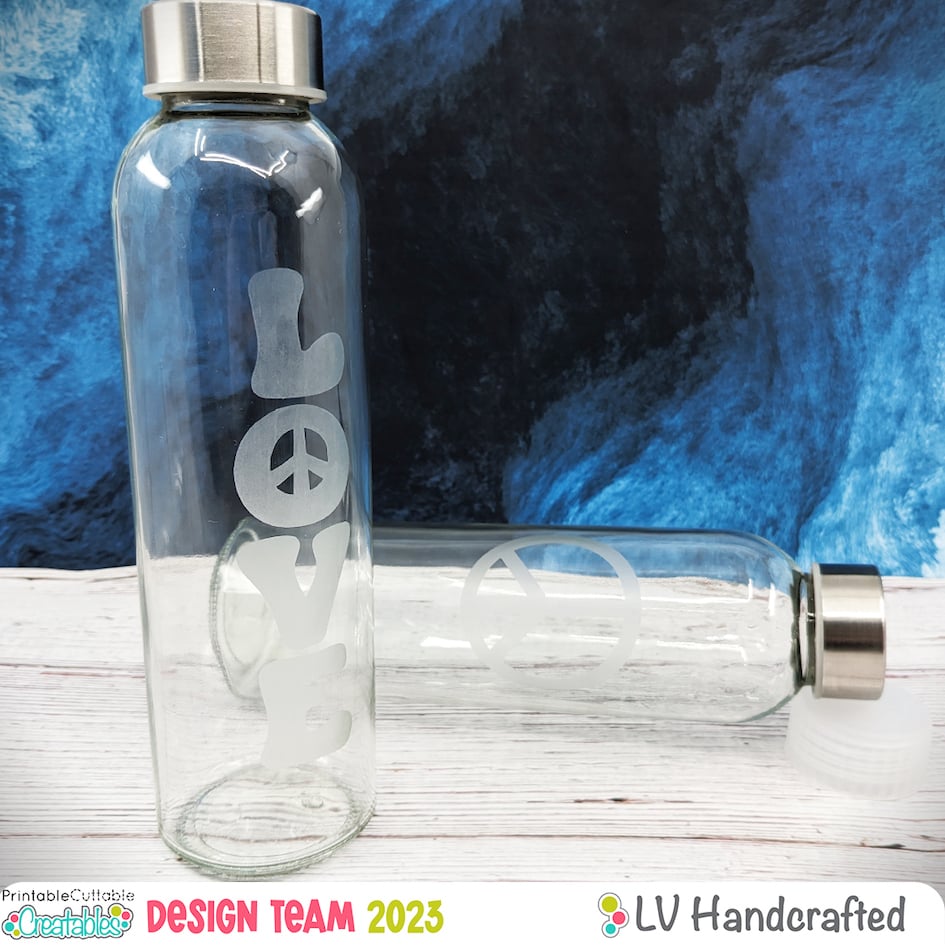
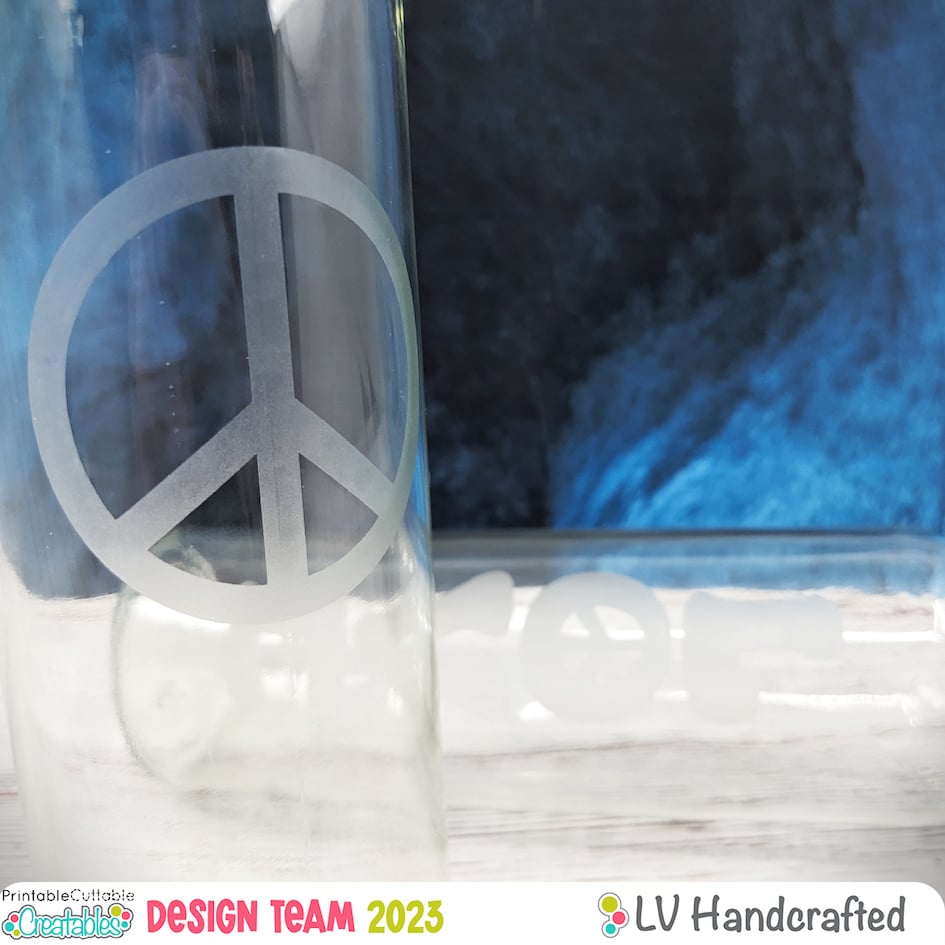
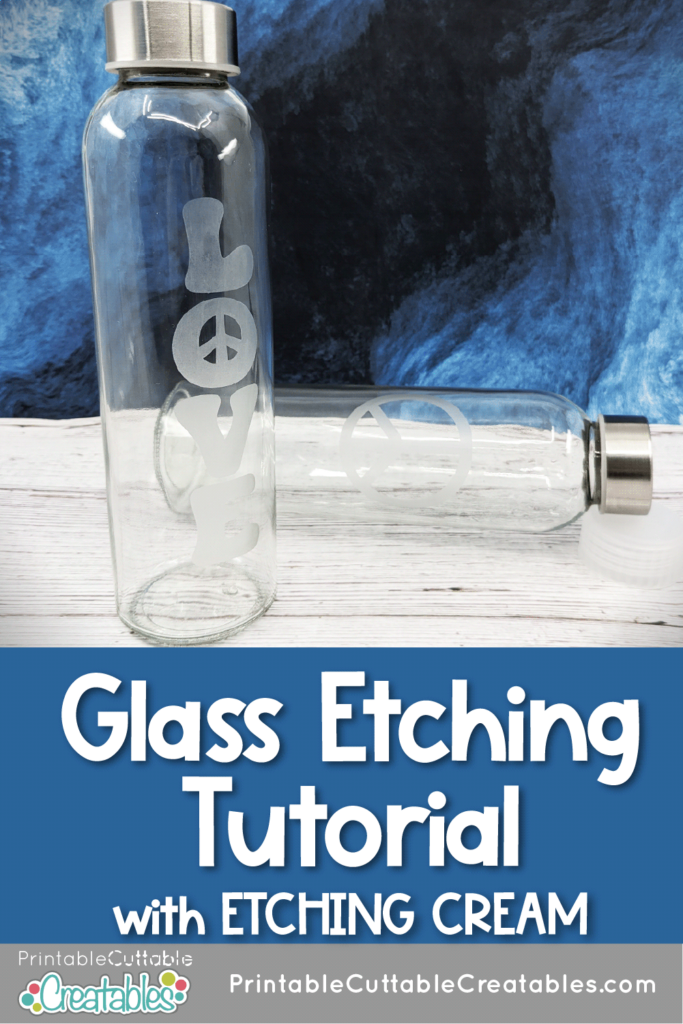
Hello friends! This is Linh or LV Handcrafted across the socials. I’m excited to share with you this Glass Etching Tutorial project – a “His & Hers” Retro glass juice bottle. I used a technique called glass etching to transfer these designs to the bottle. It’s a wonderful way to create a permanent design on your glassware. You can wash and even put it through the dishwasher without worrying about the design fading or peeling off.
See how it’s done in this video tutorial:
Here are 8 quick & easy steps:
| STEP 1 Bring the SVG Separated file into Cricut Design Space. Scale the image to the size you’d like on your glass |  |
| STEP 2 Create a box that’s 1 inch wider and 1 inch taller than your design. Place the design over your box and center it. Attach the design and the box you just created so they cut together. |  |
| STEP 3 Make It! |  |
| STEP 4 Weed out the positive design. The vinyl that is left should be all of the area surrounding your design. |  |
| STEP 5 Apply transfer vinyl to the design. Burnish well. Peel off the paper release liner from your vinyl. |  |
| STEP 6 Position your design onto your glass project. Start from the center and burnish outwards. Peel off the transfer vinyl. |  |
| STEP 7 With a paintbrush, apply the Glass Etching Cream to the design. Be careful not to get etching cream outside of the stencil. Keep brushing and moving the cream around the design for 3 minutes. |  |
| STEP 8 Rinse the project with cold water thoroughly. Dry. Peel off the sticker vinyl |  |
TIPS:
- Use gloves and protect your work surface when using Etching Cream.
- Make sure you have enough space surrounding your design when you make your stencil. This way your glass is protected and you don’t get etching cream where you don’t want it.
- Before applying your vinyl stencil, clean your glass surface with alcohol to remove any dust, oils, debris, etc.
- After you rinse off the etching cream, examine your project. Tilt it in different lighting and see if the frosted glass looks even. If it doesn’t look even, you can do the etching process again (Step #7) before you peel off the vinyl. Once it looks good, then peel off the vinyl.


Thanks for following along!
LV Handcrafted


Affiliate Disclosure: I may be an affiliate for some products recommended in this post. This means that if you purchase items through my links I will earn a small commission, at no extra cost to you. I only recommend products that I have personally used and enjoy and when you order through my link, it helps me continue to offer you weekly free SVG files, digital papers, scrapbook sketches, tutorials, and other fun things. Thank you in advance for your support!
Let's Keep In Touch!
BLOG CATEGORIES
GET THE MOST FROM SILHOUETTE STUDIO!
CREATABLES
- Laserables (15)
- Freebies (506)
- Doables (161)
- Cards - Envelopes (26)
- Boxes - Bags (35)
- Gift Holders (36)
- Earrings (8)
- 3D (12)
- Treat Holders (44)
- Ready to Make (9)
- Design Elements (1353)
- Sketchables (46)
- Borders / Frames (47)
- Embellishments (846)
- Word Art / Titles (412)
- Digital Paper (Singles) (23)
- Digital Stamps (47)
- Theme Sets (166)
- Sketchable Sets (7)
- Digital Stamp Sets (7)
- Border / Frame Sets (44)
- Embellishment Sets (55)
- Digital Paper Packs (43)
- Alphabet & Number Sets (6)
- Word / Title Sets (19)
- SVG Scrap Kits (8)
- Virtual Wallet (5)
- Commercial Licenses (5)


