Twisted Easel Fun Fold Card Tutorial
Hello! Christi here from Scrapping For Tranquility on the blog for Printable Cuttable Creatables today to show you another Fun Fold Card. These seem to be all the rage right now. At the beginning of the month, I showed you three fun Folds and promised I would be back today to give you a tutorial on a fourth. We are going to do a fairly easy one so you can hop right to starting your Fun fold cards! This one is called a Twisted Easel Fun Fold Card.

With just a few steps, we’re going to master this fun fold card in today’s tutorial!
Here is what you will need:

1. A solid base color (my white) cut to 8 1/2 X 4 1/4 and scored it at 4 1/4 on the 8 1/2 side.

It will look like this when you are done scoring and folding.
2. You will also need a piece of 4″ squared pattern paper and another 4″ squared pattern paper cut from one corner to the next diagonal.

3. Score from the top left-hand corner to the bottom right-hand corner on the left side of the card base. Like shown above.
4. Using the pattern paper’s piece of 4″ squared , glue it to the inside of the card.
5. Take a diagonal piece of pattern paper on the front-facing part of the fold.
Here is where I assemble the paper piecings I want to use to decorate the card. I cut out on my Cameo 3 two different files.
The files I used from Printable Cuttable Creatables are:

Once I have my pieces cut out, I ink the edges. That is a preference of mine. You can do whatever you want. Some people ink and others do not.

I use only Catherine Pooler Mini Inks and Full size ink pads.

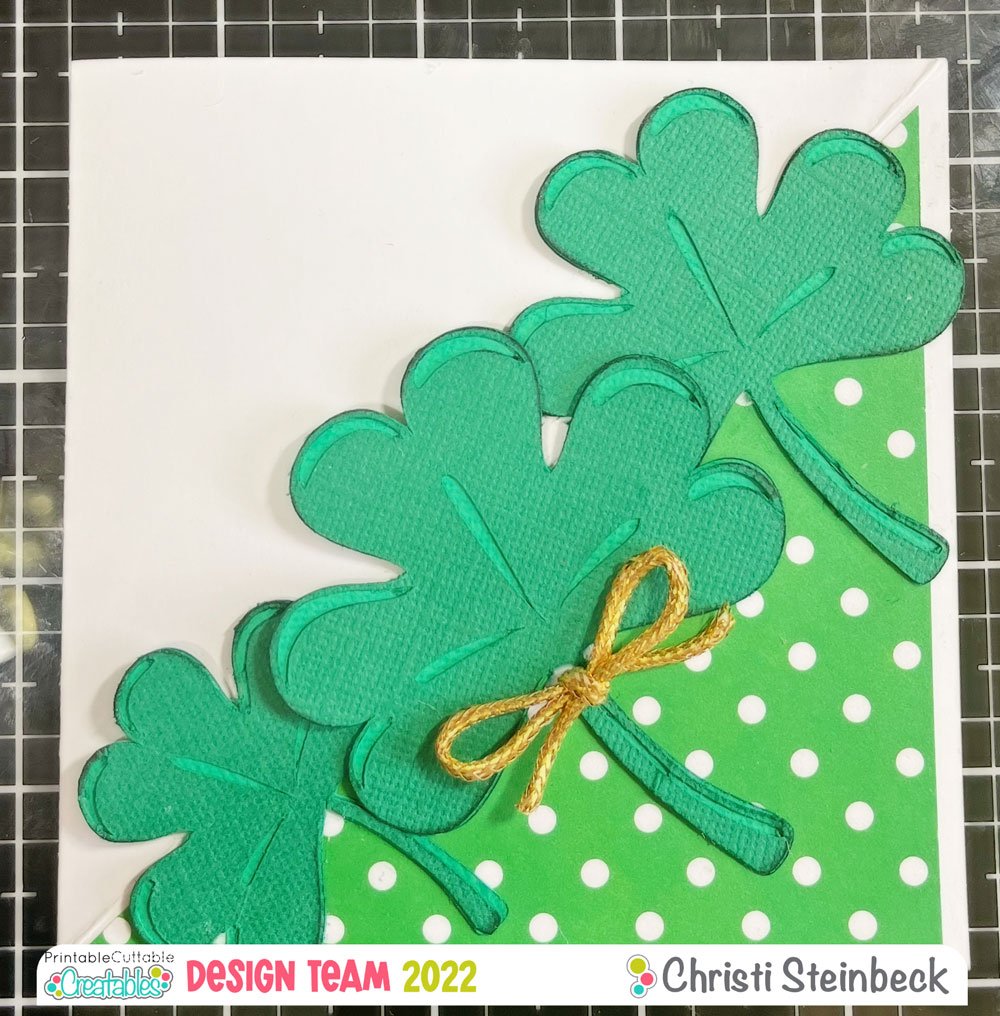
Once I had my card and pieces made and inked, I was ready to assemble my card as I see fit. This is the front of the card laying flat to mail.

This is my finished product with the twisted easel standing up being held by the title. I used pop dots to make the title stand a bit to help hold it in the standing position.
I hope you enjoyed this tutorial and it gives you the inspiration to try all the fun folds out there. If you do, let us or me know! Post it and let us see!
Happy Crafting!

Affiliate Disclosure: I may be an affiliate for some products recommended in this post. This means that if you purchase items through my links I will earn a small commission, at no extra cost to you. I only recommend products that I have personally used and enjoy and when you order through my link, it helps me continue to offer you weekly free SVG files, digital papers, scrapbook sketches, tutorials, and other fun things. Thank you in advance for your support!
Let's Keep In Touch!
BLOG CATEGORIES
GET THE MOST FROM SILHOUETTE STUDIO!
CREATABLES
- Laserables (15)
- Freebies (506)
- Doables (161)
- Cards - Envelopes (26)
- Boxes - Bags (35)
- Gift Holders (36)
- Earrings (8)
- 3D (12)
- Treat Holders (44)
- Ready to Make (9)
- Design Elements (1353)
- Sketchables (46)
- Borders / Frames (47)
- Embellishments (846)
- Word Art / Titles (412)
- Digital Paper (Singles) (23)
- Digital Stamps (47)
- Theme Sets (166)
- Sketchable Sets (7)
- Digital Stamp Sets (7)
- Border / Frame Sets (44)
- Embellishment Sets (55)
- Digital Paper Packs (43)
- Alphabet & Number Sets (6)
- Word / Title Sets (19)
- SVG Scrap Kits (8)
- Virtual Wallet (5)
- Commercial Licenses (5)


2 thoughts on “Twisted Easel Fun Fold Card Tutorial”
Such a great card! Thank you for the tutorial 🙂
Sorry Jan I am just seeing this! You’re welcome for the tutorial and it is such a fun card to make! I hope it gave you some inspiration to try it! Thank you for your kind words!
DT Christi