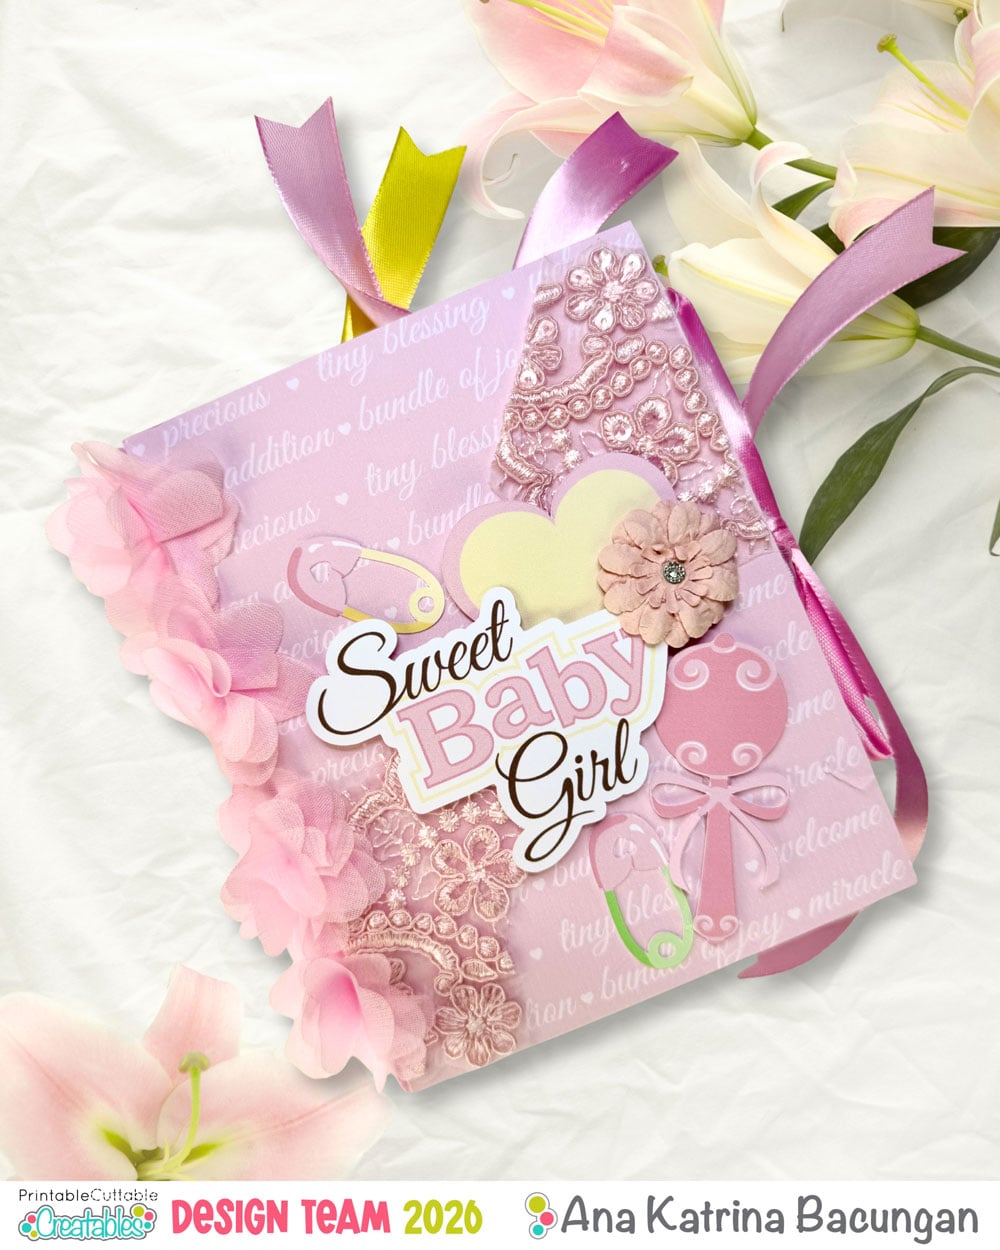
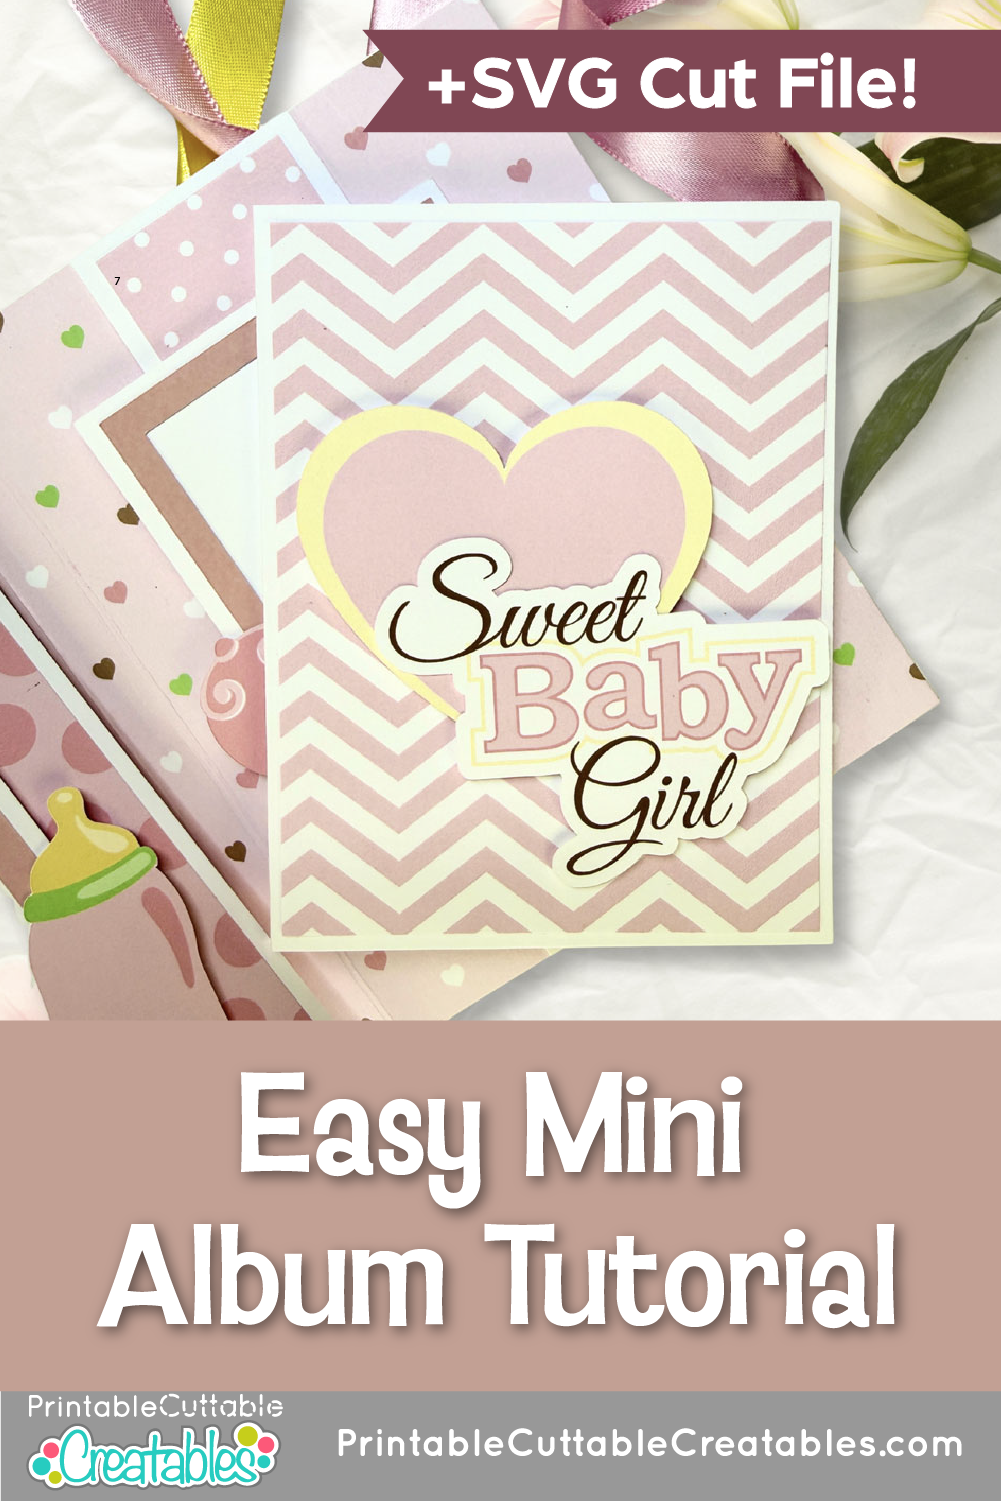
Today, I am sharing a tutorial of my favorite project – this 5 x 6.5 mini album! This is my go-to mini album to make because it’s easy, beginner-friendly, and doesn’t require any complicated binding. Just a few folds, some double-sided tape, ribbons, and you’re done!
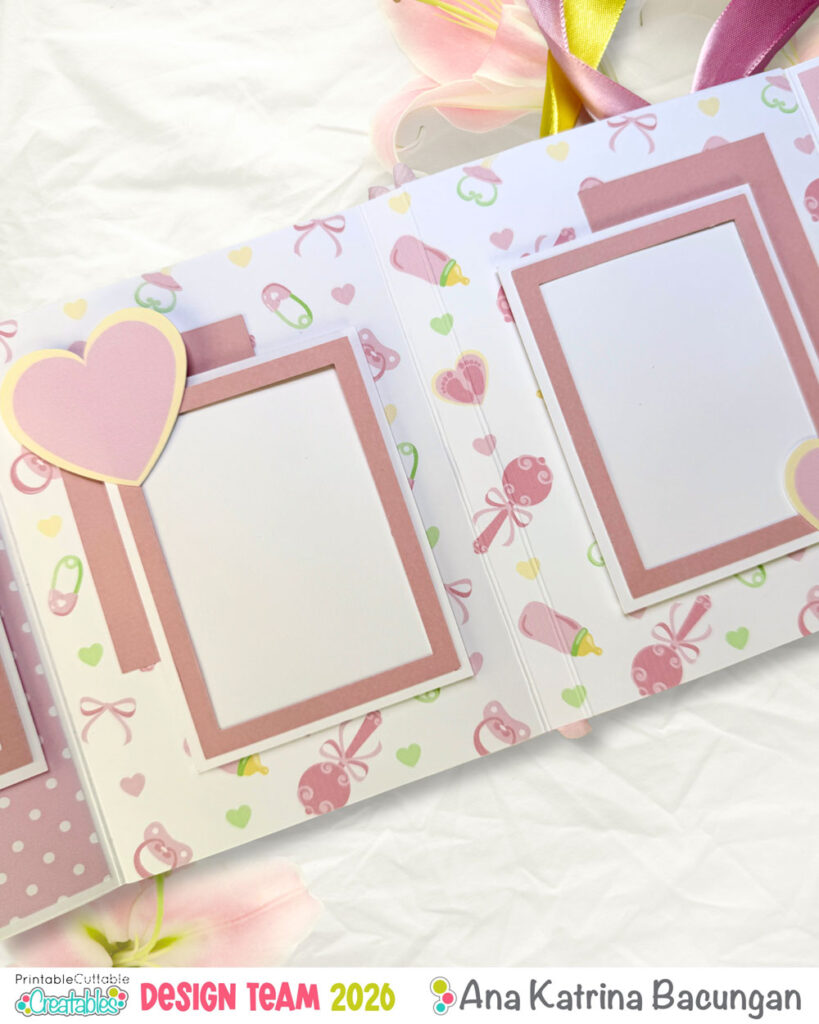
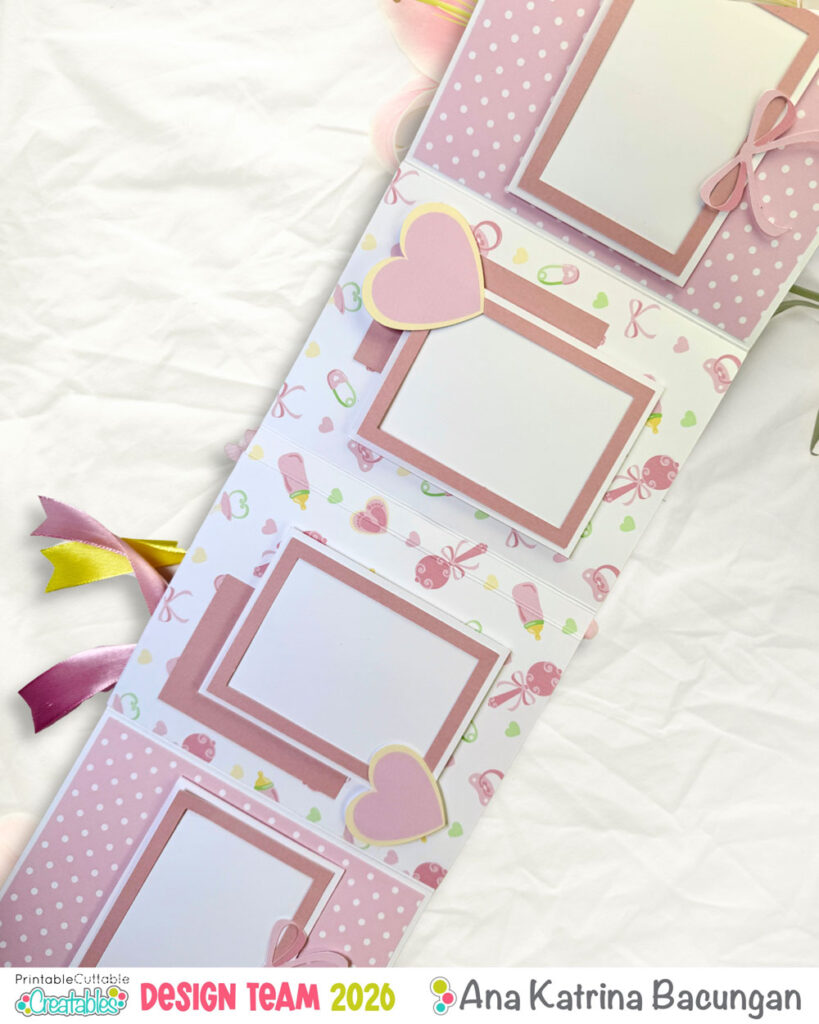
Once your base is ready, you can have fun decorating the inside by adding pockets, inserts, frames, and embellishments – which is my favorite part.
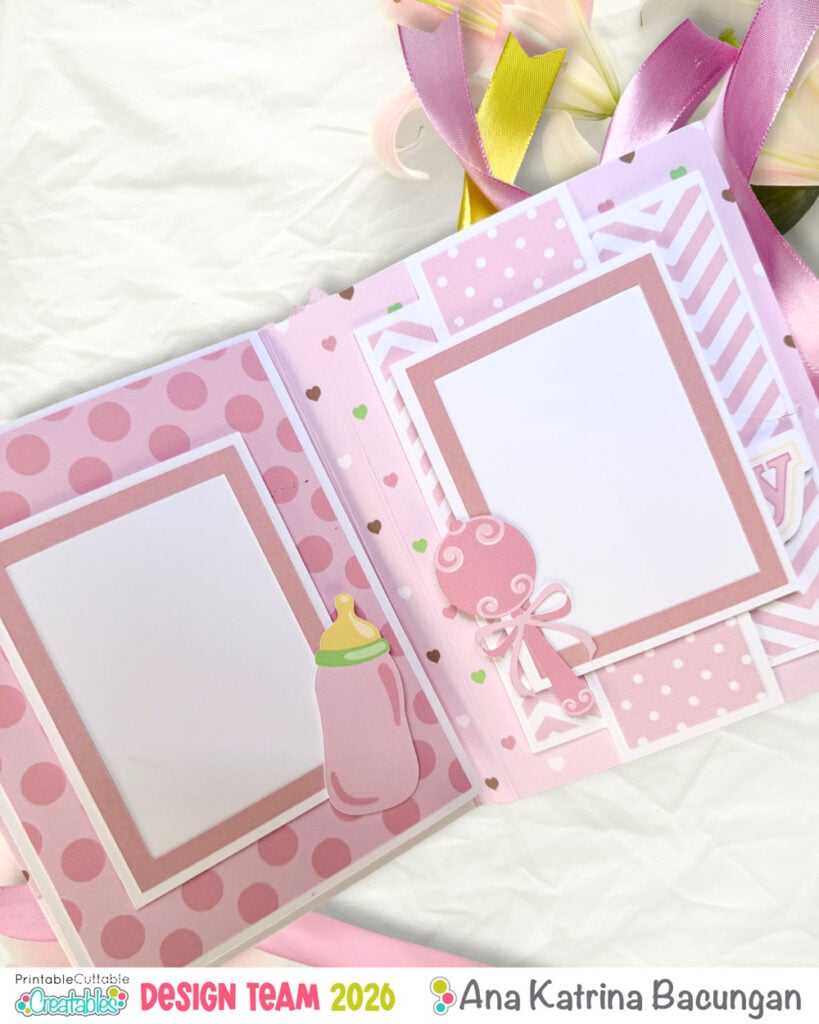
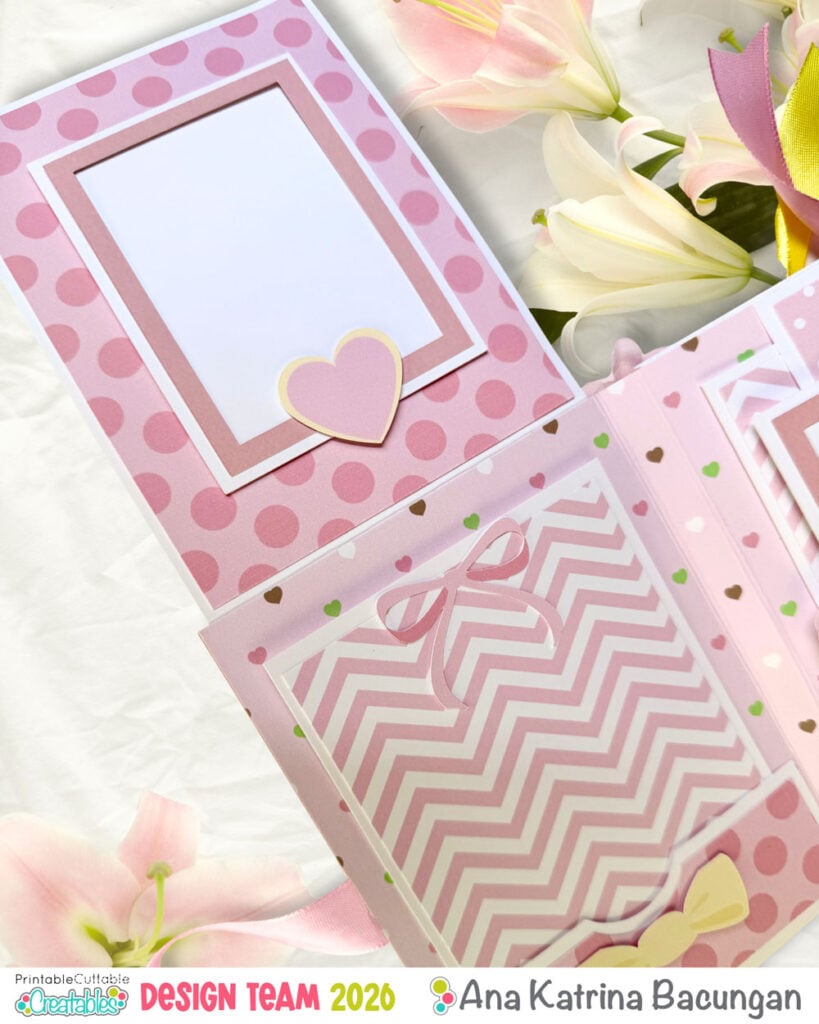
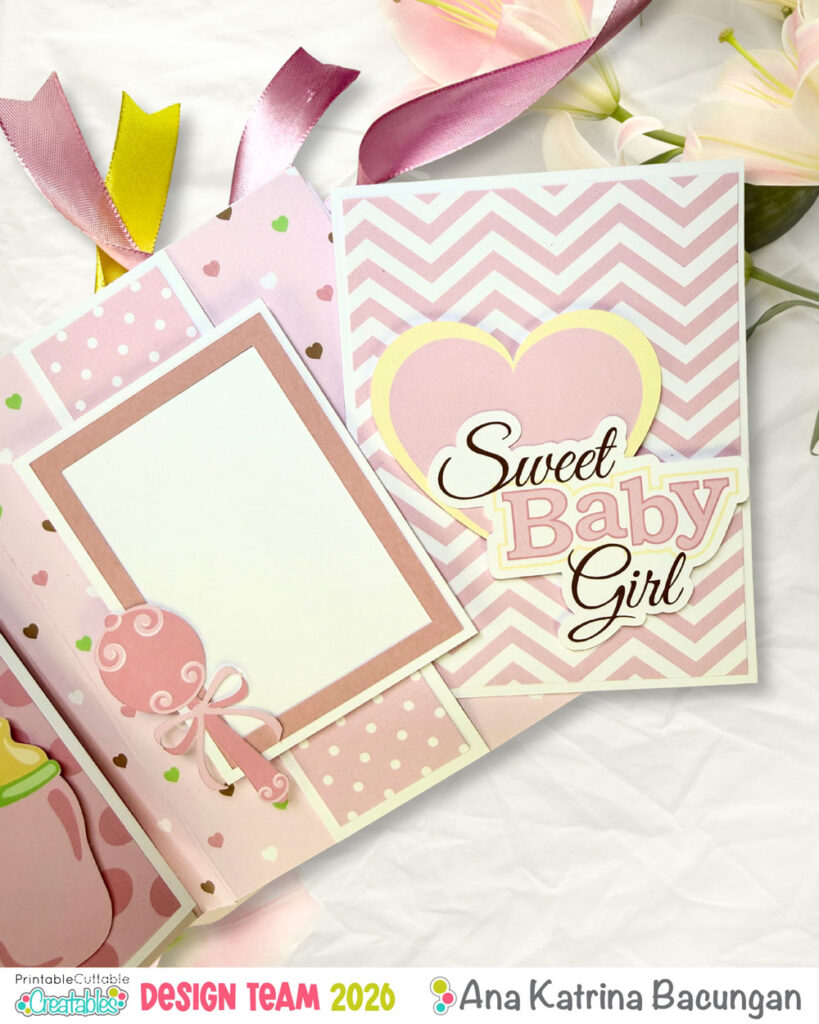
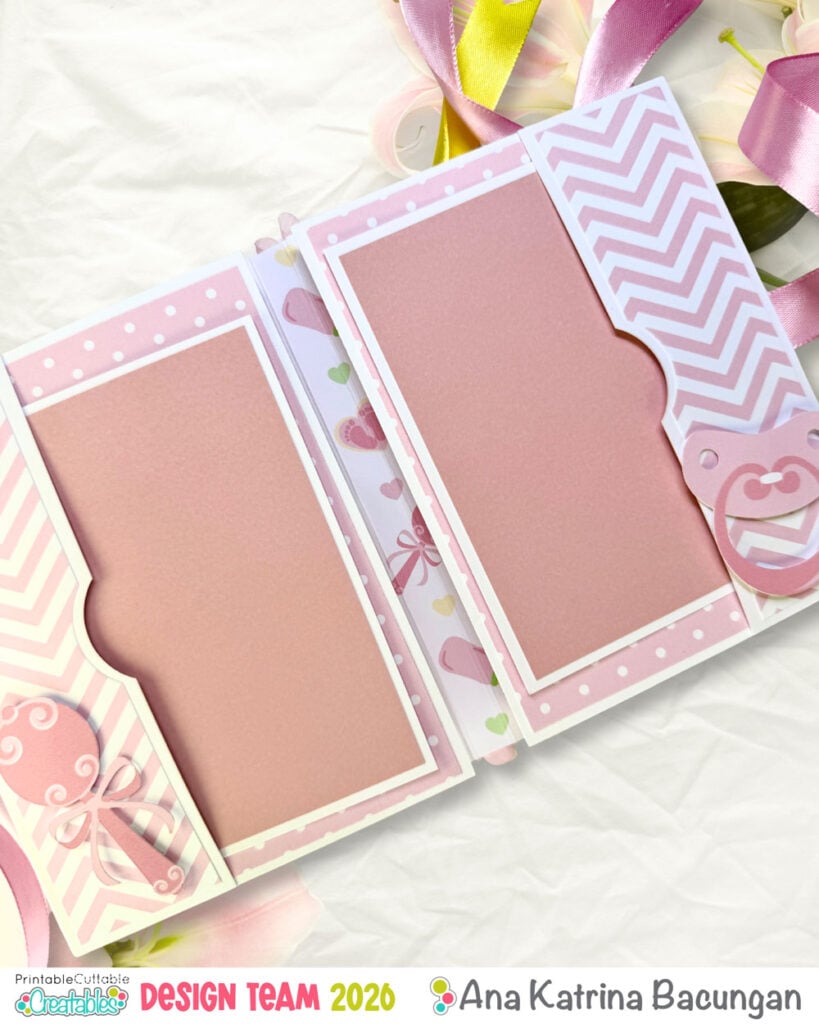
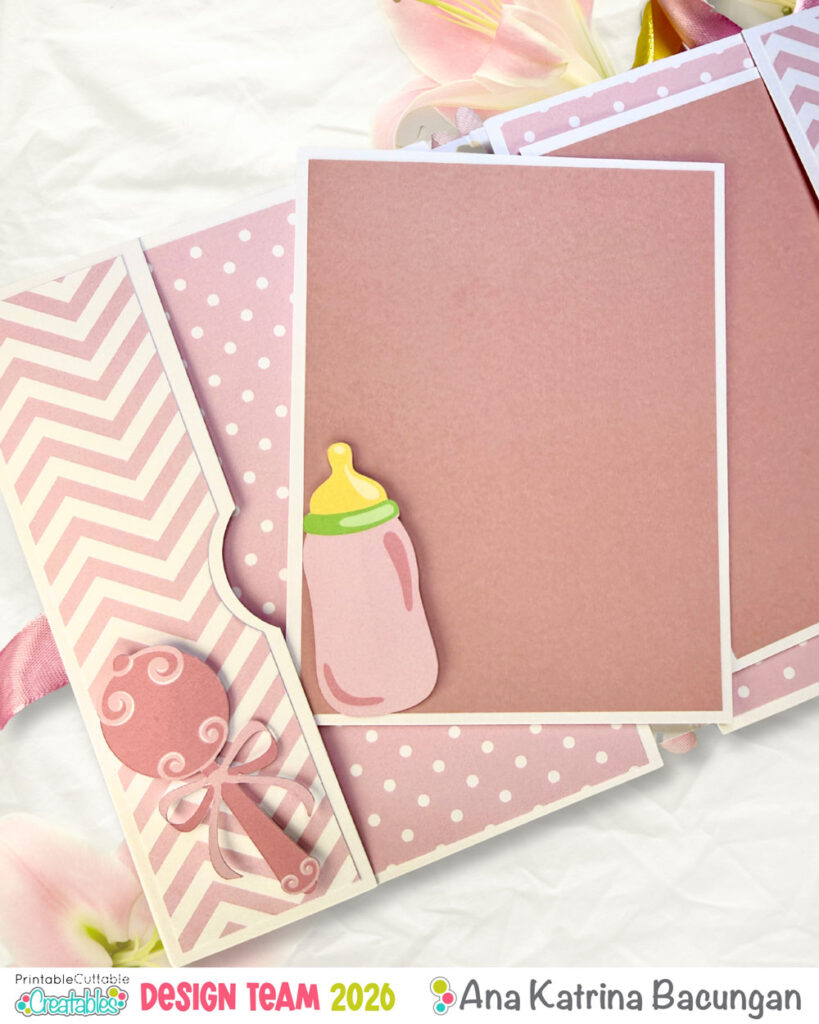
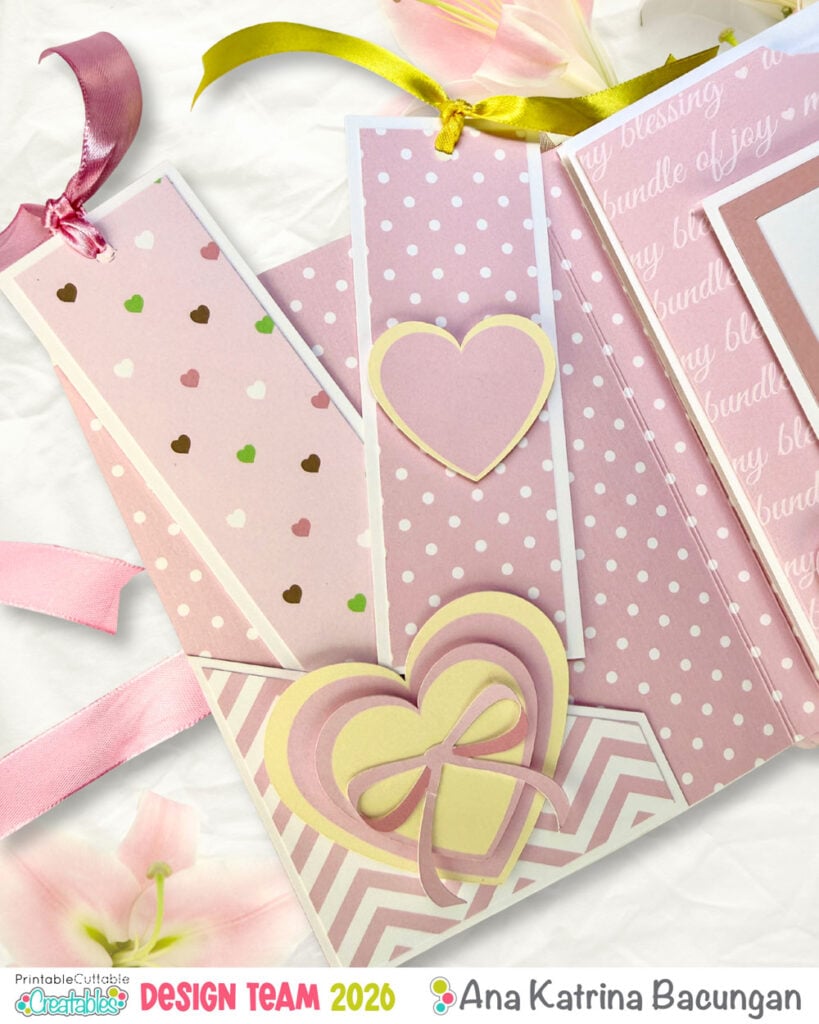
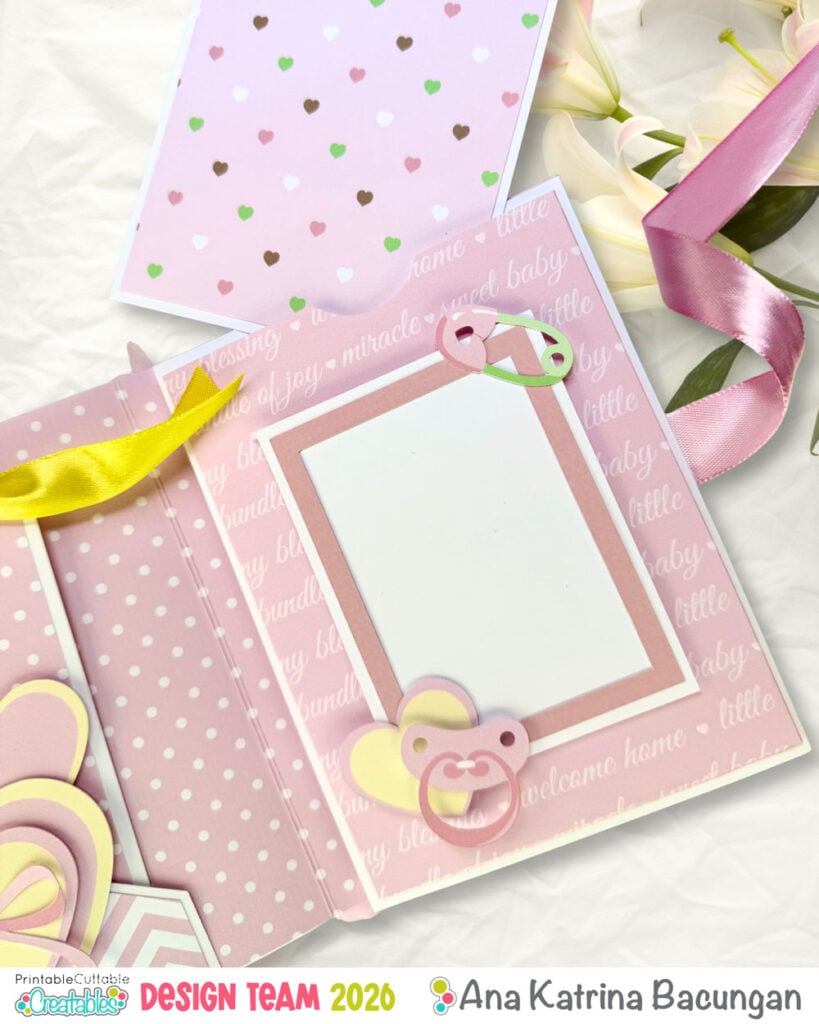
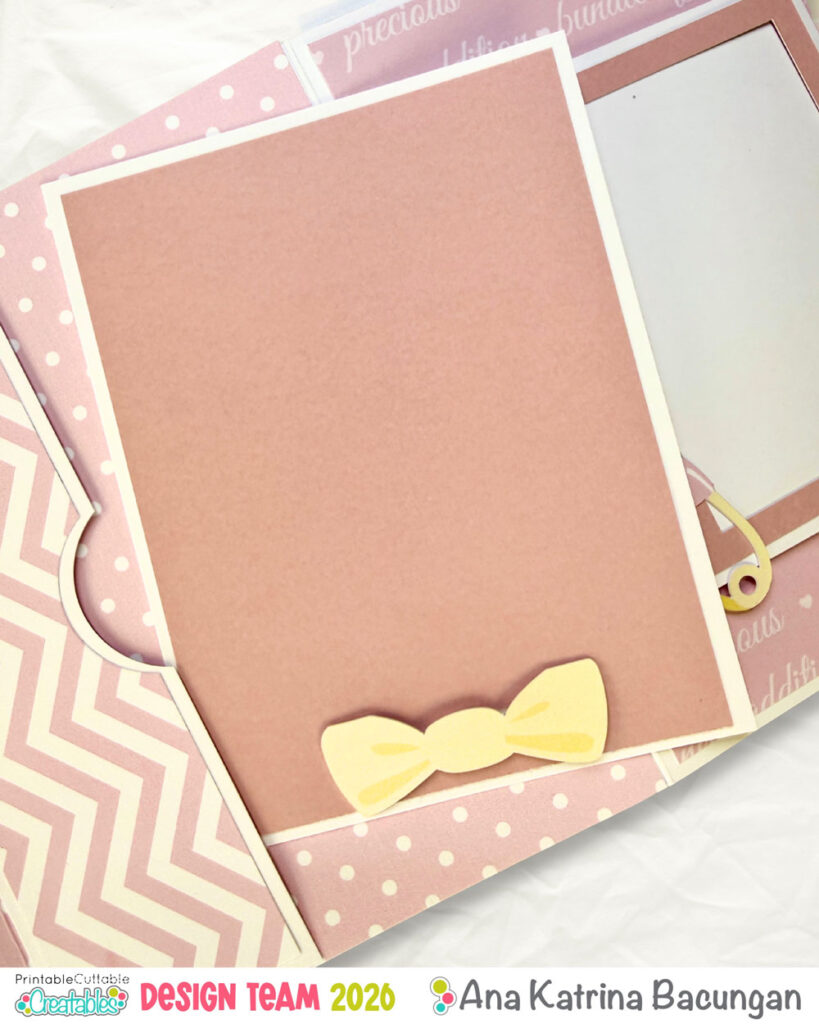
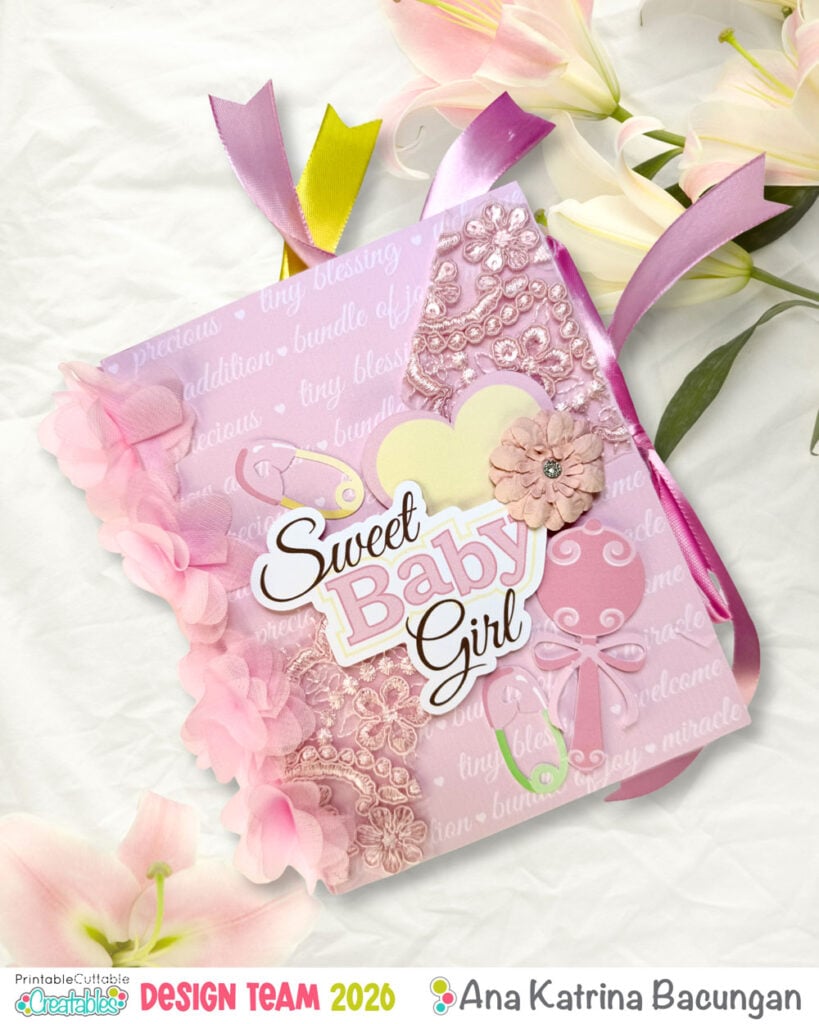
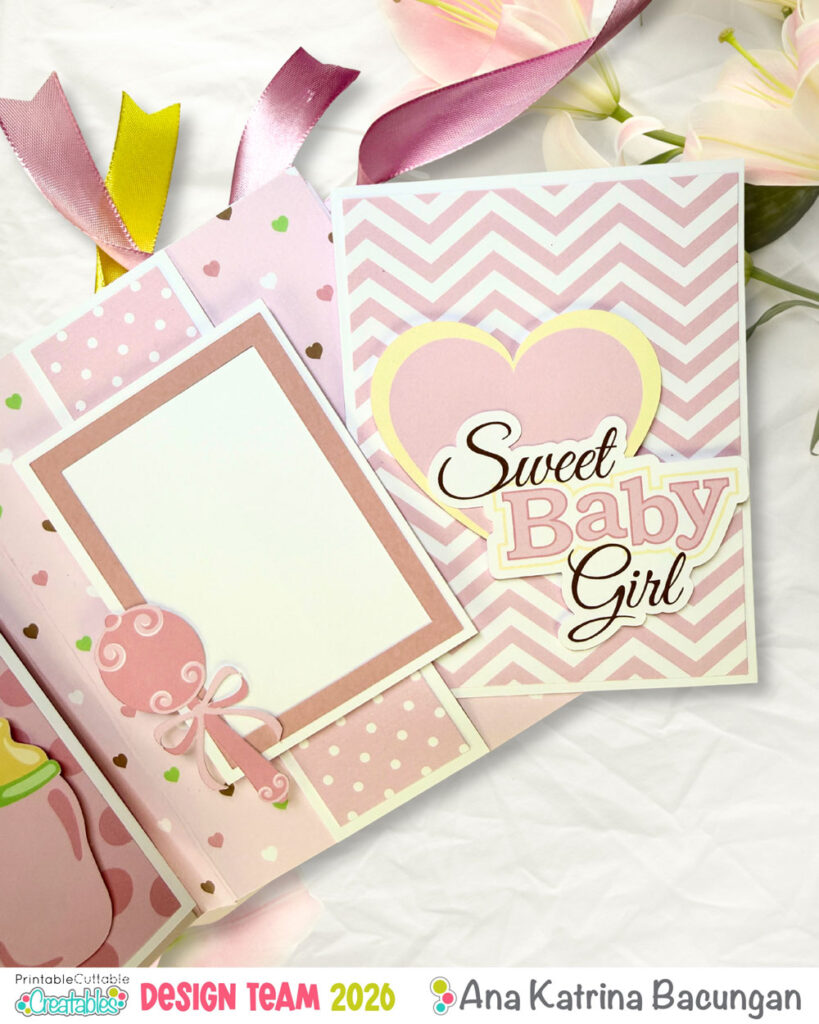
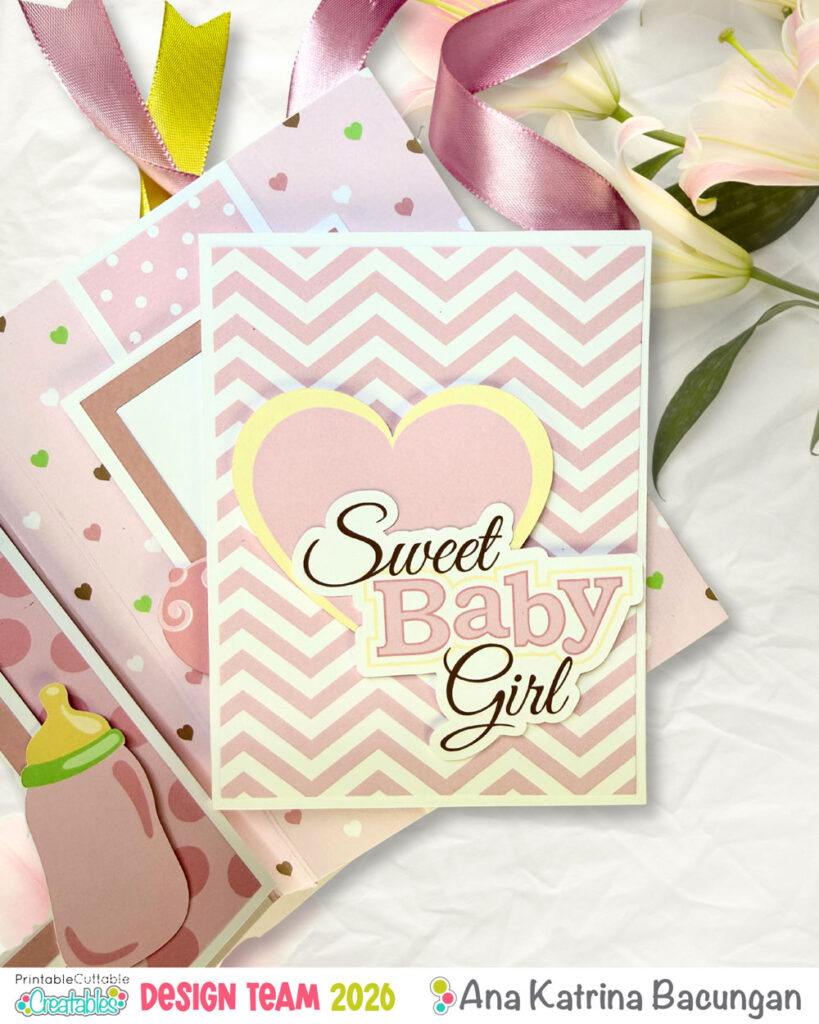
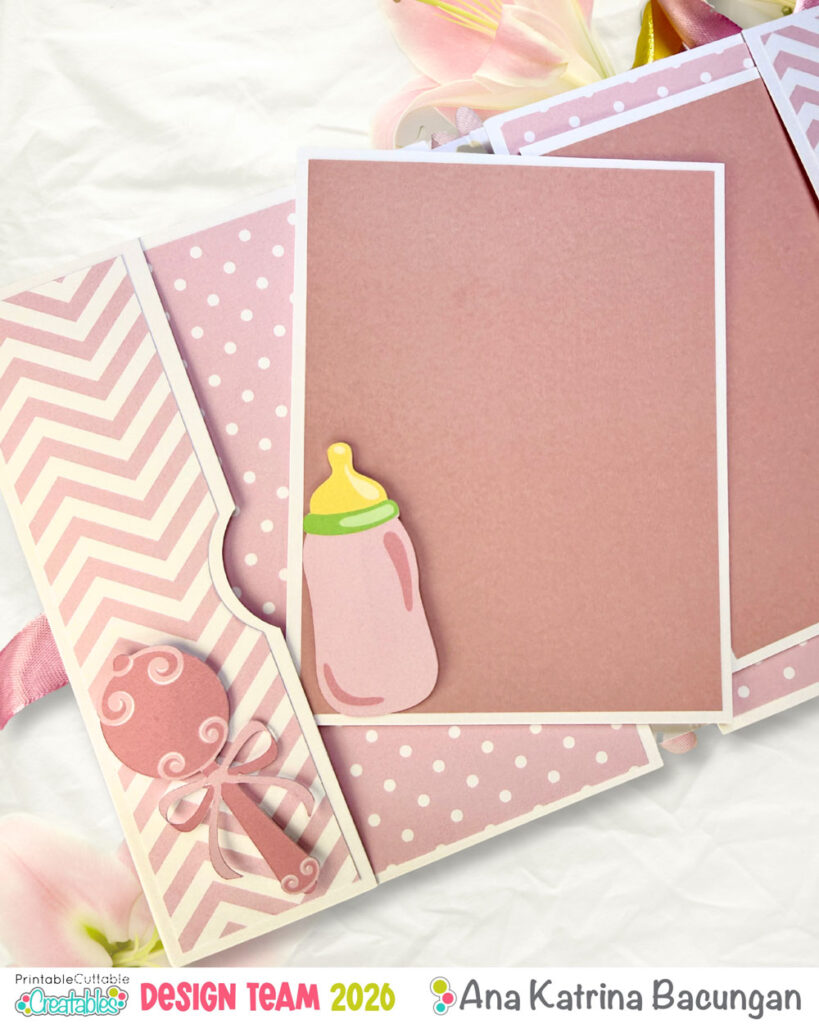
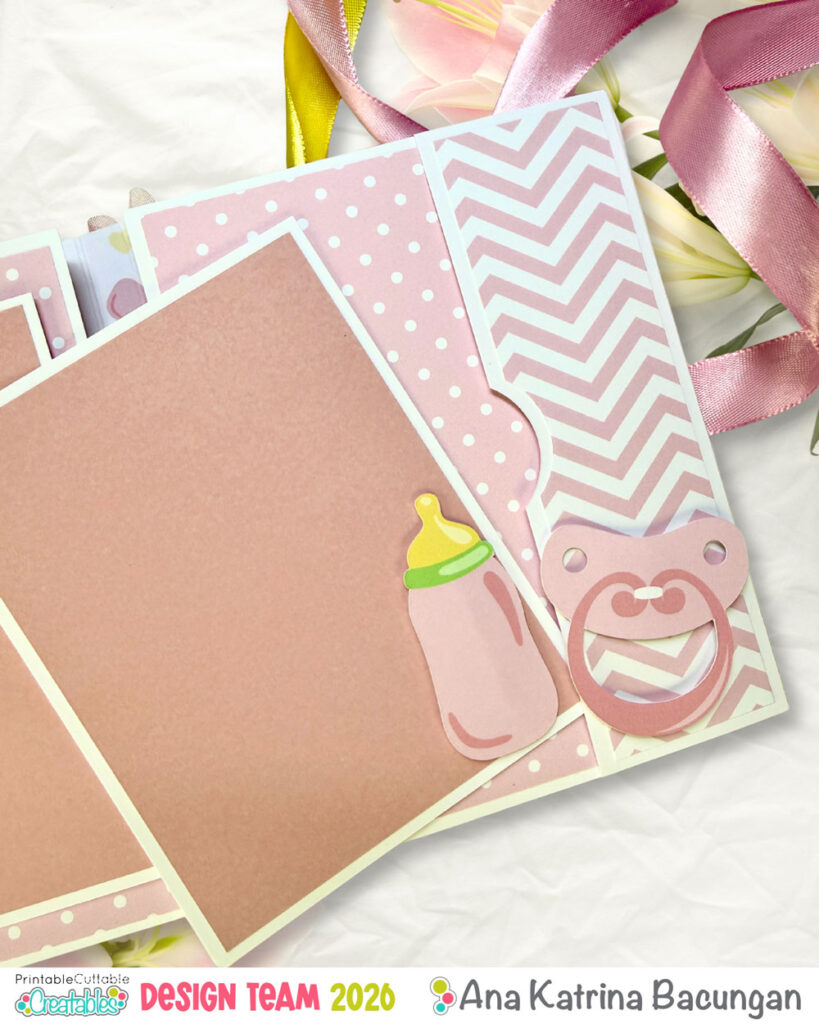
For this project, I used Printable, Cuttable, and Creatables’ Sweet Baby Girl Collection. What I love about this collection is that it includes pattern papers and embellishments you can Print Then Cut with your cutting machine (or manually cut!), plus SVG files for layered pieces if you’re using a cutting machine. And of course… it’s mostly pink, which makes me love it even more! This baby mini album is a thoughtful gift for someone who just gave birth or is expecting.
Materials Needed:
- Pattern paper – Sweet Baby Girl Collection
- Embellishments – Sweet Baby Girl Collection
- Ribbons and trims
- Floral embellishments
- Foam tape
- Tim Holtz Guillotine / Paper Trimmer
- Bearly Art Precision Craft Glue
- White cardstock
- Solid colored cardstock
- Circle punch
- Glue gun
Instructions:
1. Prepare Your Pages
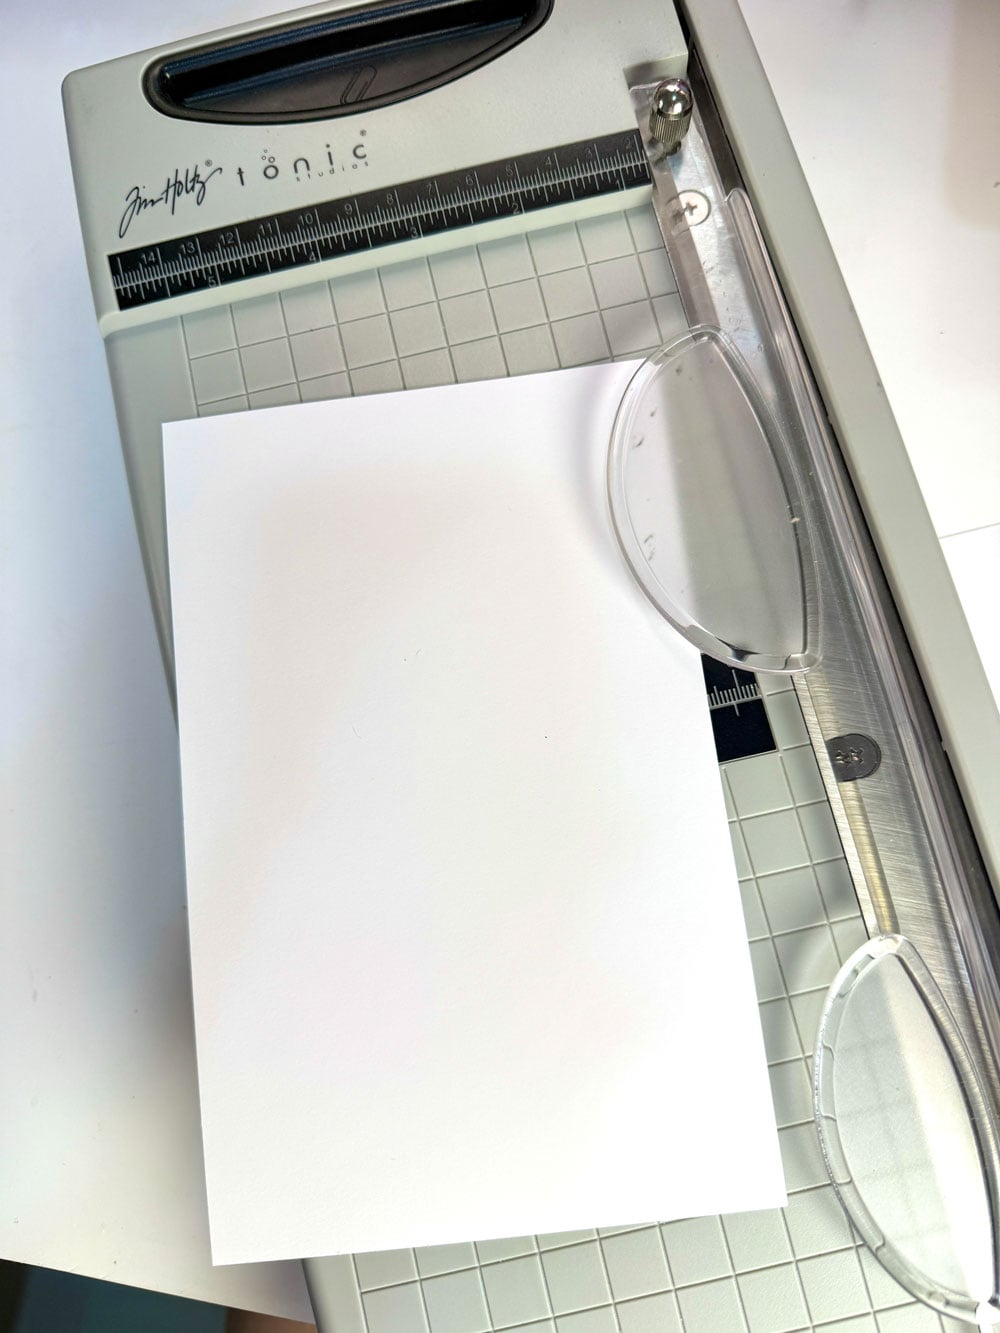
Trim 3 pattern papers to 10.5 x 6.5
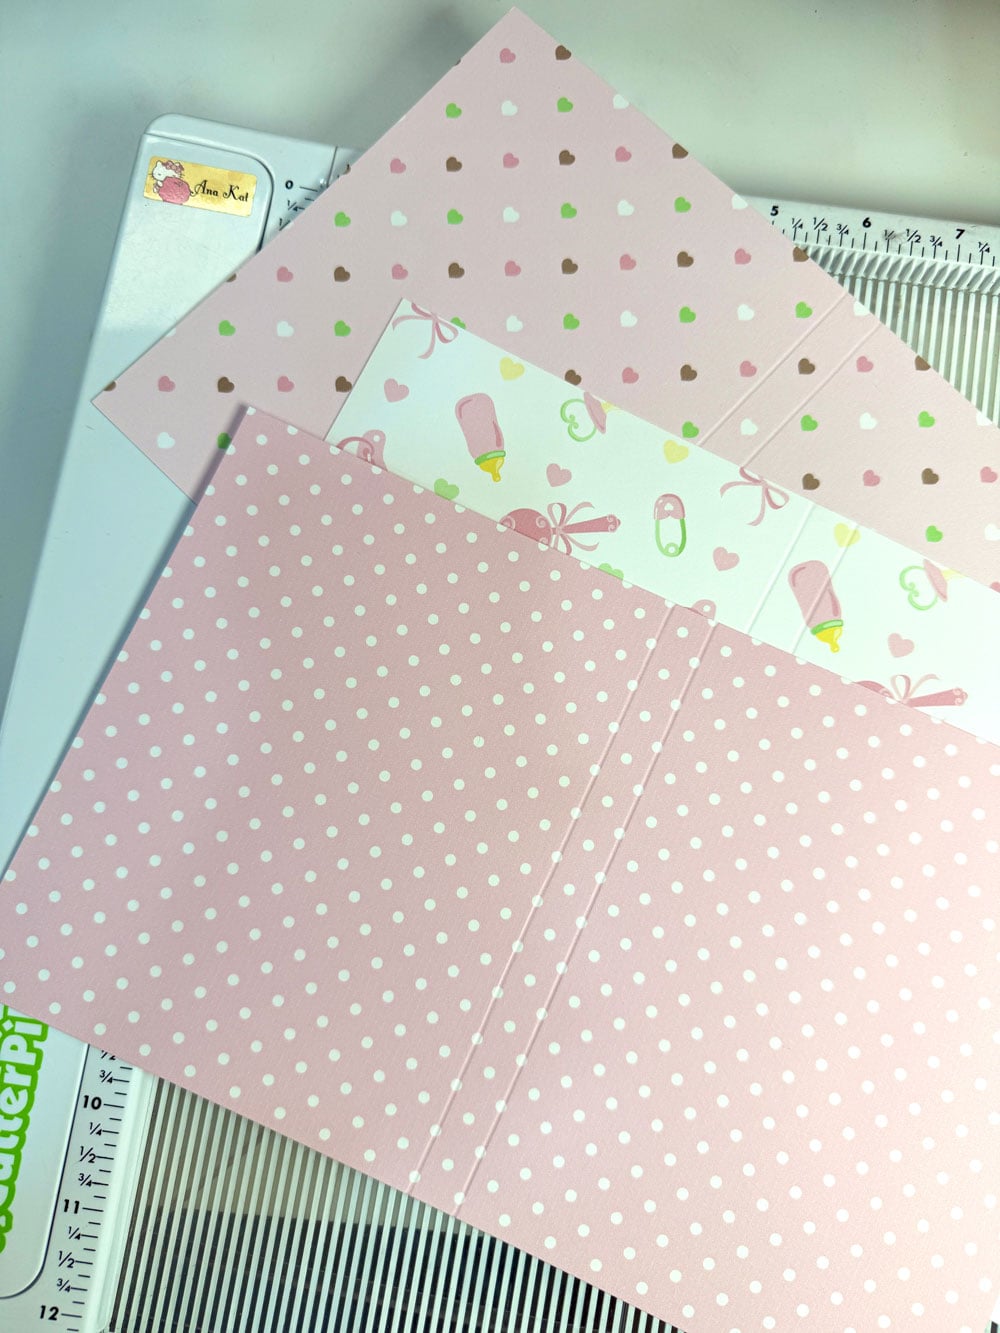
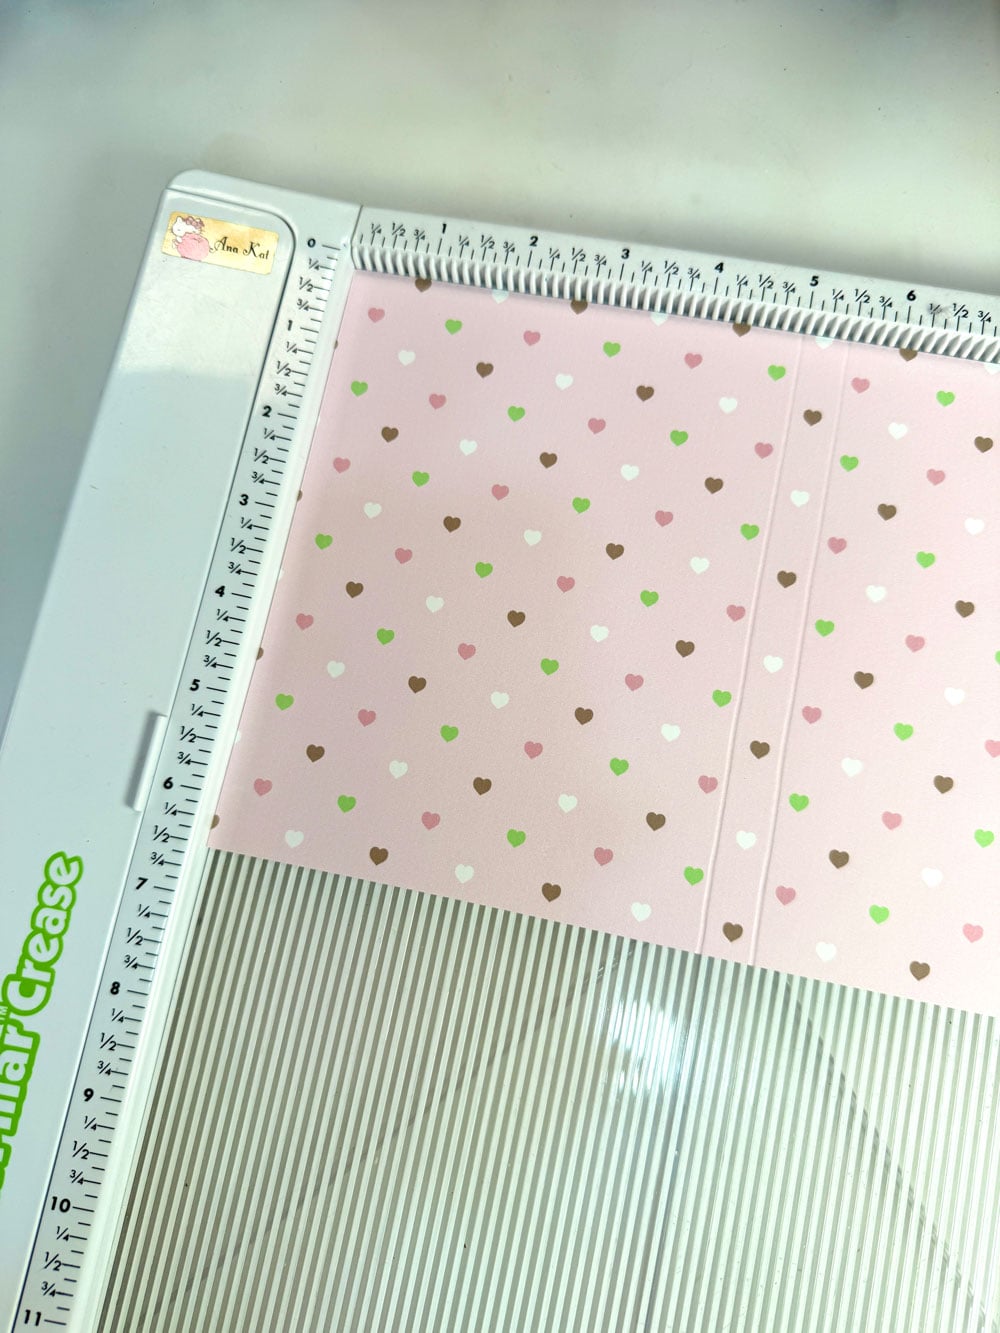
2. Score each page at 5” and 5.5” on the long side.
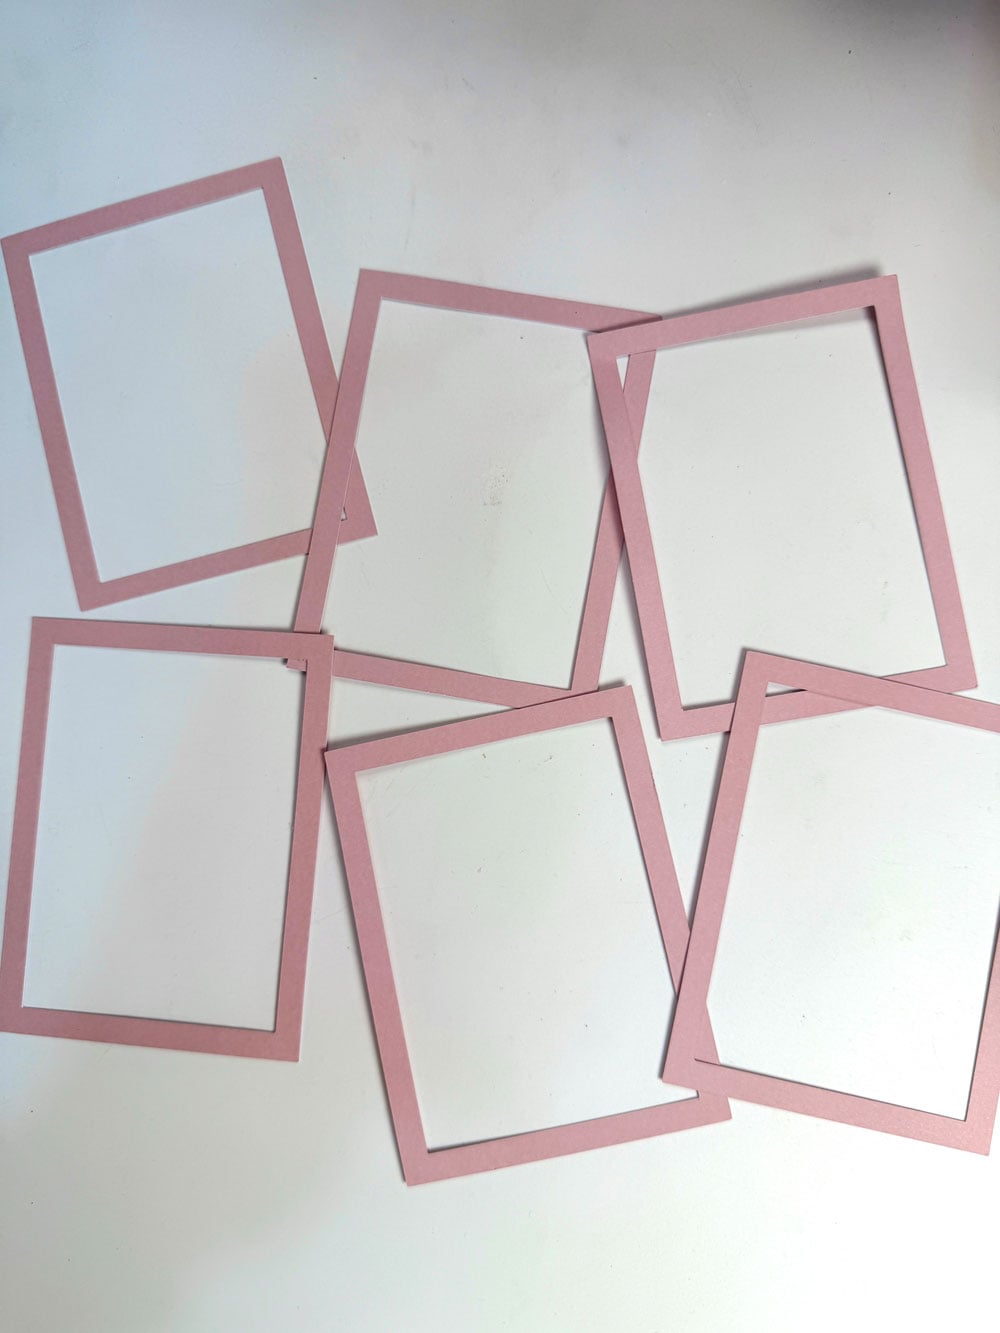
3. Prepare your frames: cut solid cardstock to 3 x 4 and remove the center to create a 1/4” border frame.
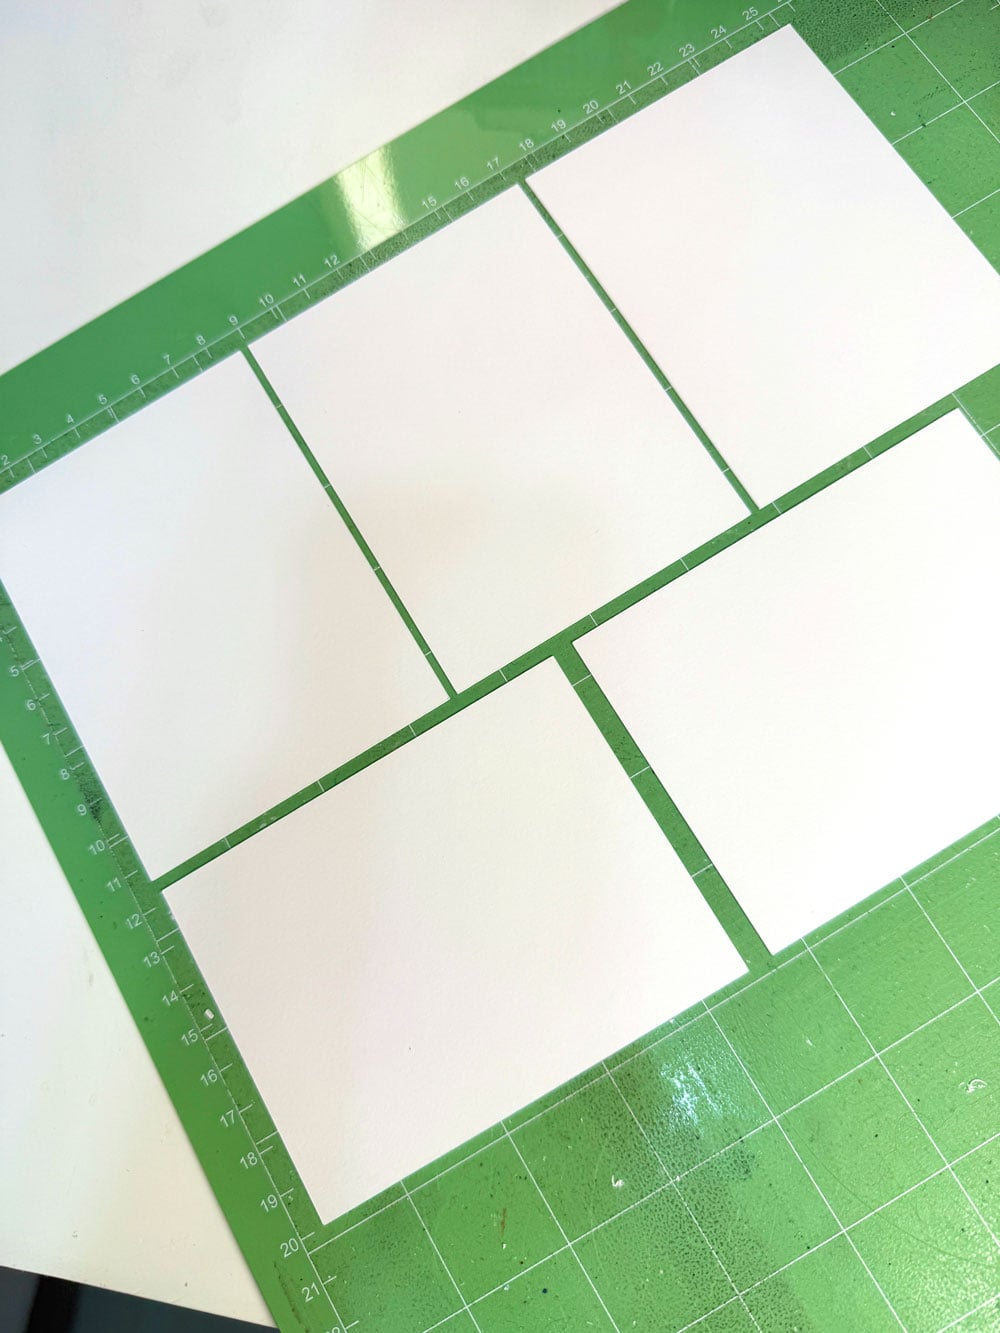
4. Cut white cardstock to 3.25 x 4.25 for photo mats.
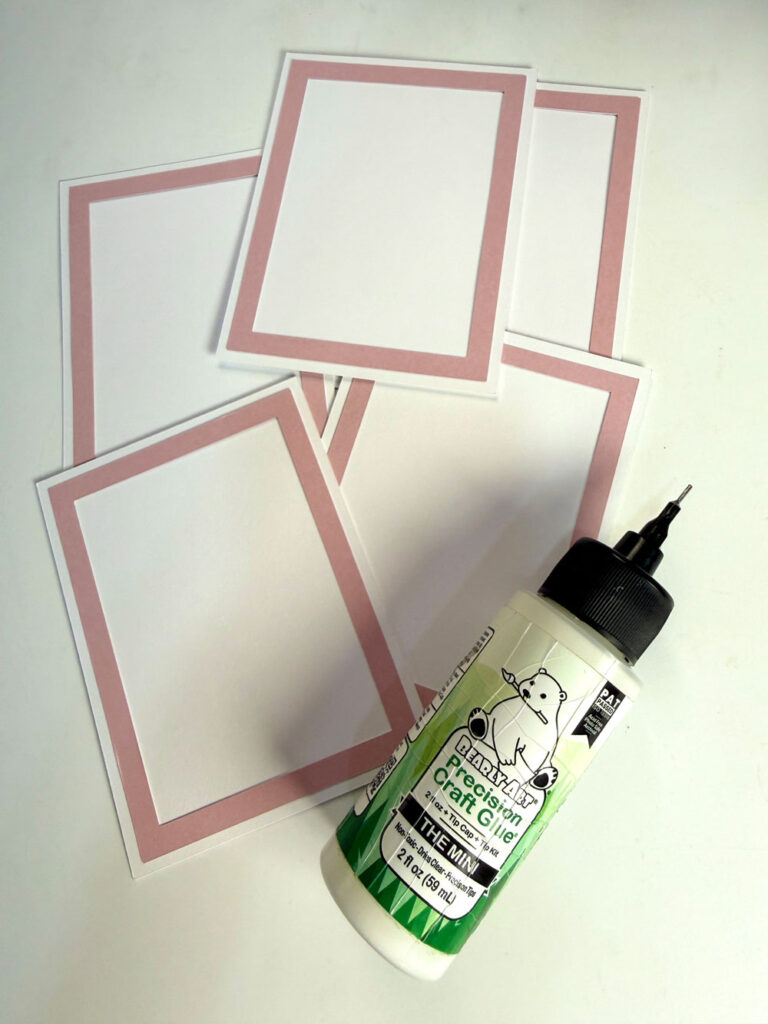
5. Glue each frame onto the white cardstock.
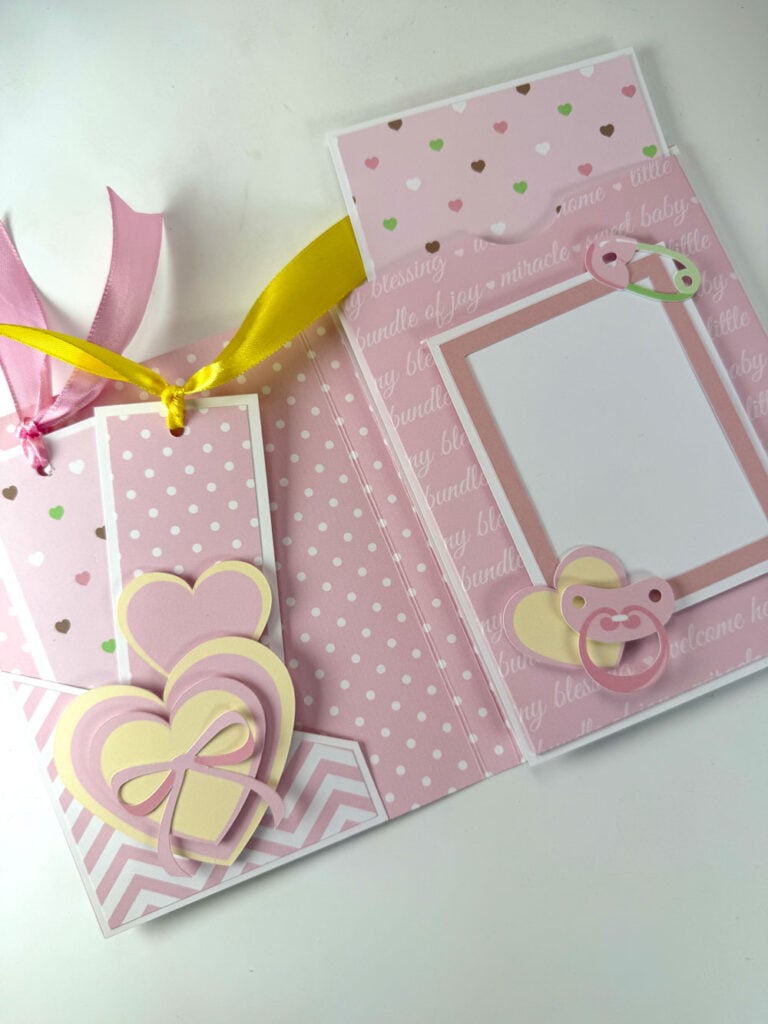
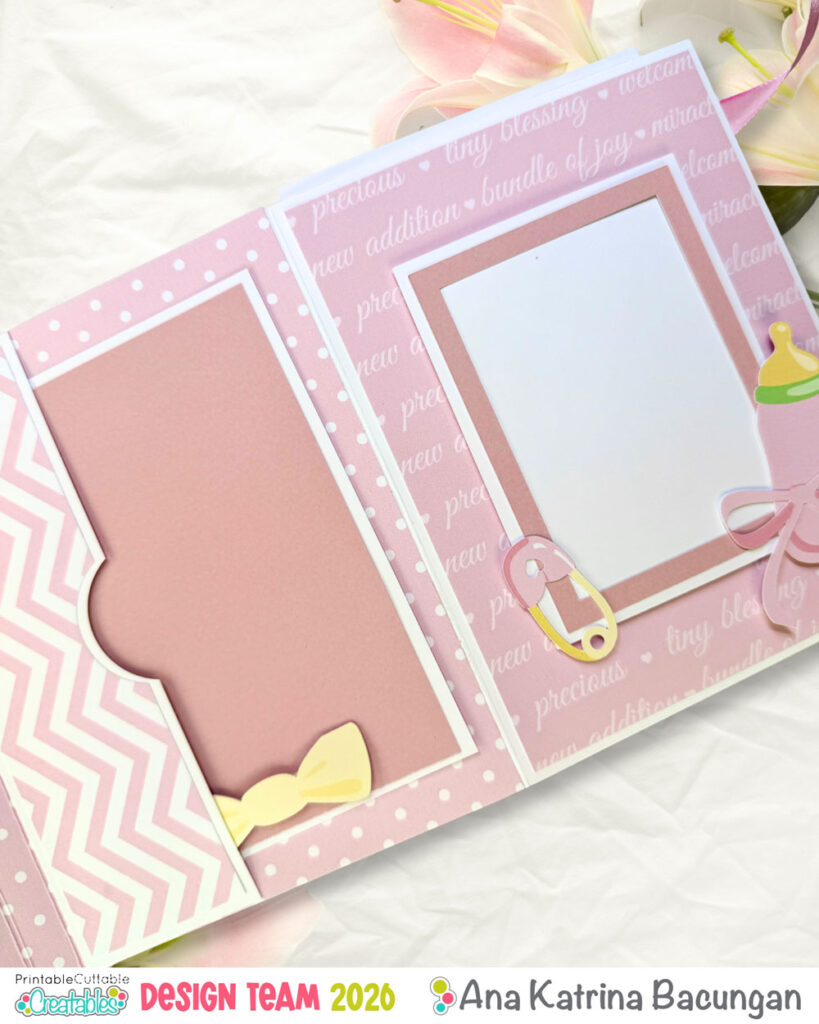
First and Second Page:
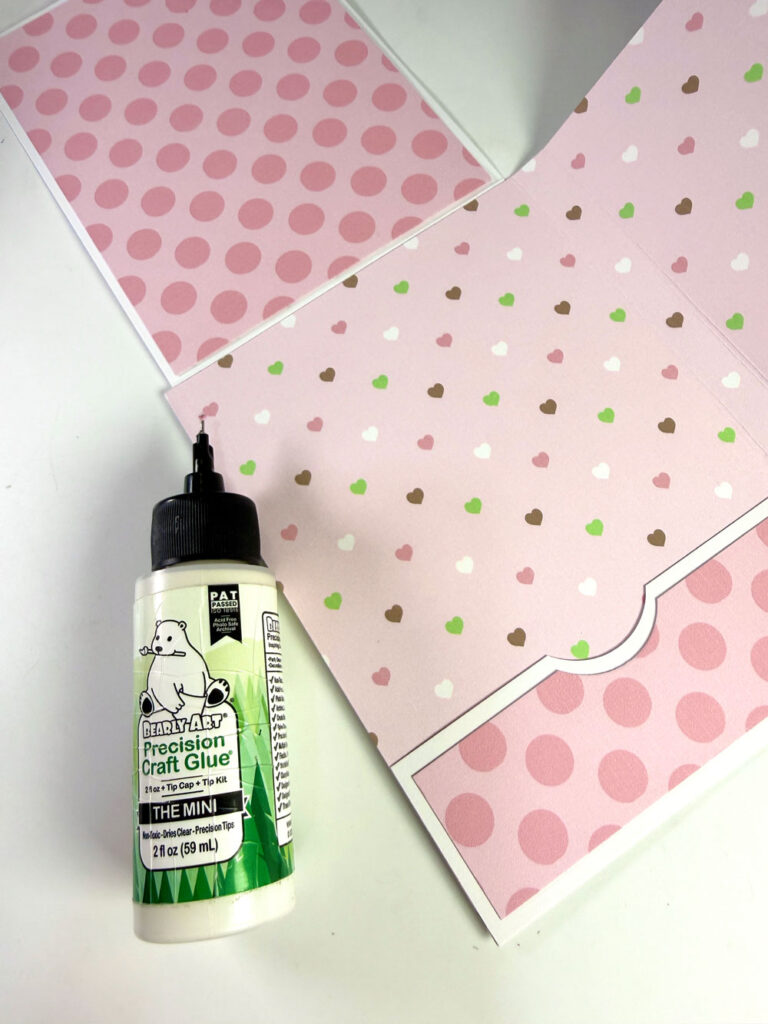
Flap – Cut white cardstock to 6.75 x 4.75 and score at 6.25” on the long side.
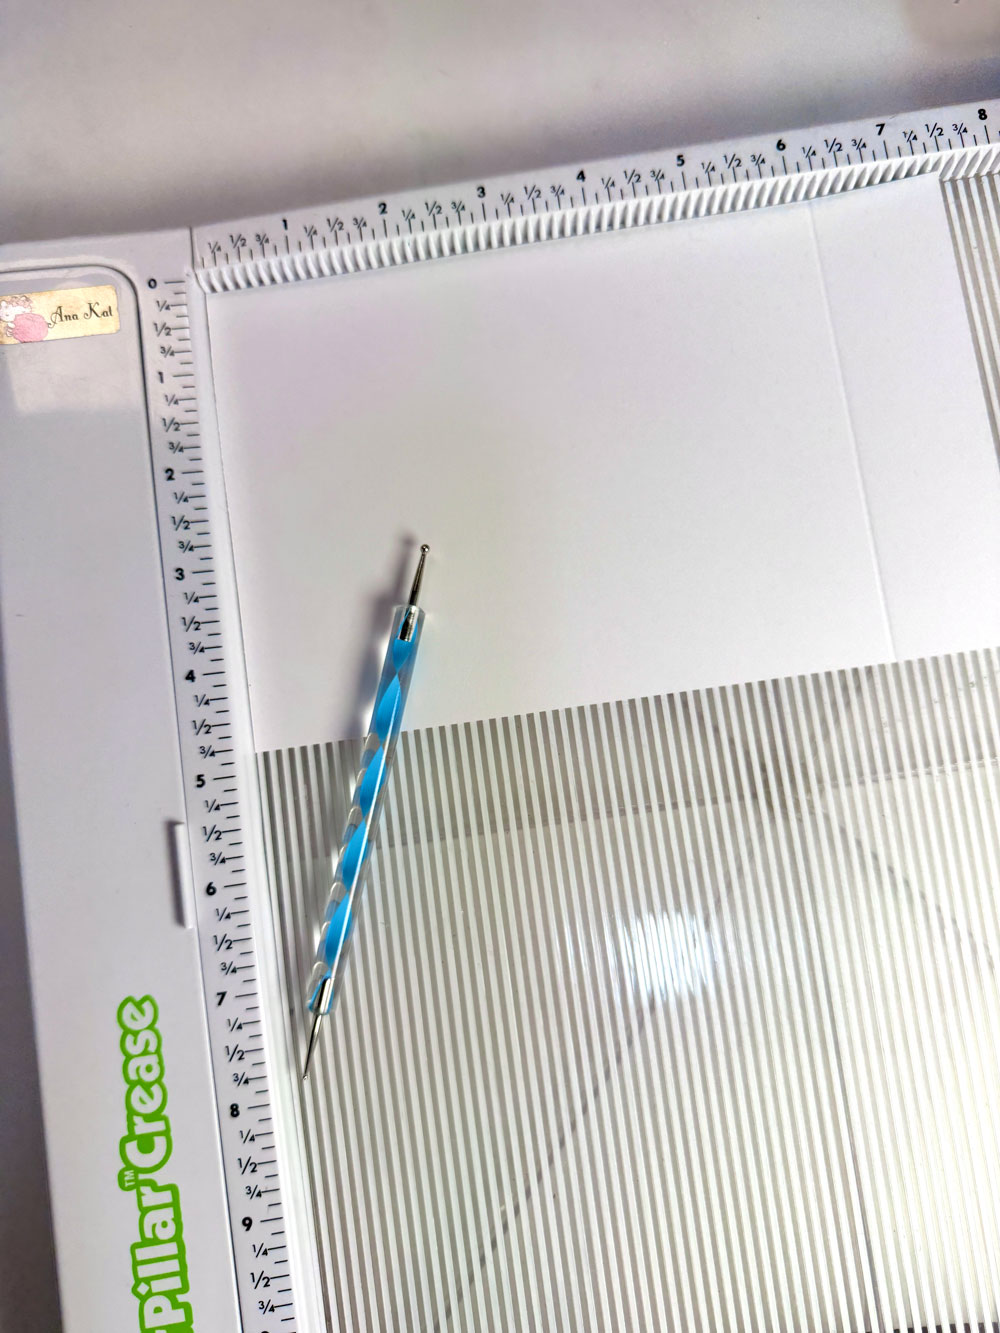
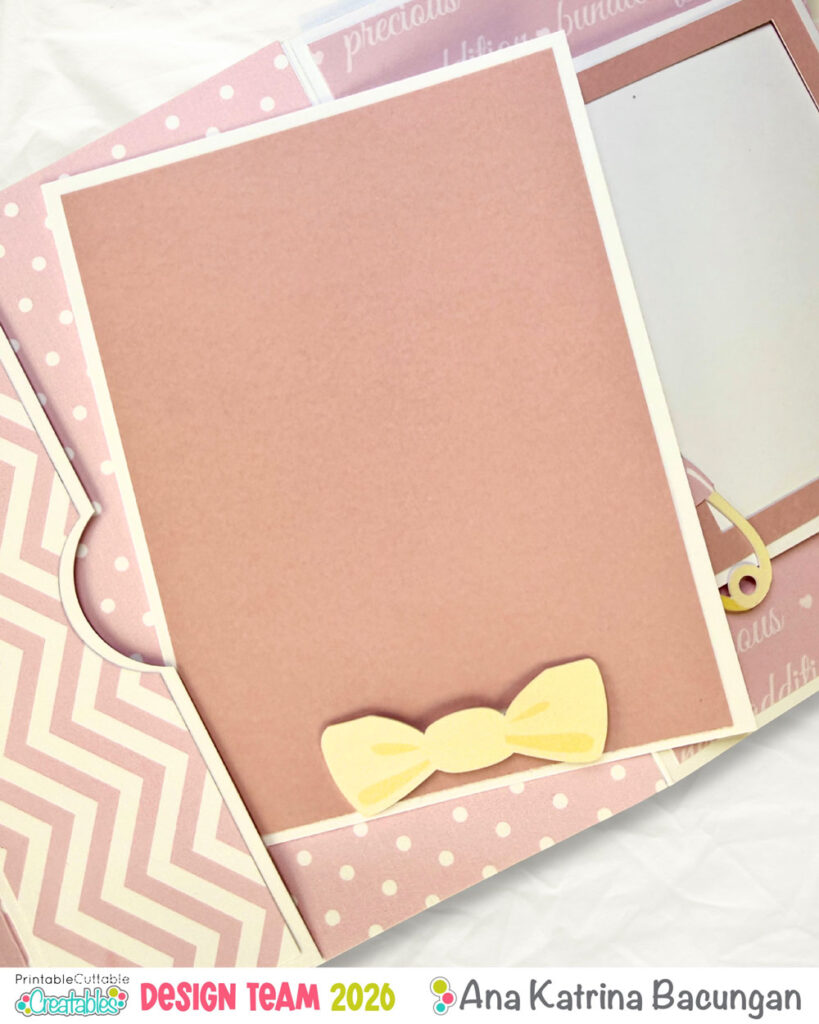
2. Pocket – Cut white cardstock to 4.75 x 1.25 and a pattern paper to 1.5 x 4.5 (Add thumb notch if desired before adhering.)
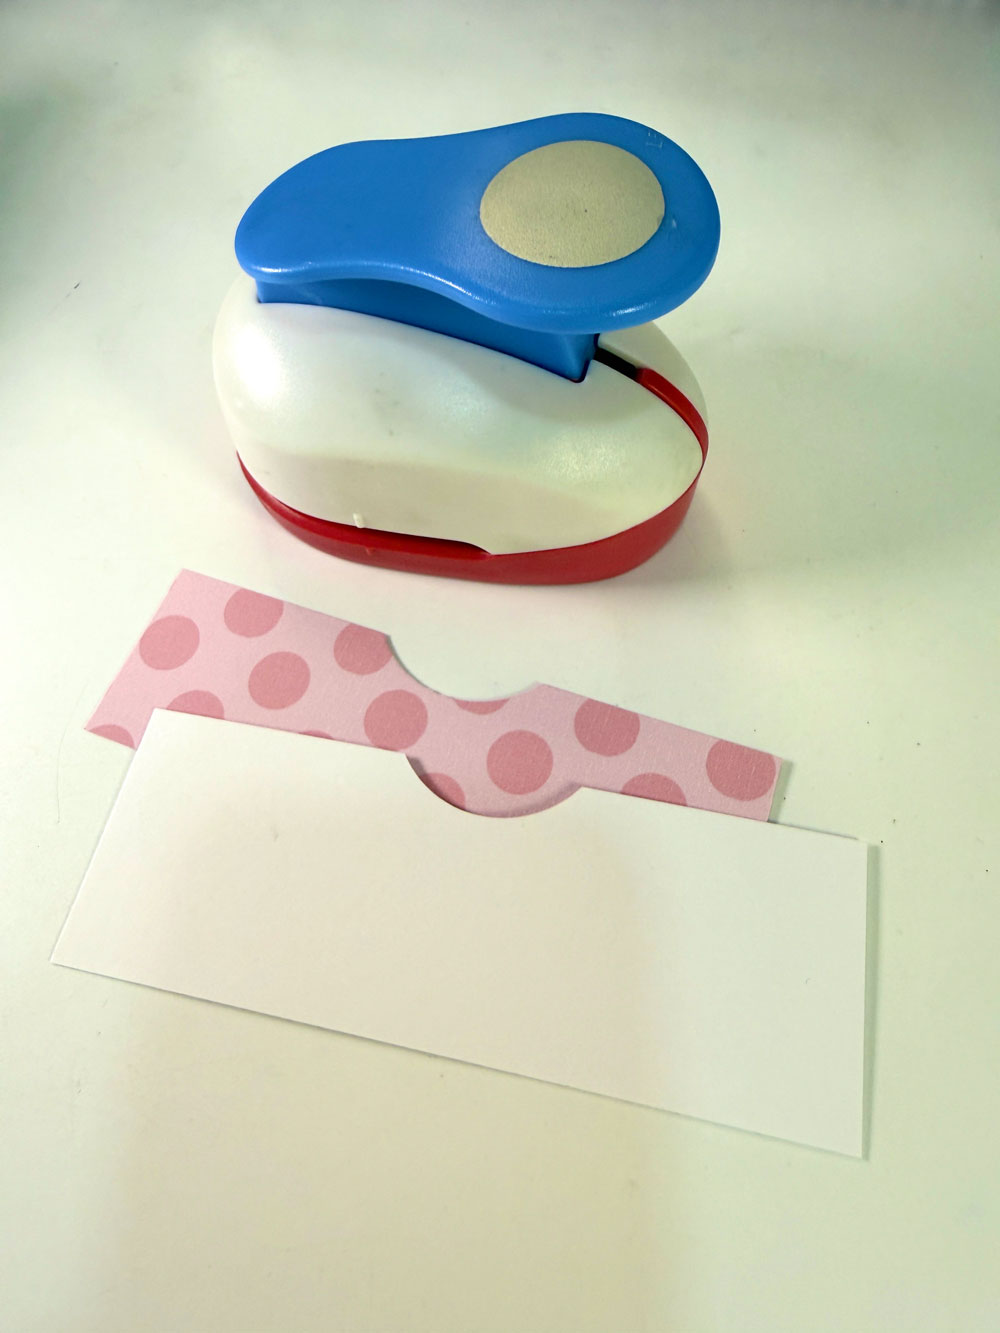
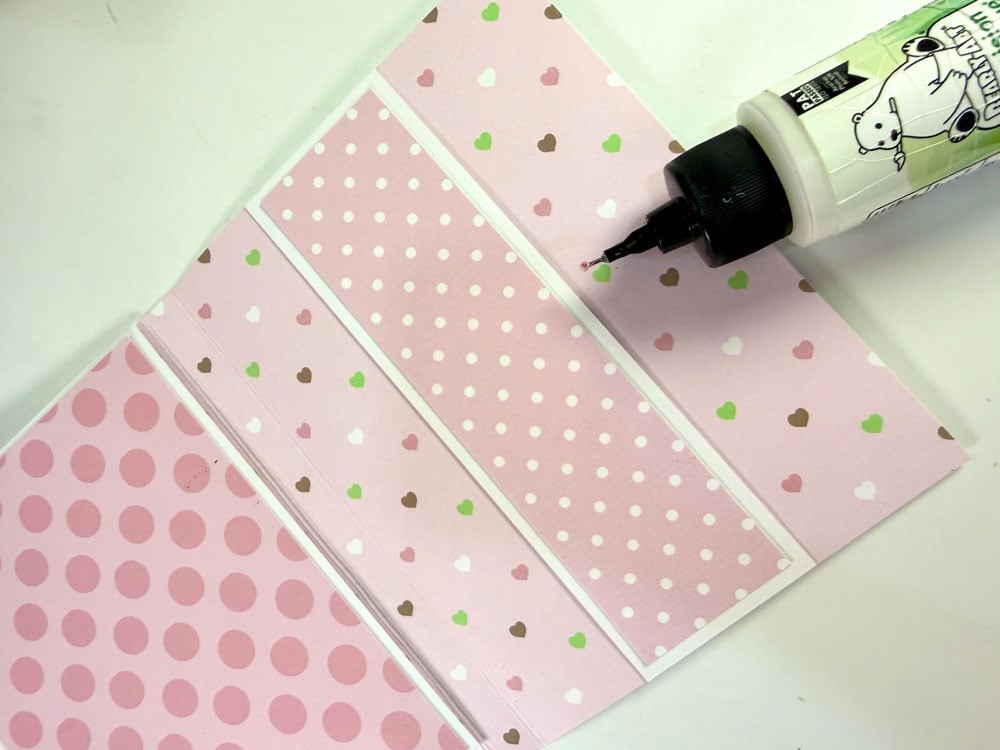
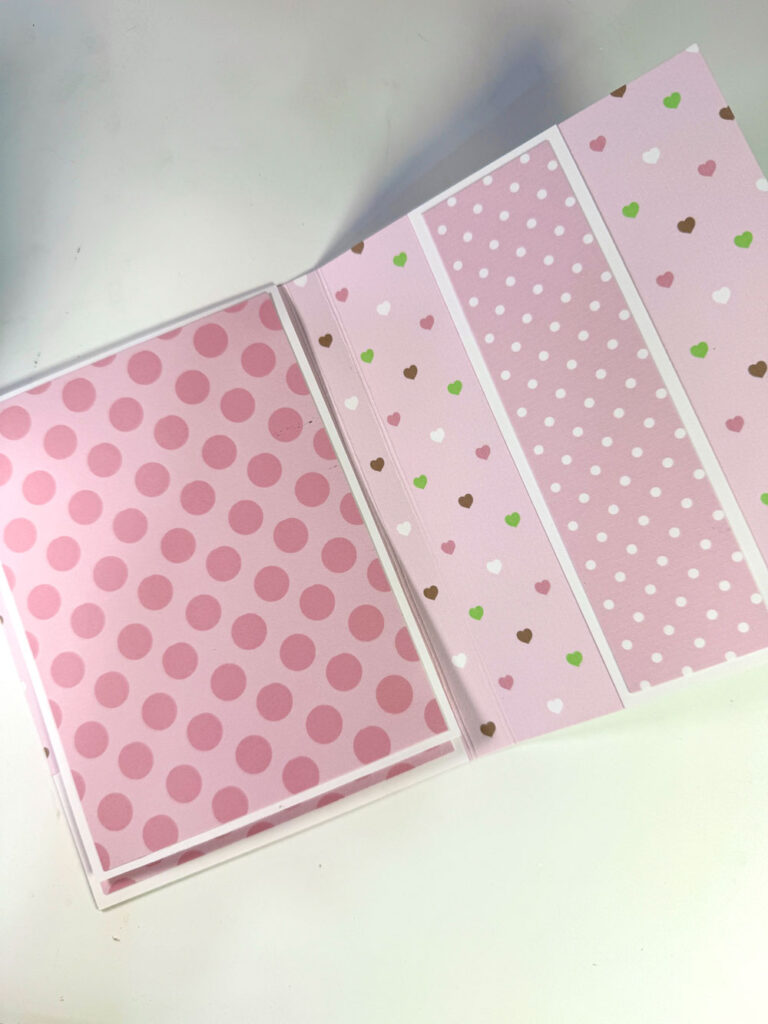
3. Belly band – Cut white cardstock to 2 x 6.5. Cover belly band with 1.75 x 6.25 pattern paper.
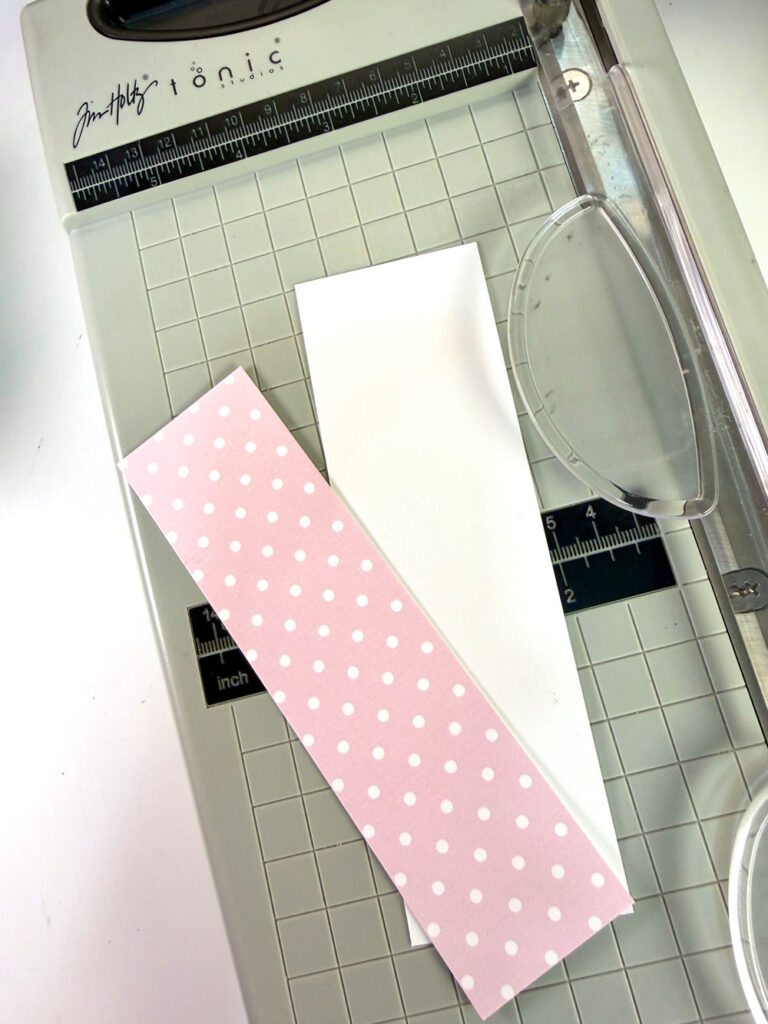
4. Cover flap (front and back) with pattern paper sized 4.75 x 6.25.
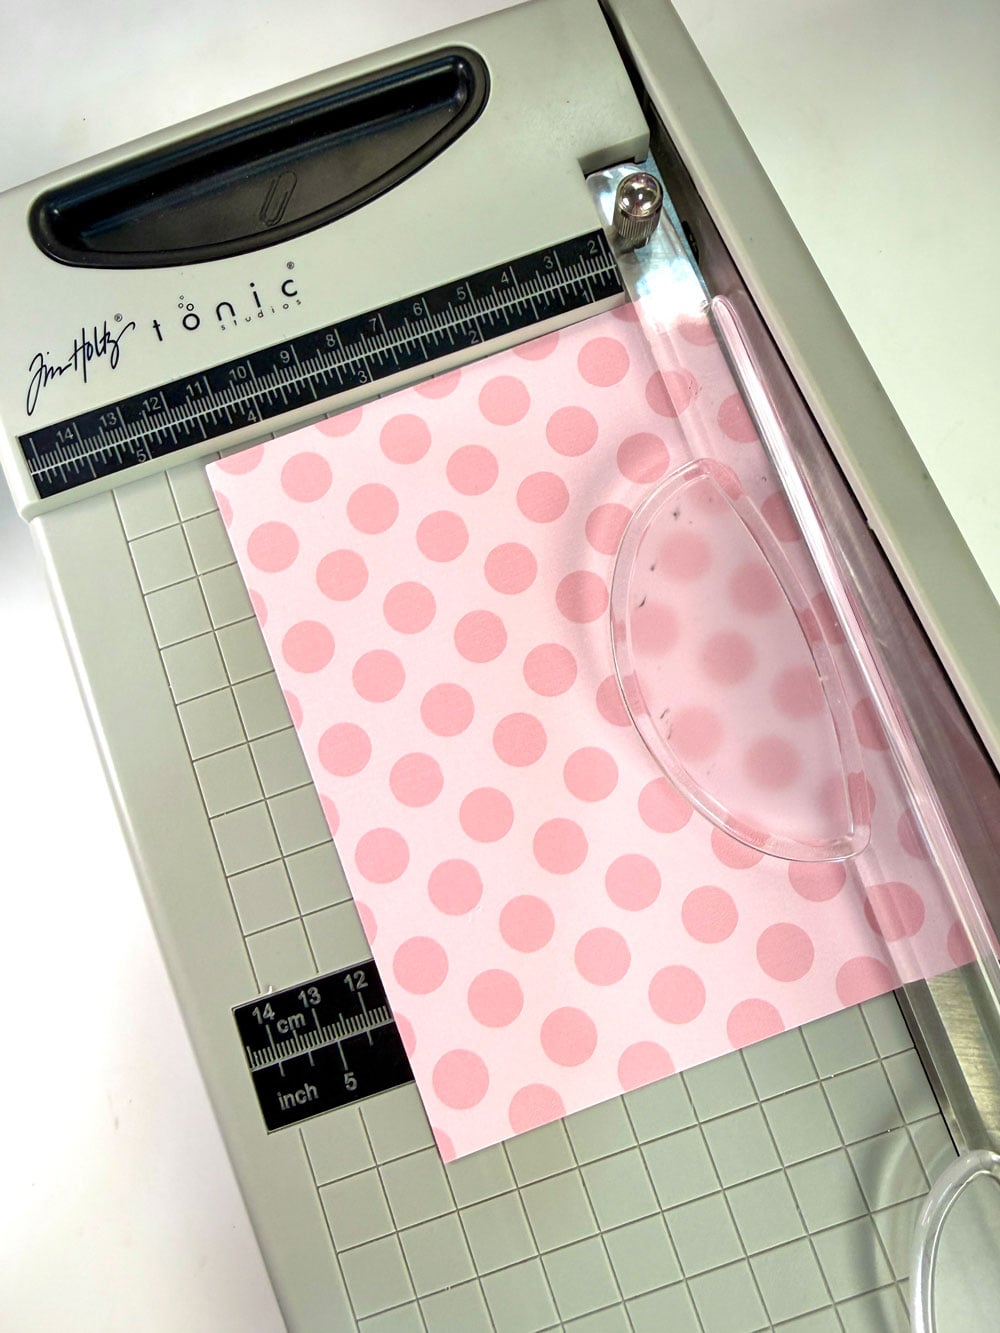
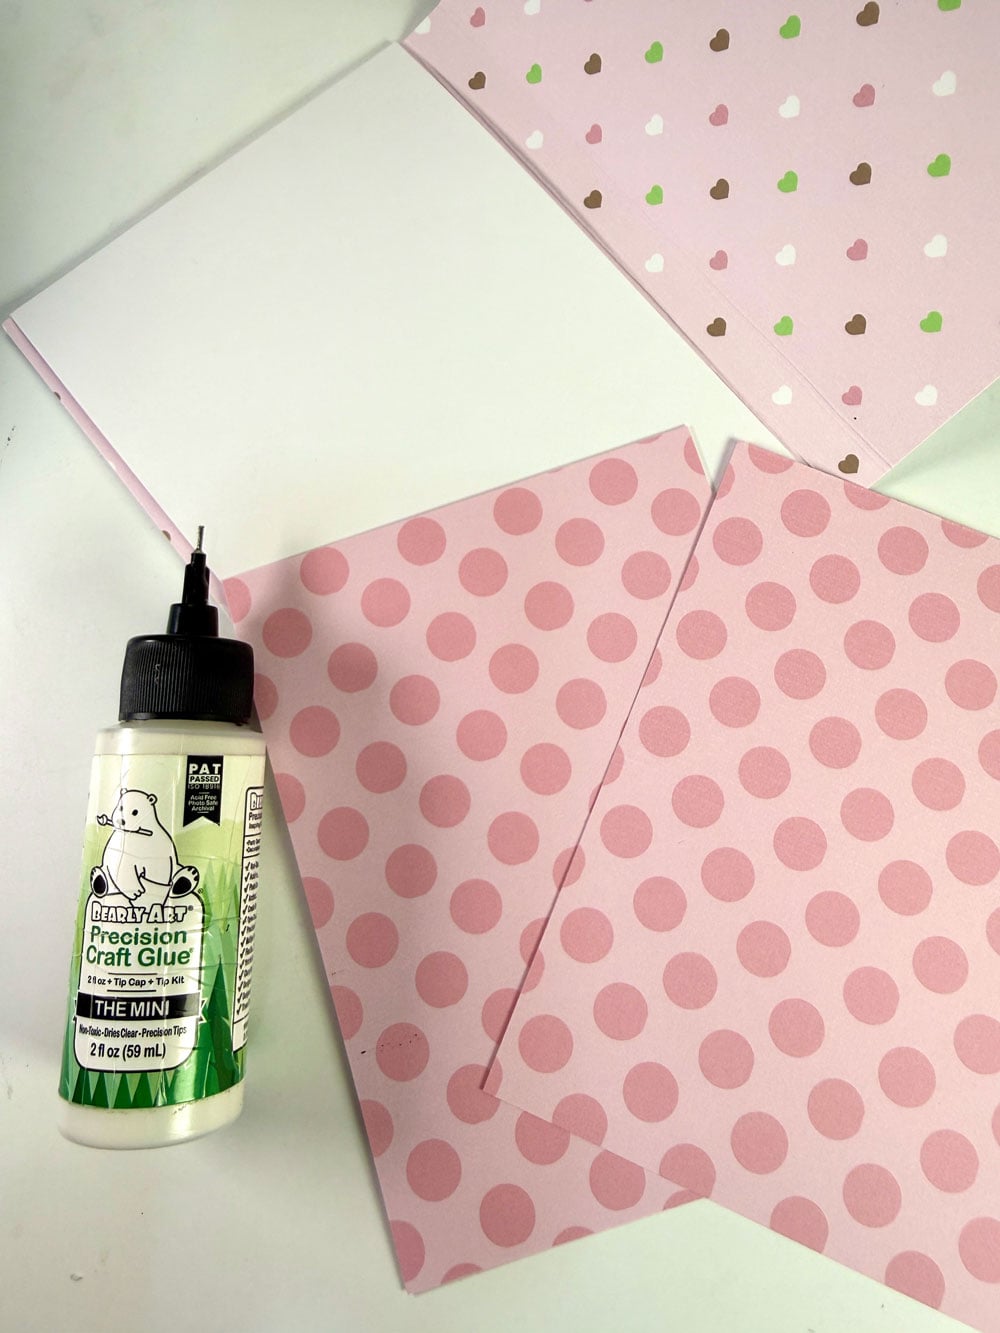
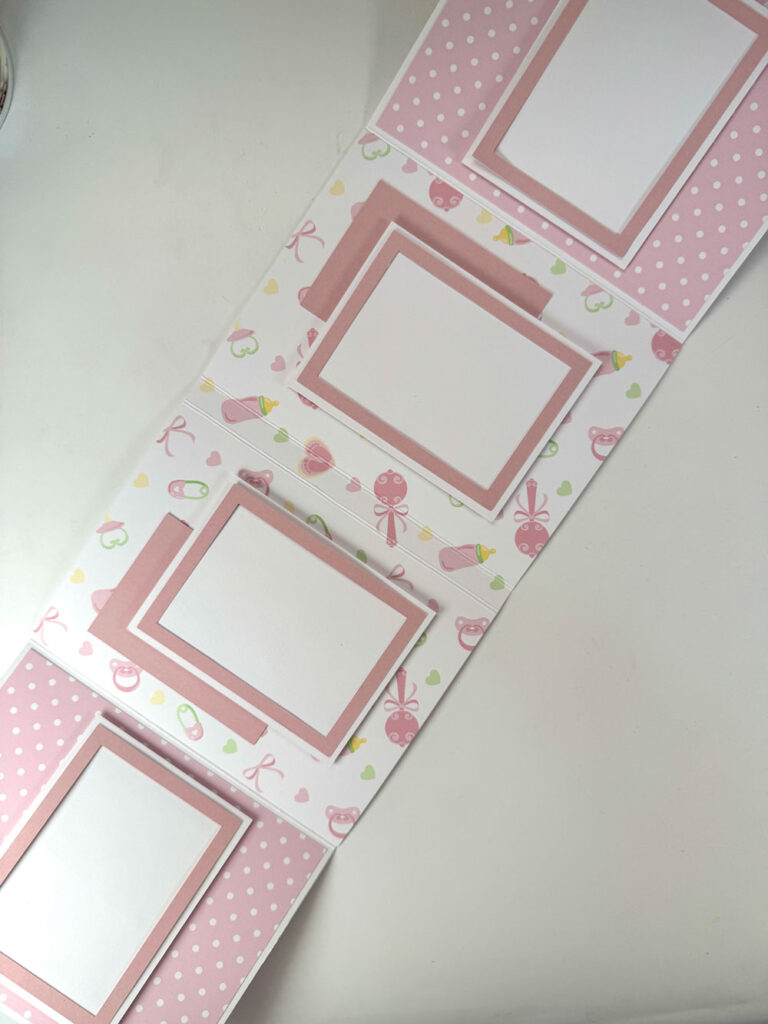
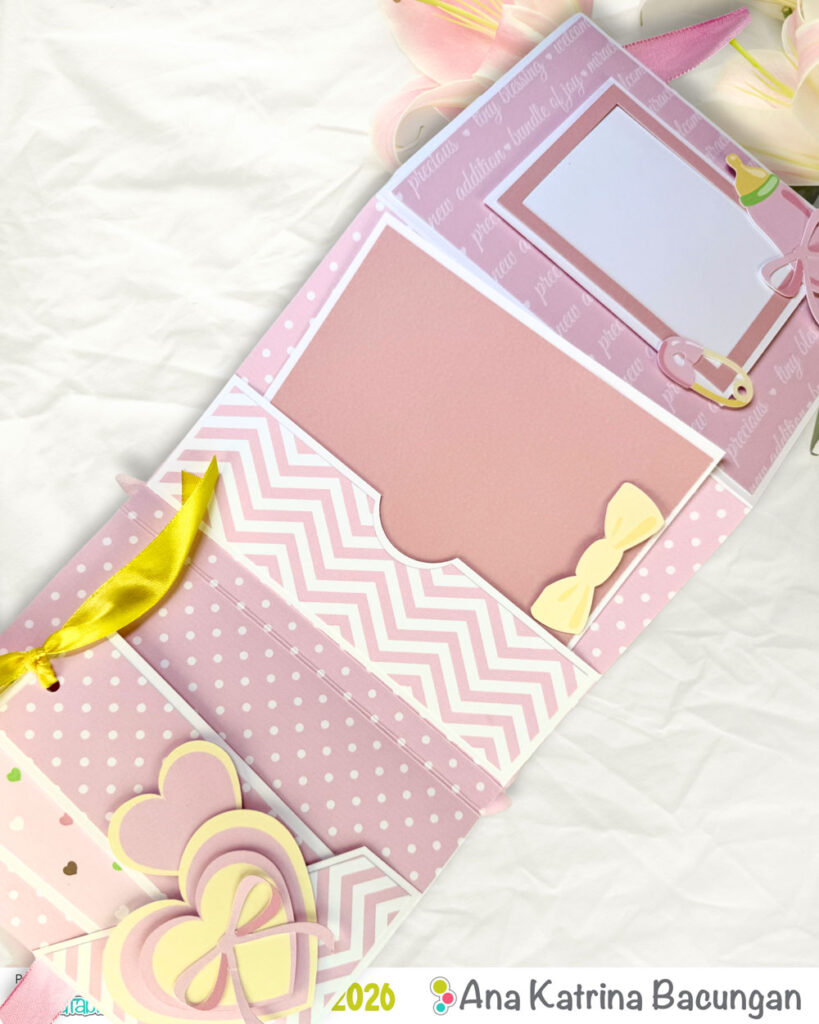
5. Adhere everything in place (refer to photos).
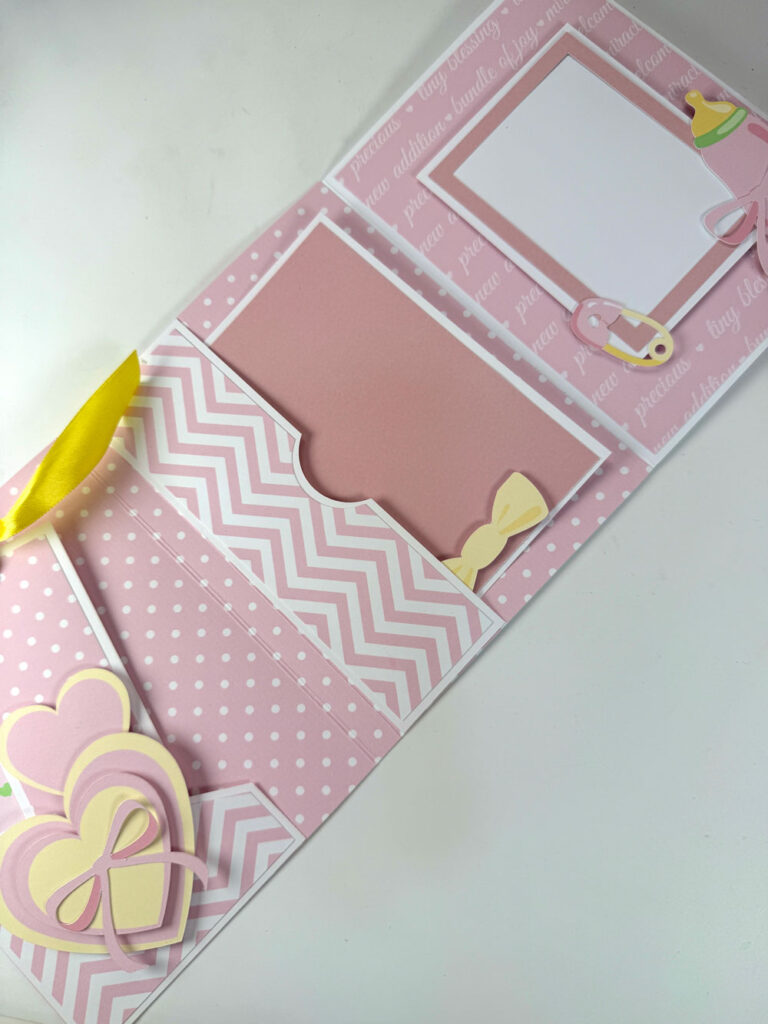
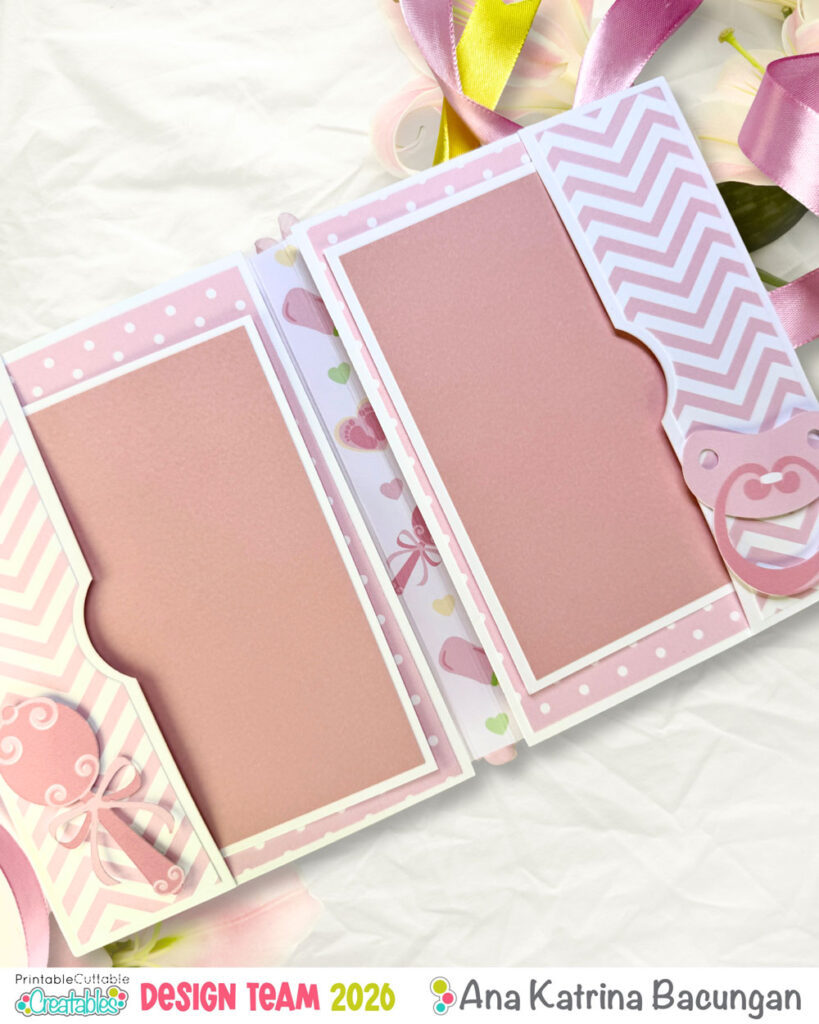
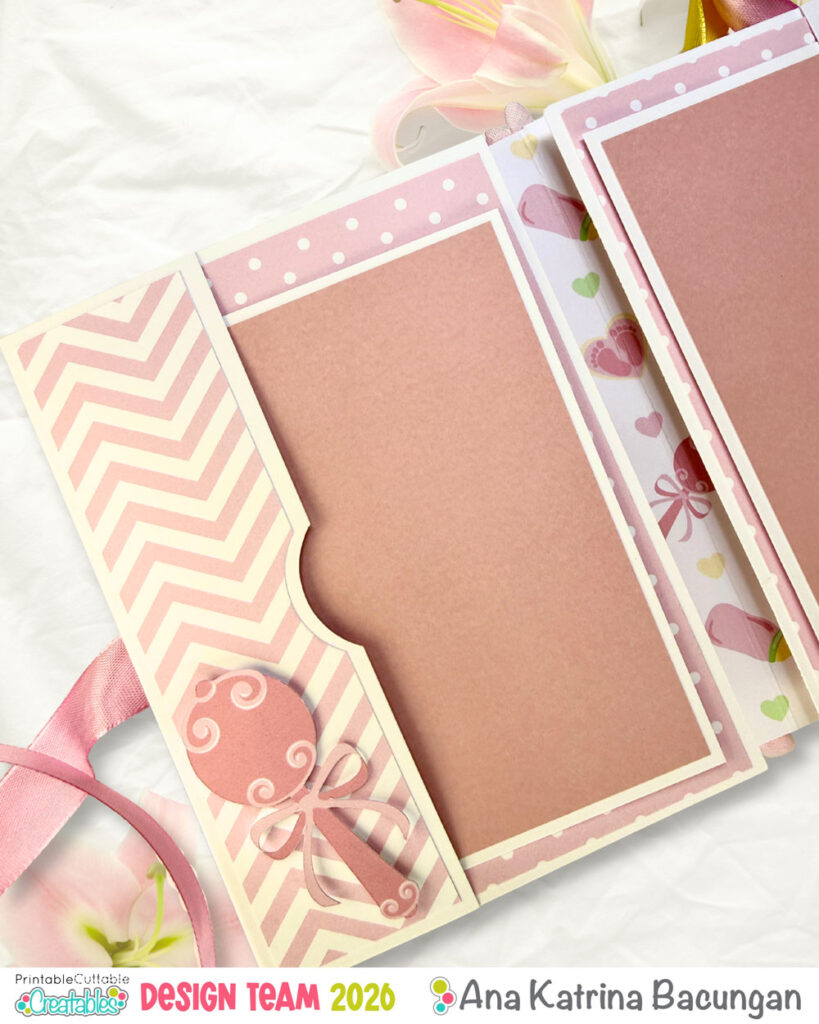
Third and Fourth Page
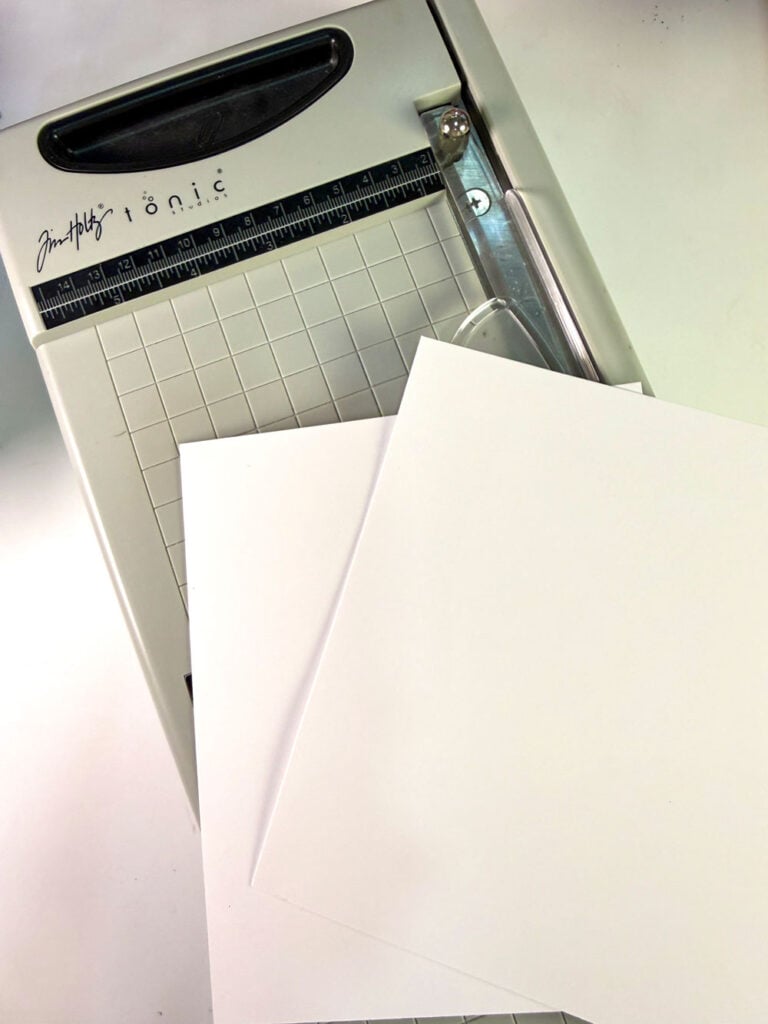
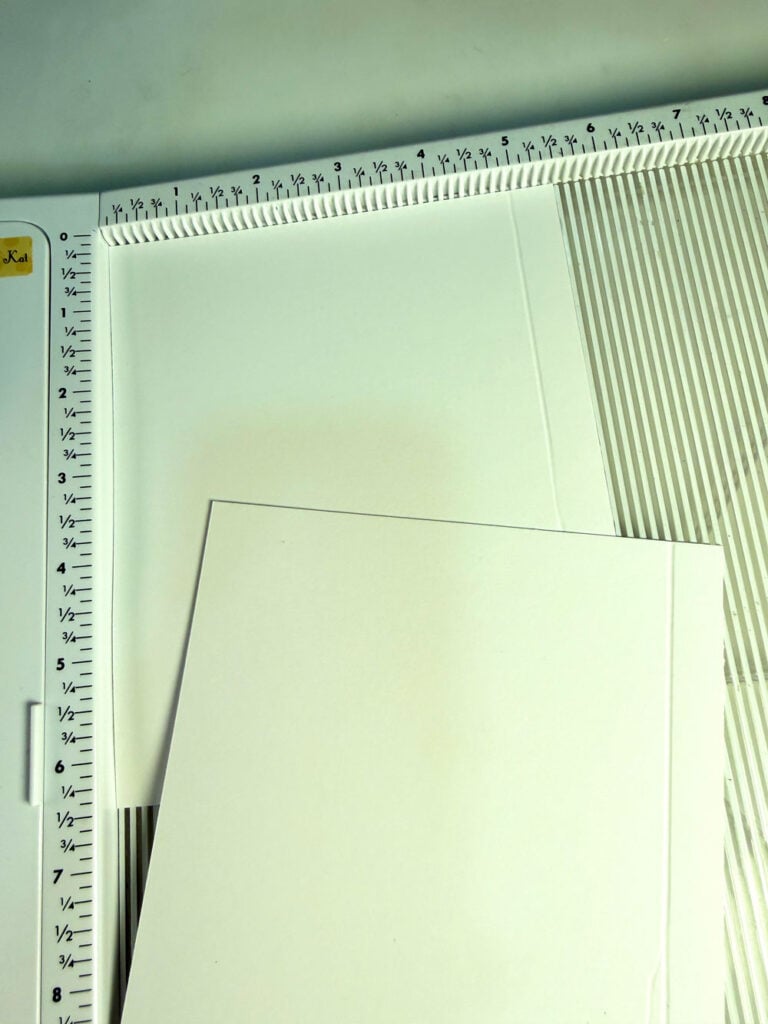
1. Cut 2 flaps (left and right) at 5.5 x 6.5 and score at 5” on the short side.
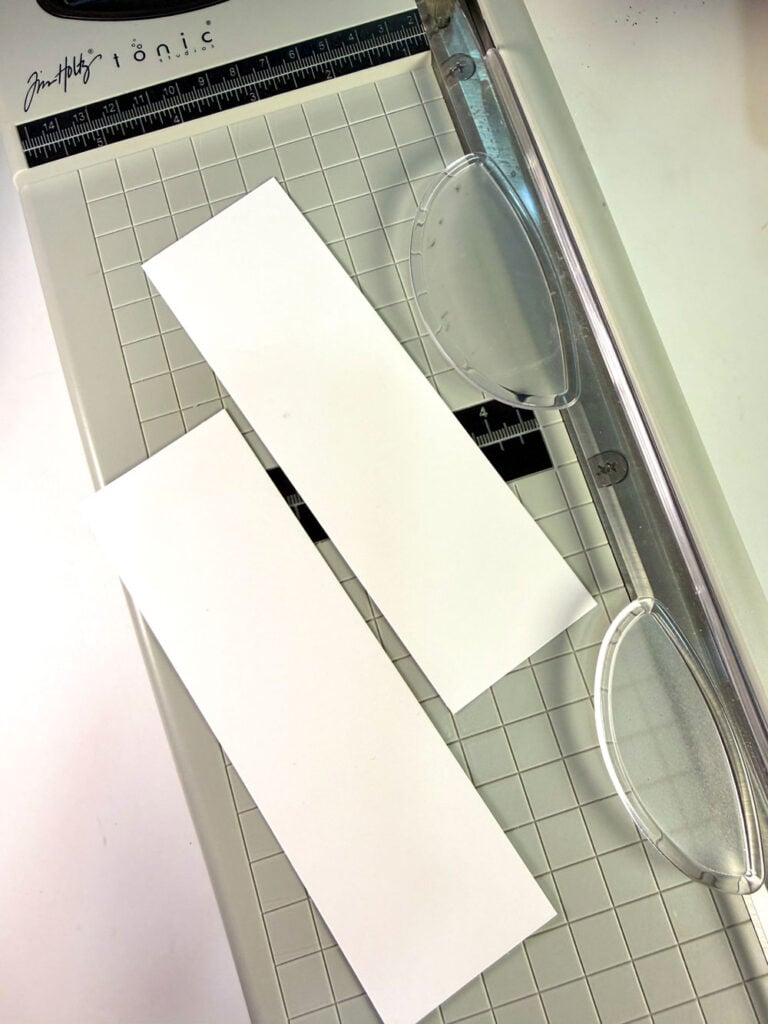
2. Cut 2 flap pockets at 2 x 6.5.
3. Cover flaps with 4 pieces of pattern paper sized 4.75 x 6.25.
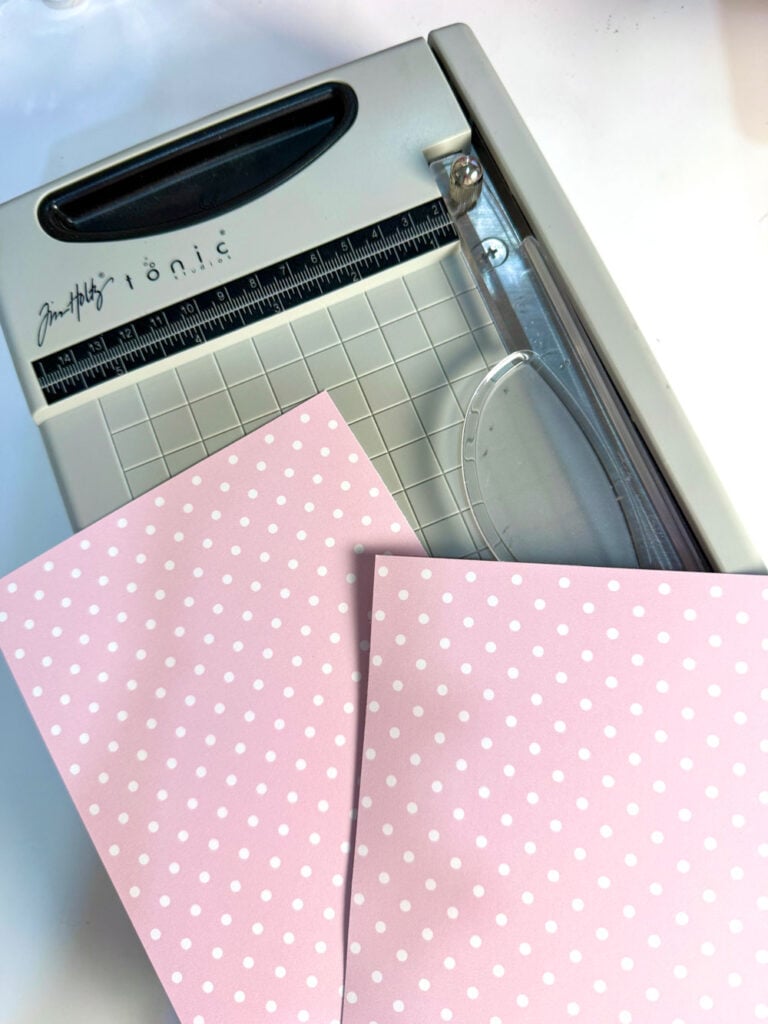
4. Cover pockets with 1.75 x 6.25 pattern paper. Add thumb notch if desired before gluing.
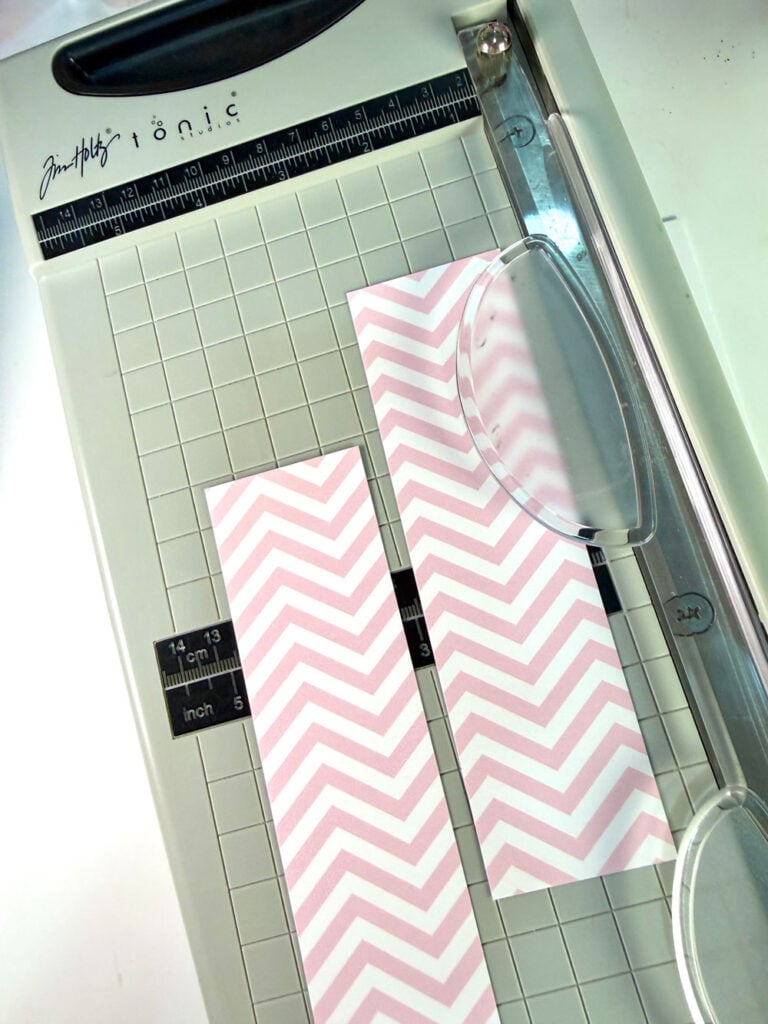
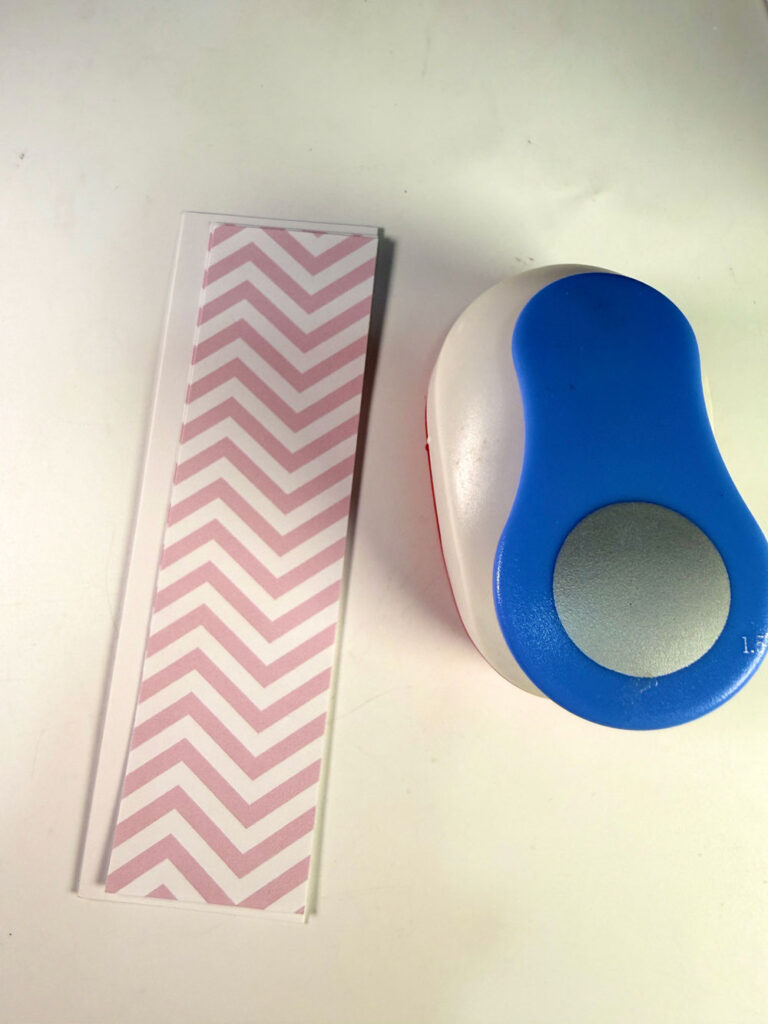
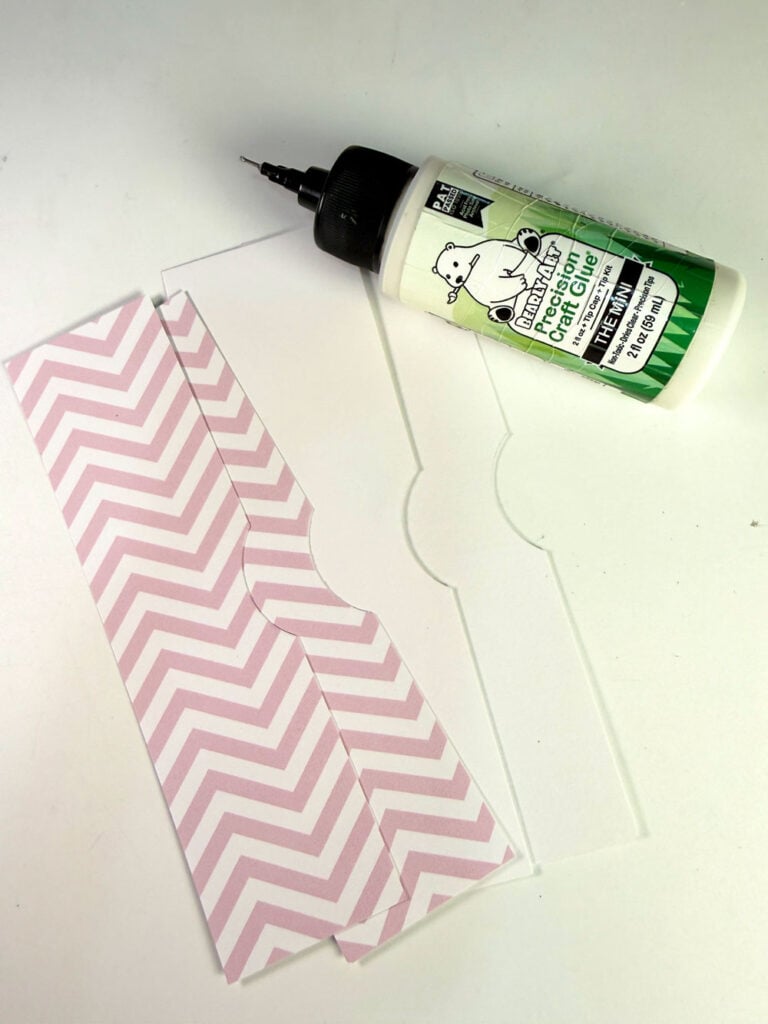
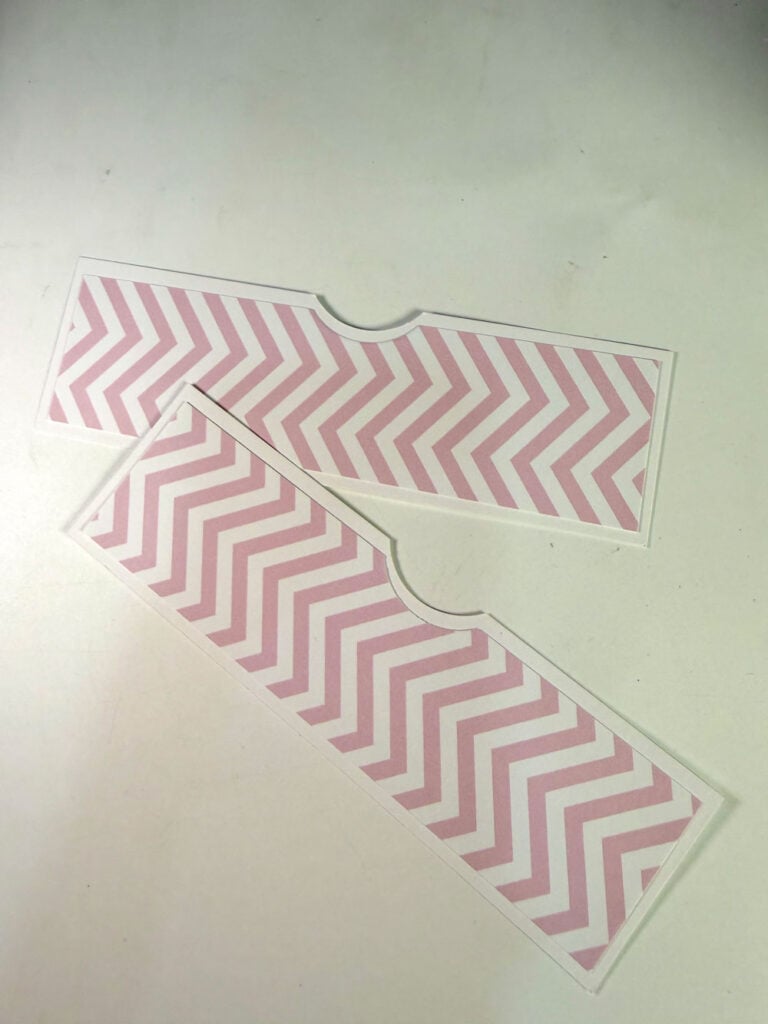
5. Adhere patterned papers before assembling.
6. Attach flaps to both sides of the pages.
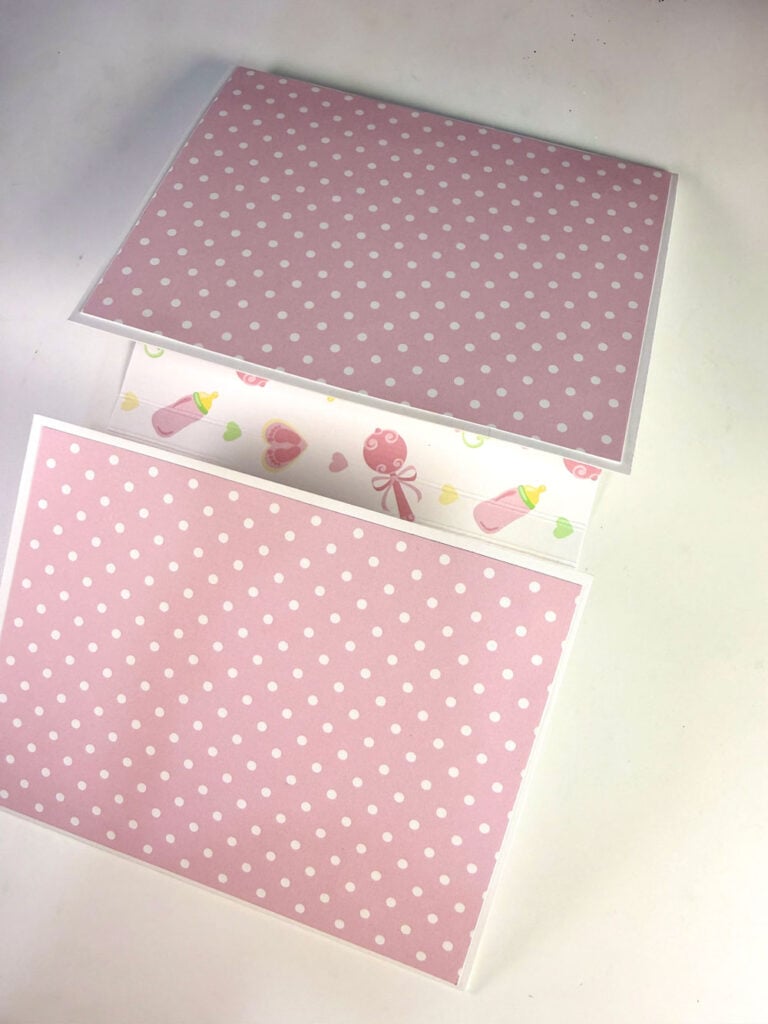
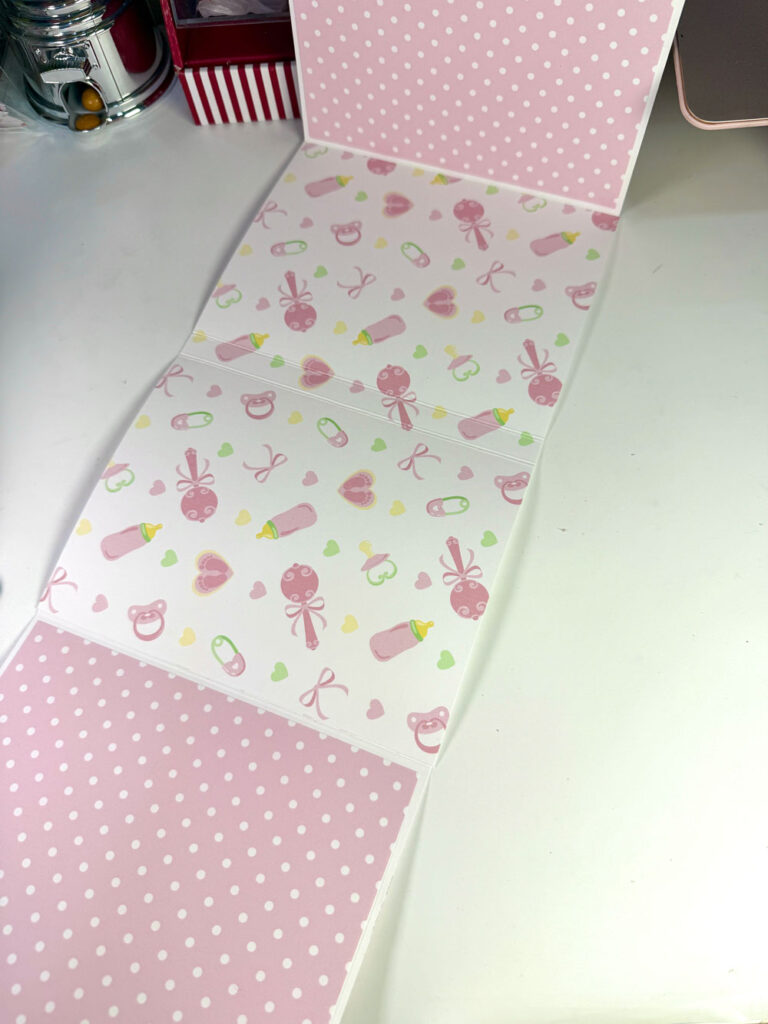
7. Attach pockets onto the flaps.
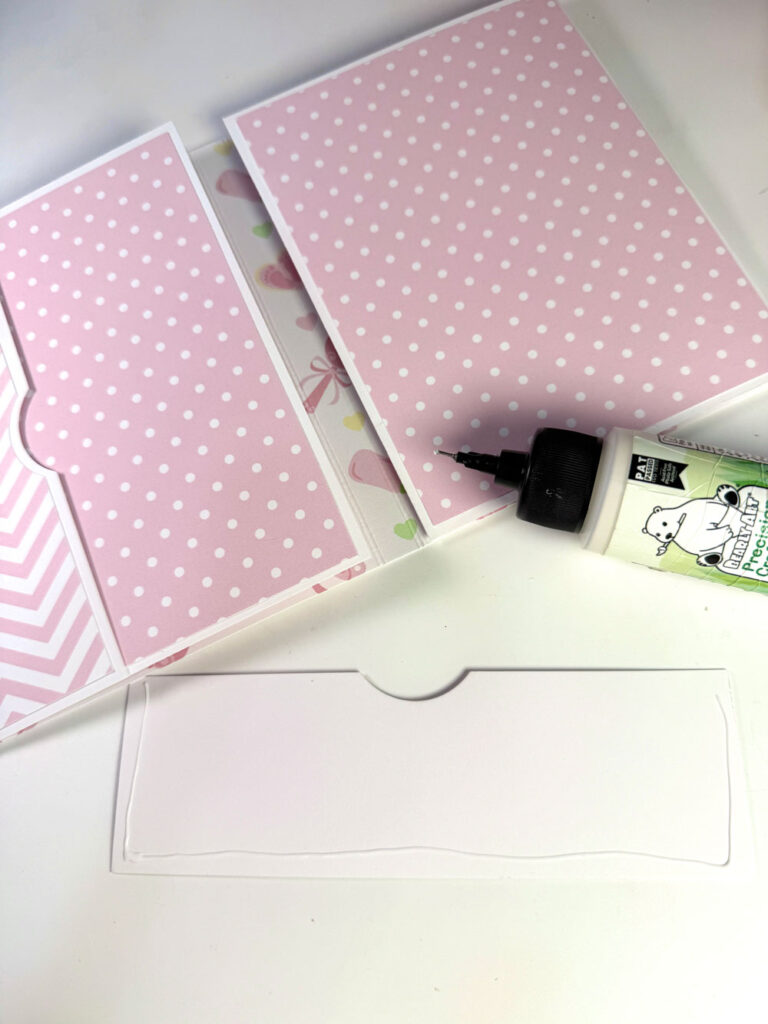
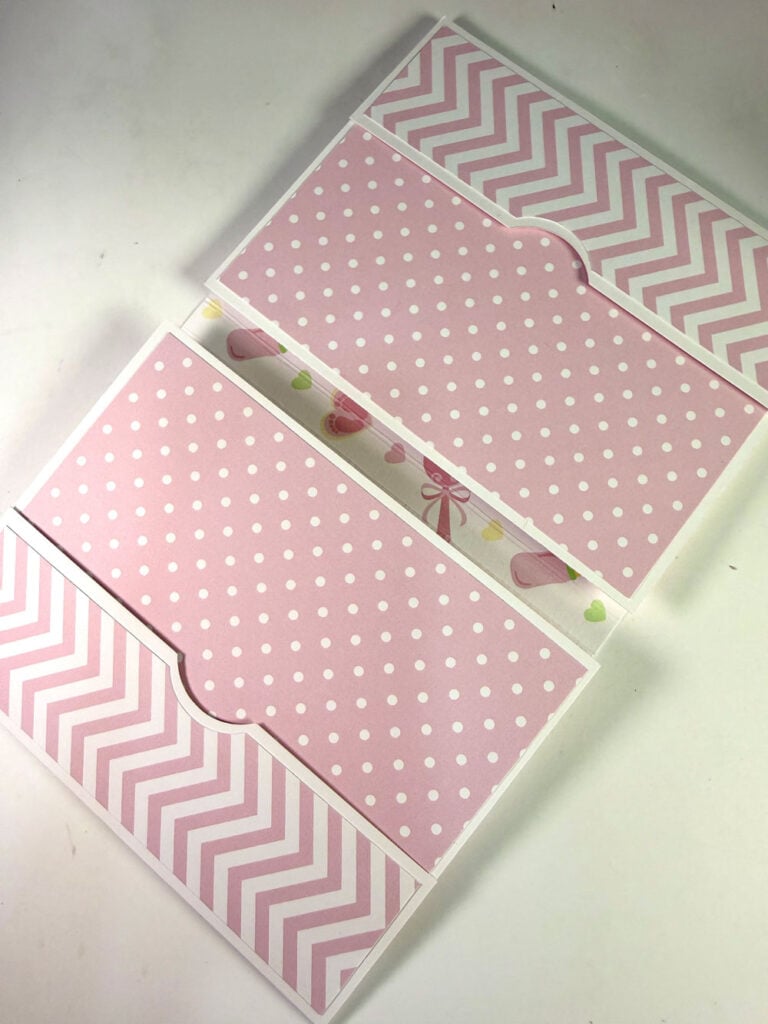
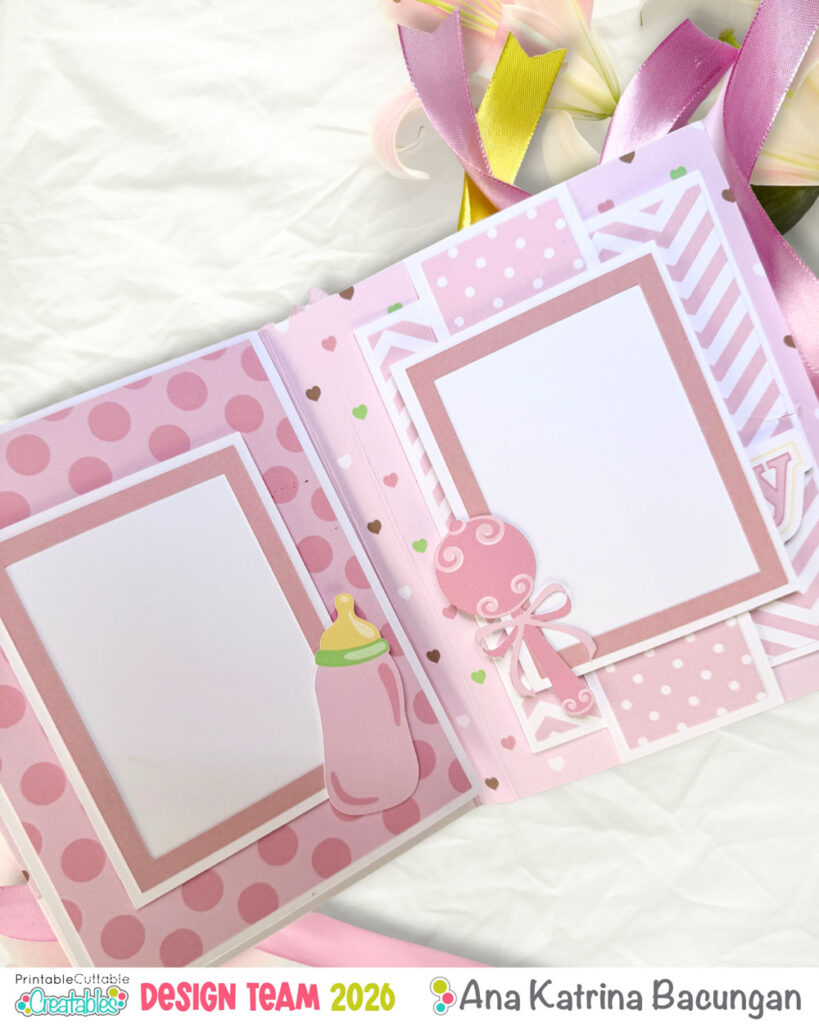
8. Add 4 frames for these pages.
Fifth and Sixth Page:
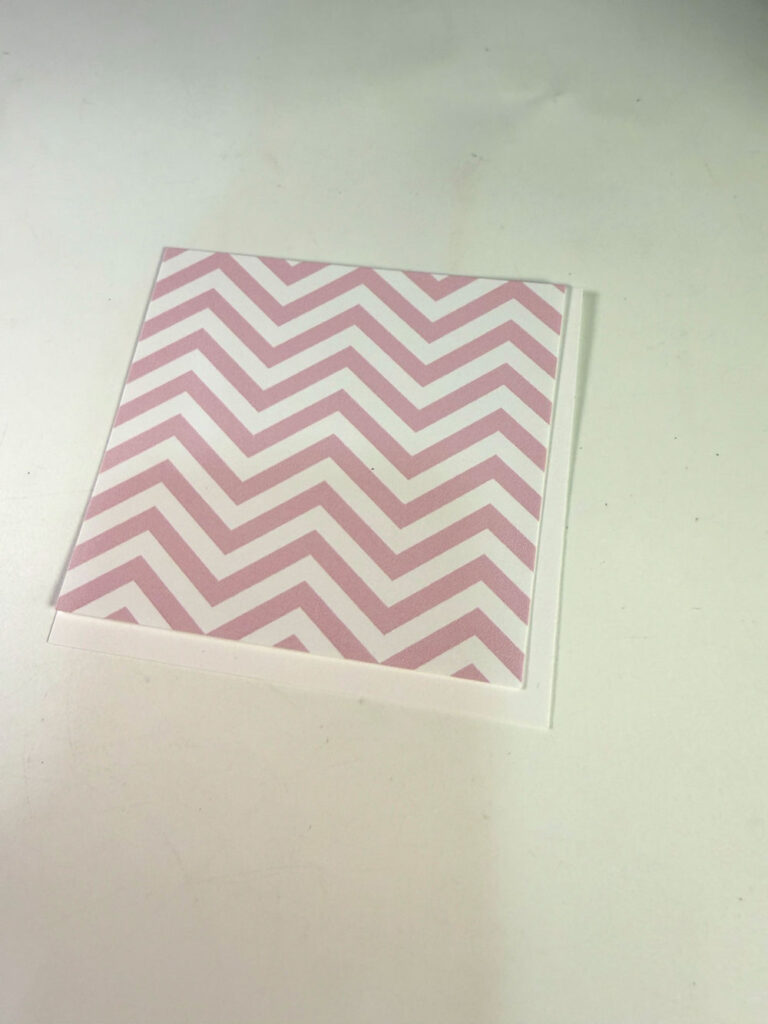
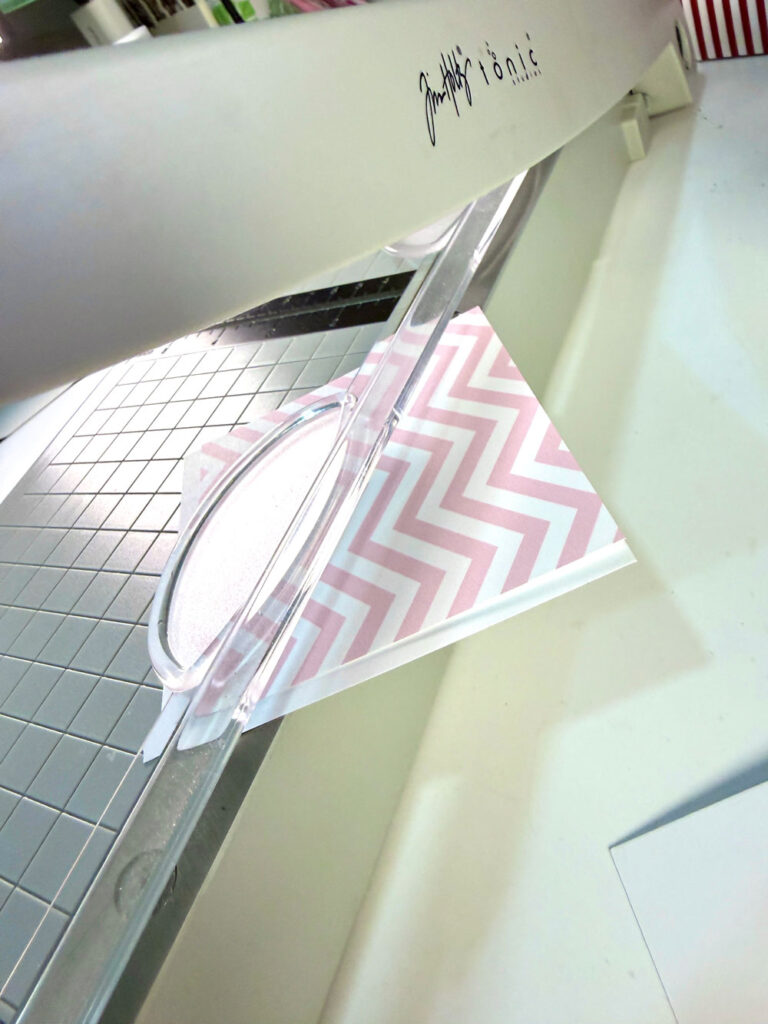
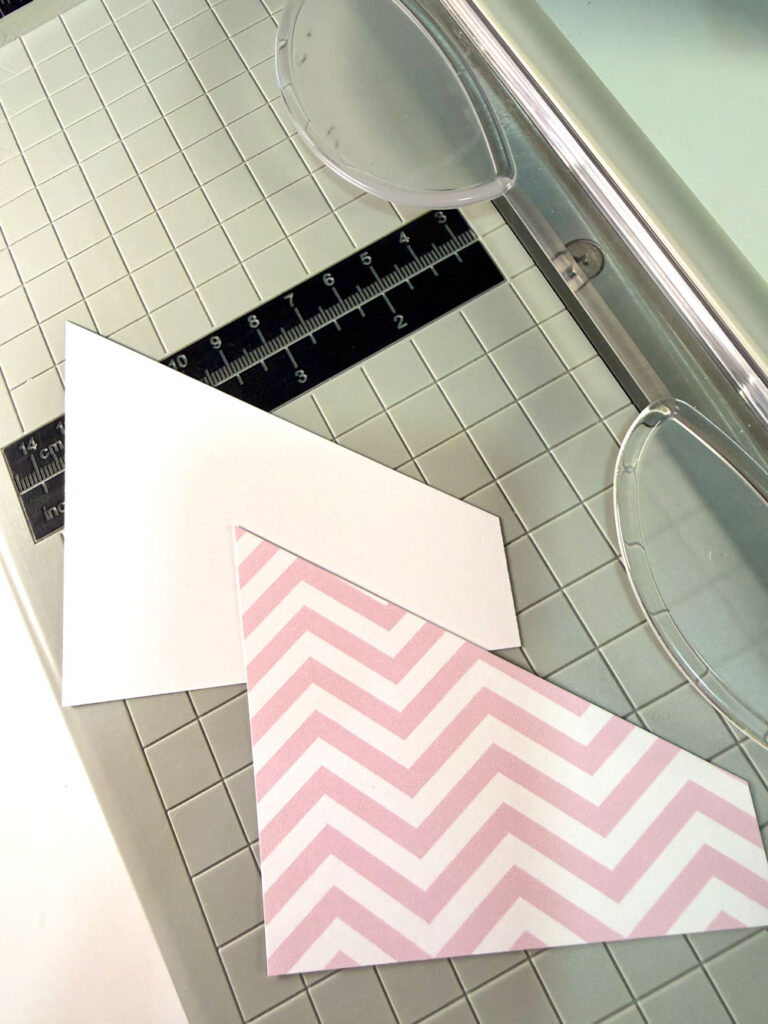
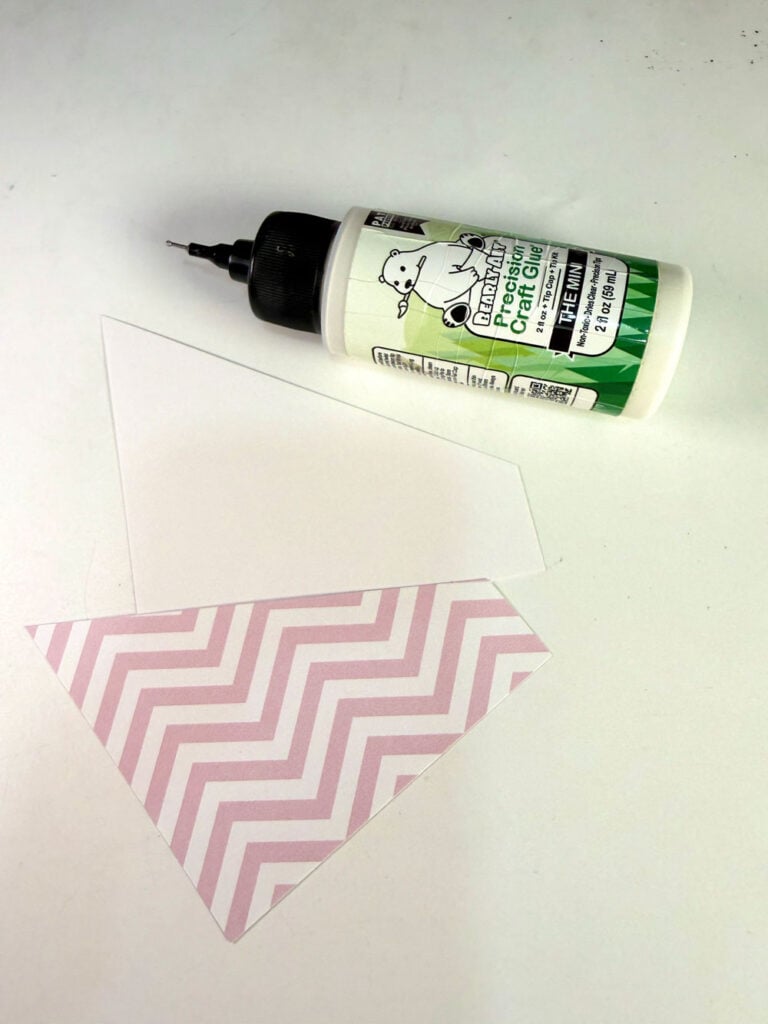
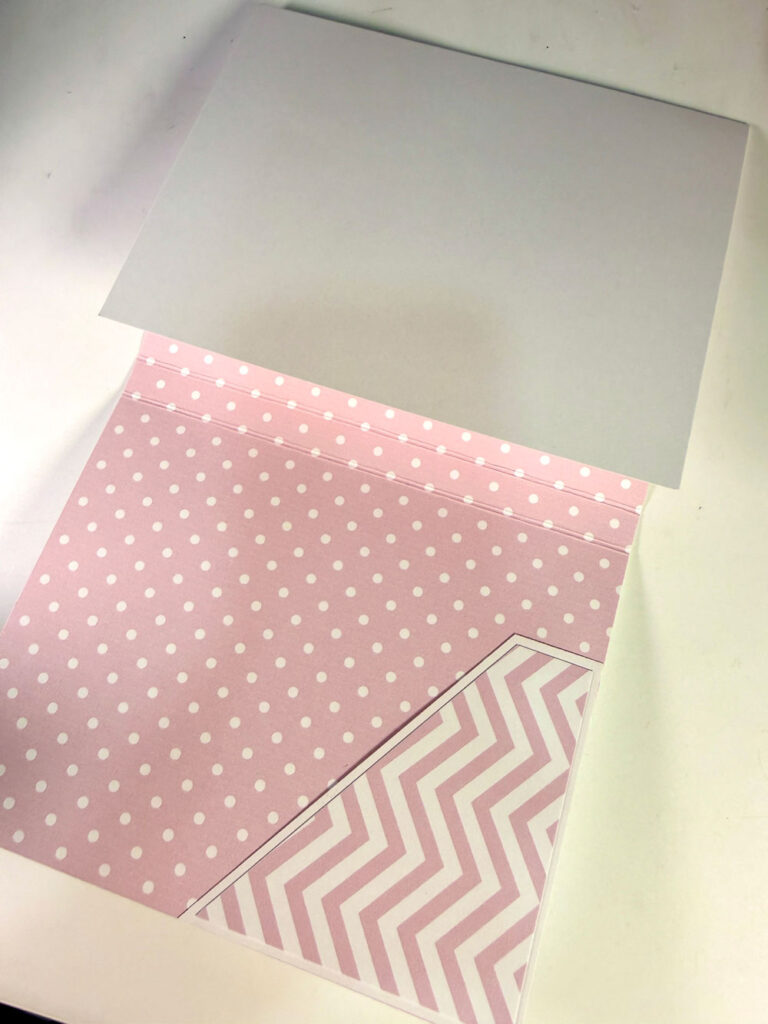
1. Slanted pocket – Cut white cardstock to 3.75 x 3.5. Cut pattern paper to 3.5 x 3.25. Line them together, with the upper corner aligned and cut it slantly, making sure that the tip is lined on the edge of your trimmer.
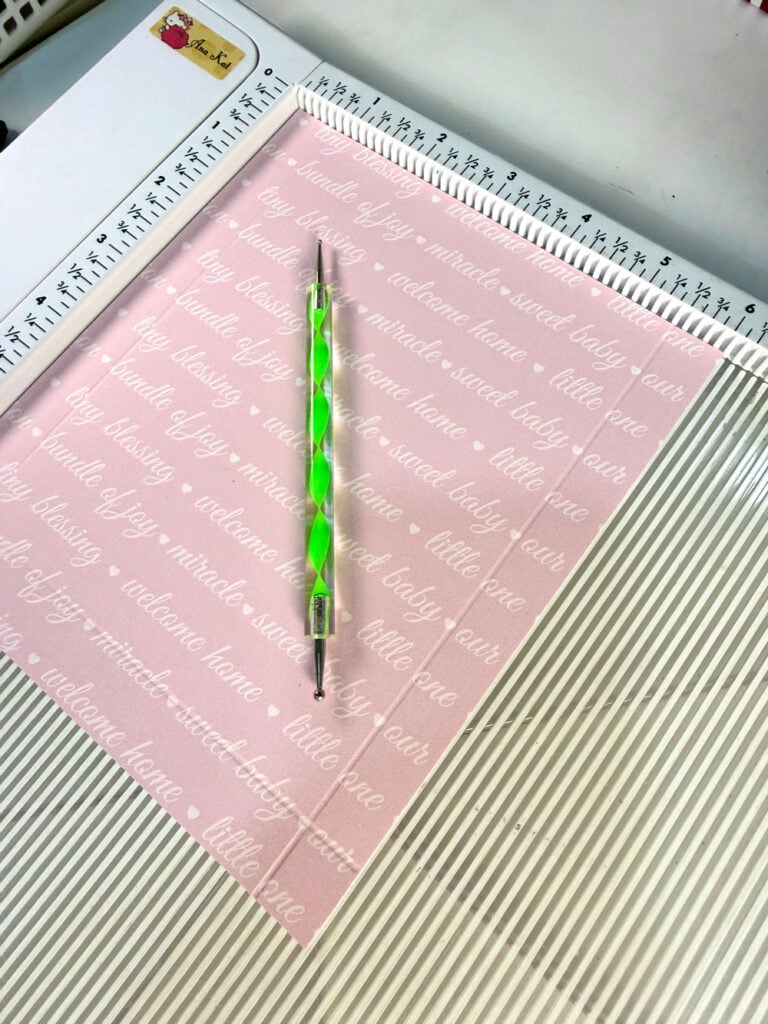
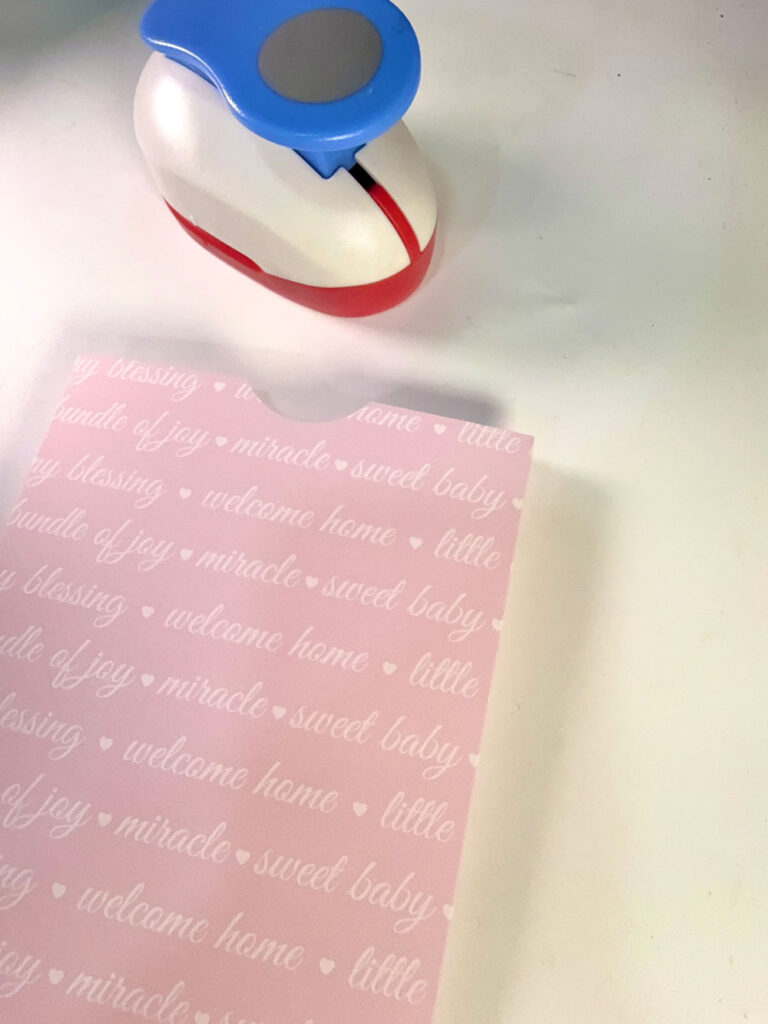
2. Flap pocket – Cut pattern paper to 5.75 x 7 and score at 0.5”, 5.25” (short side), and 6.5” (long side). Add thumb notch.
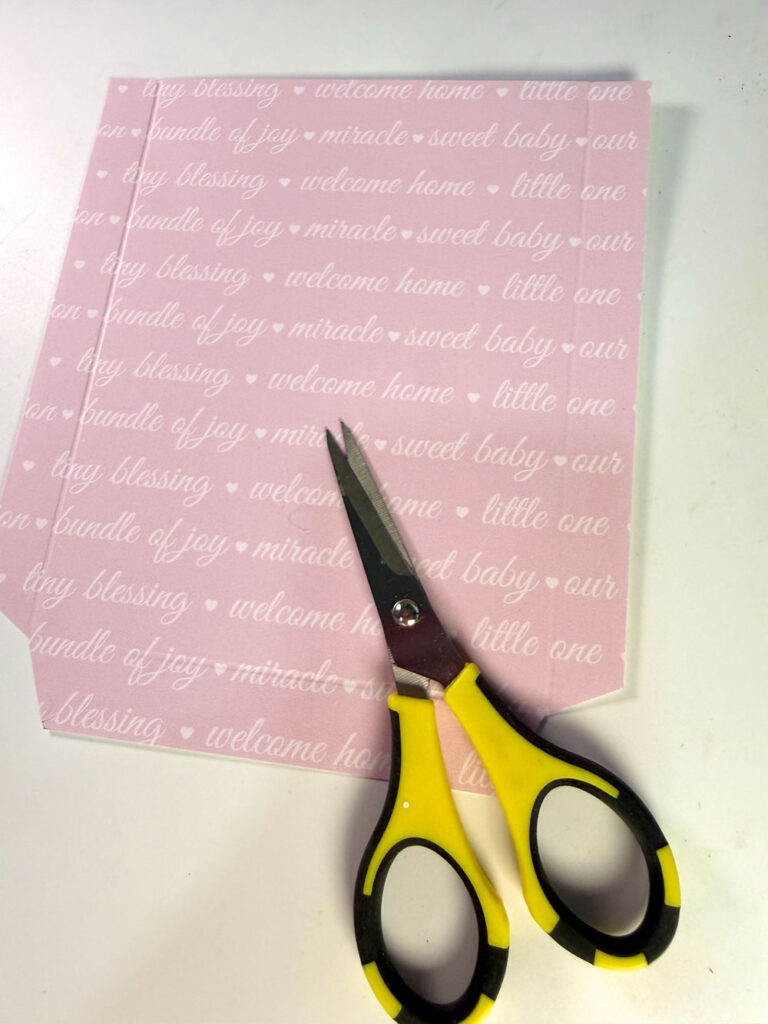
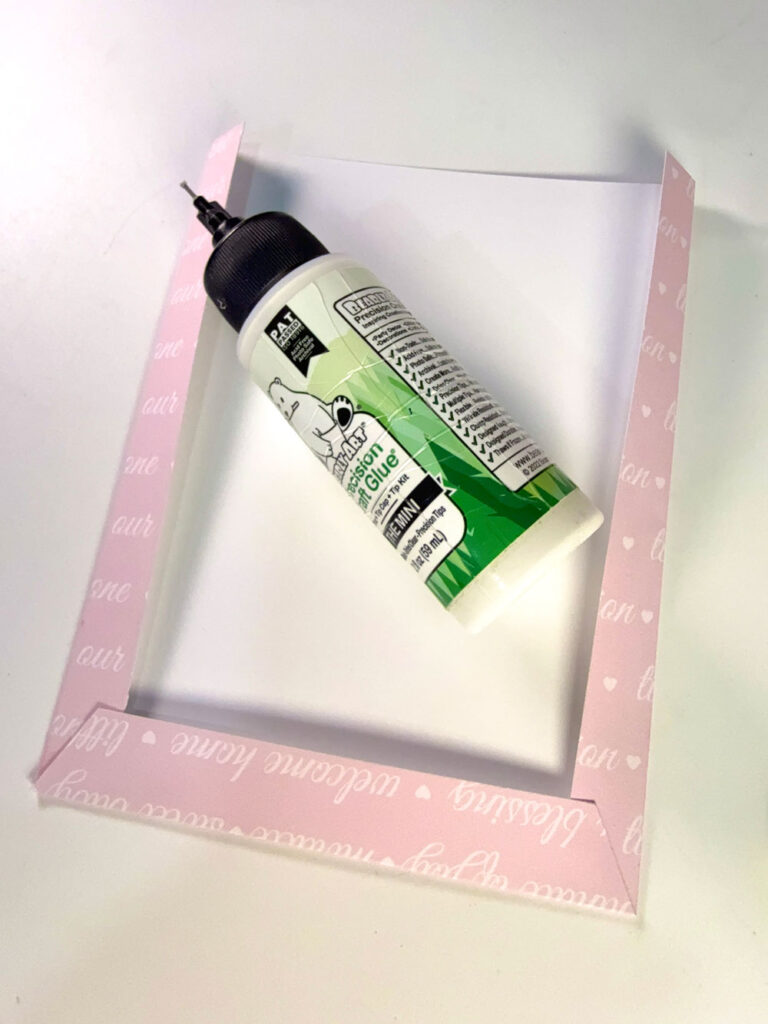
3. Miter bottom corners and assemble the flap pocket.
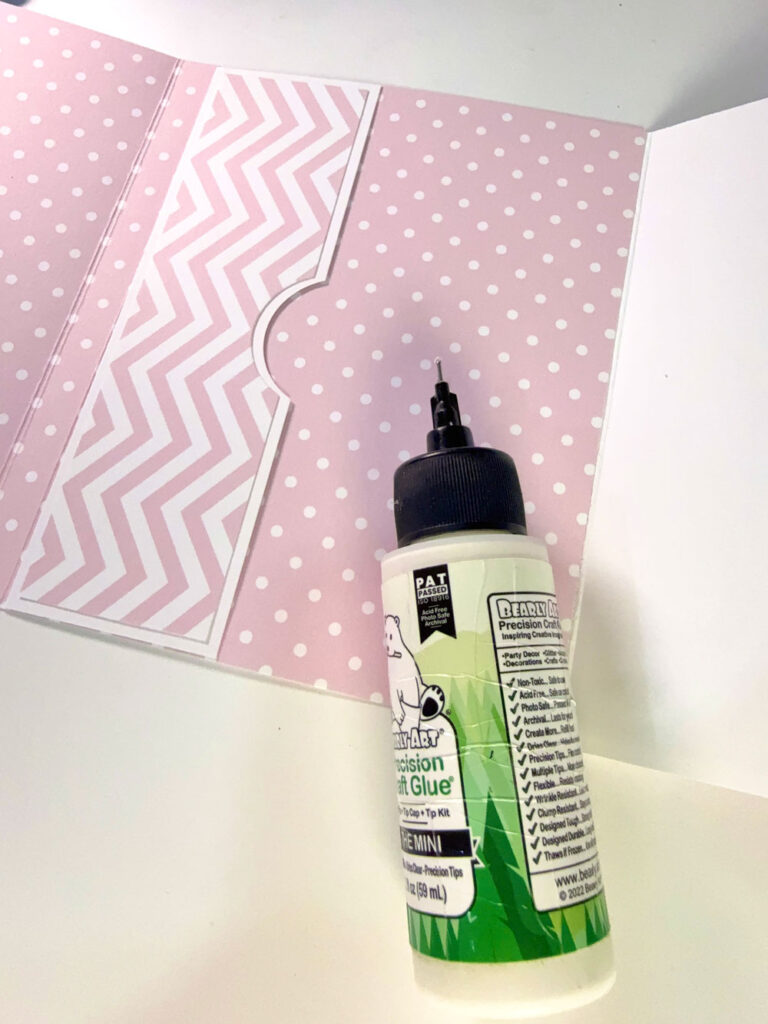
4. Inside pocket – Cut white cardstock to 2 x 6.5. Layer it with 1.75 x 6.25 pattern paper (add thumb notch first if desired).
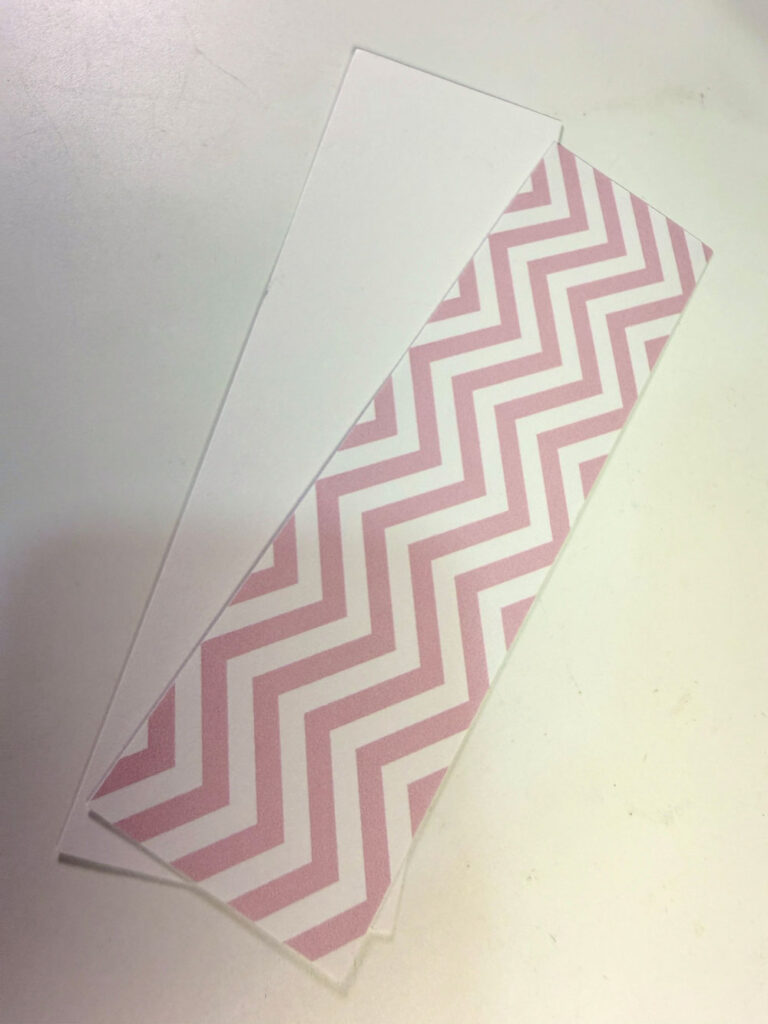
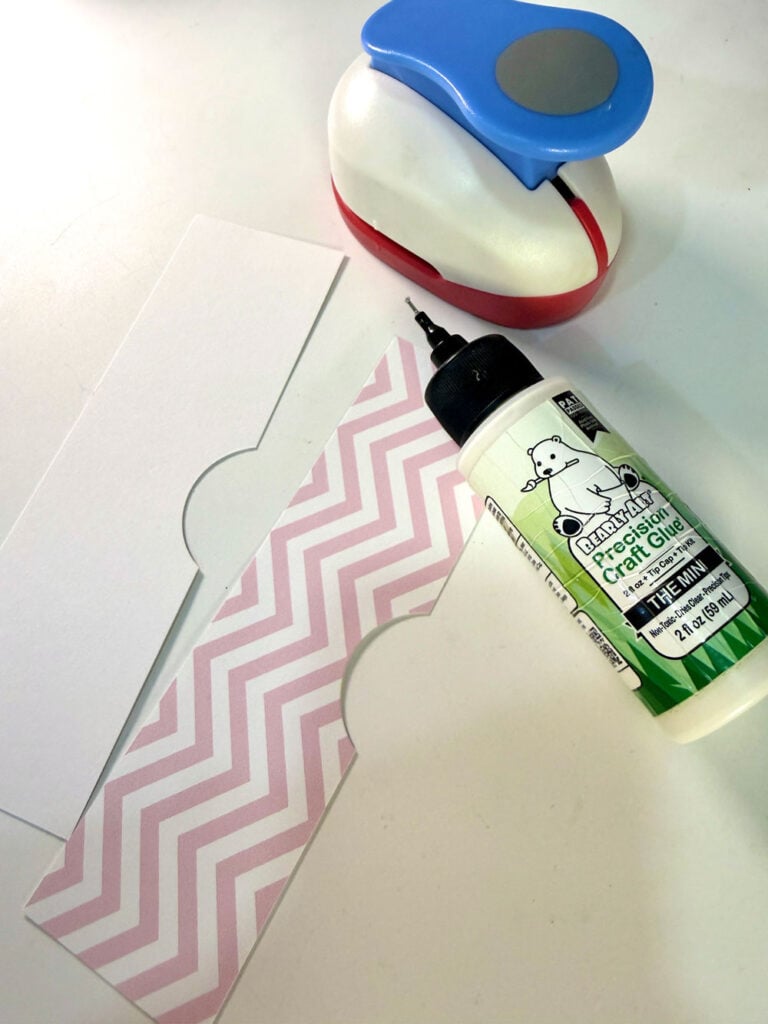
5. Cover inside flap with 4.75 x 6.25 pattern paper.
6. Adhere all elements onto the pages.
Binding the Album:
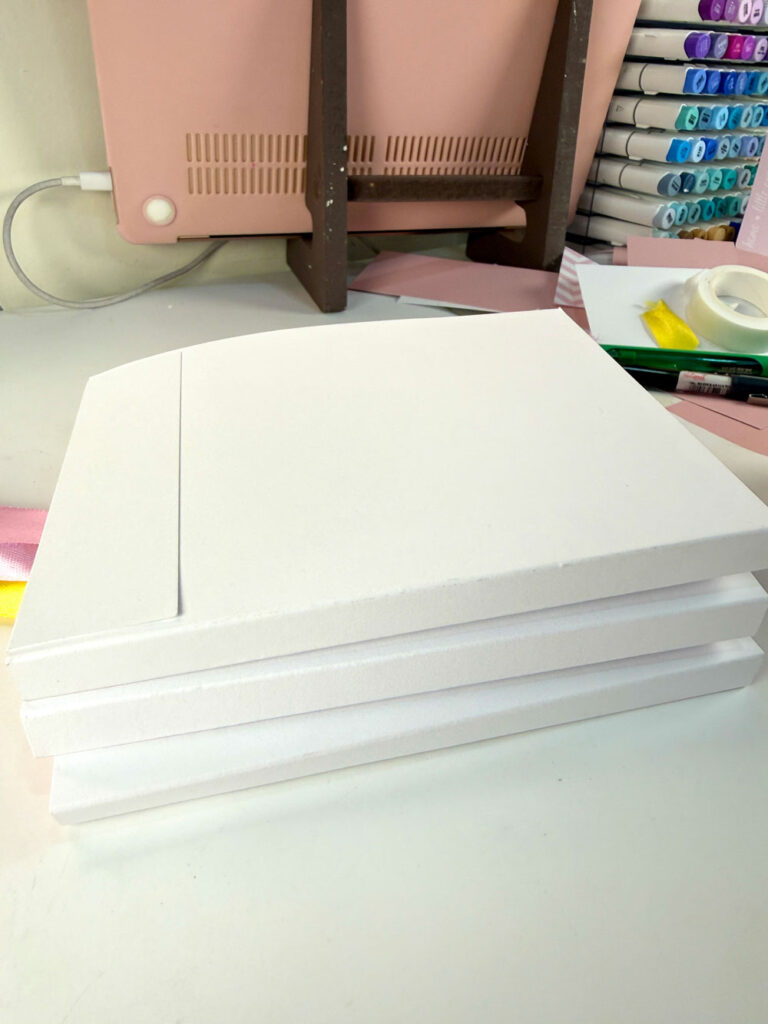
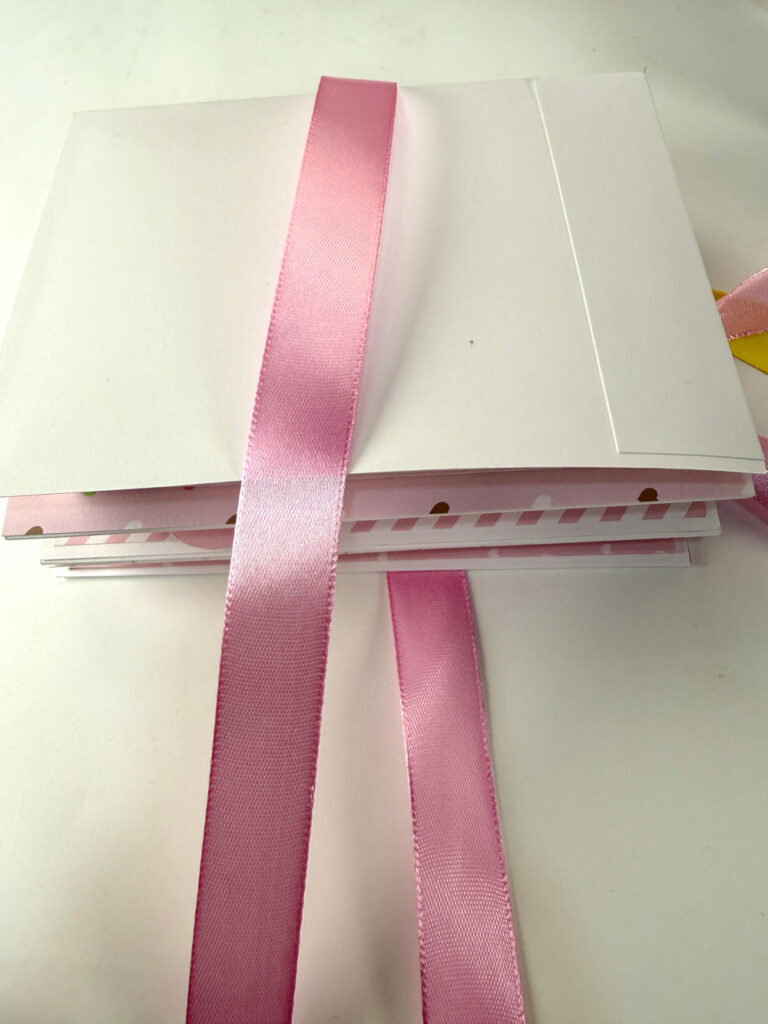
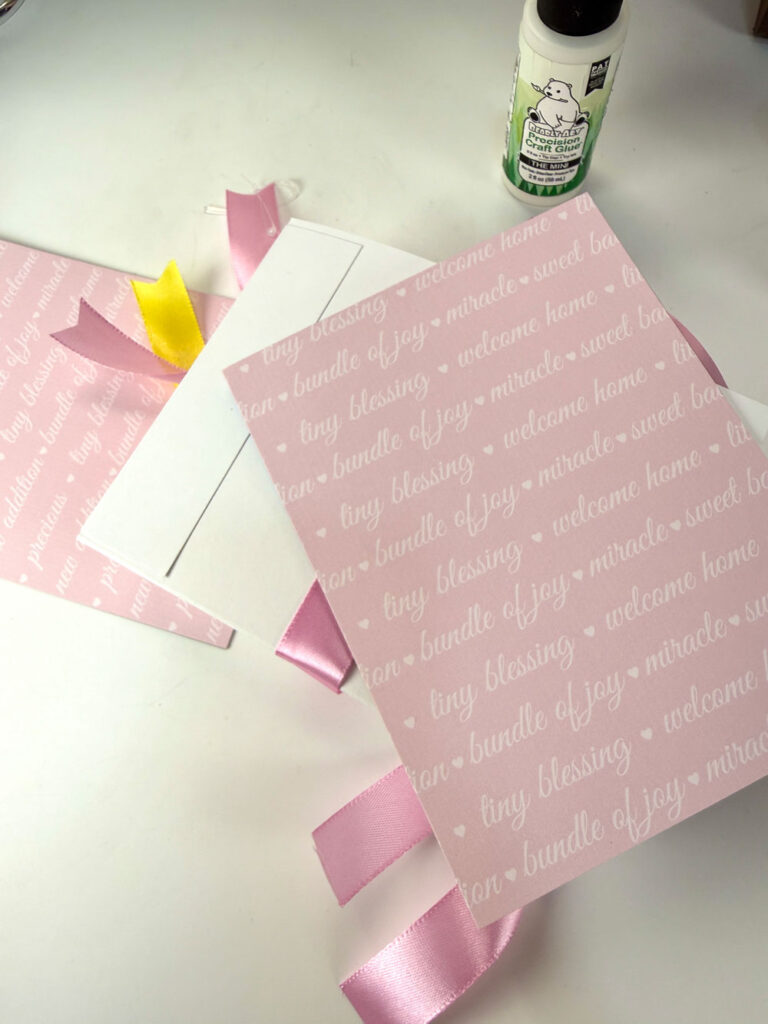
1. Adhere the back of page 2 to the front of page 3 using double-sided tape.
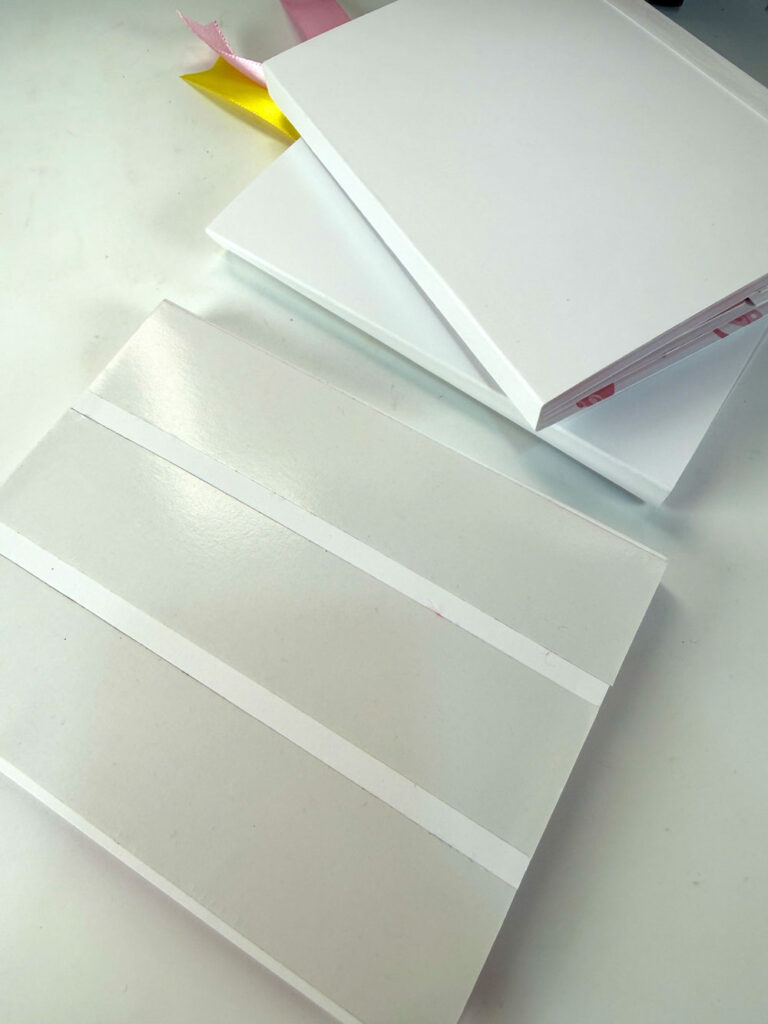
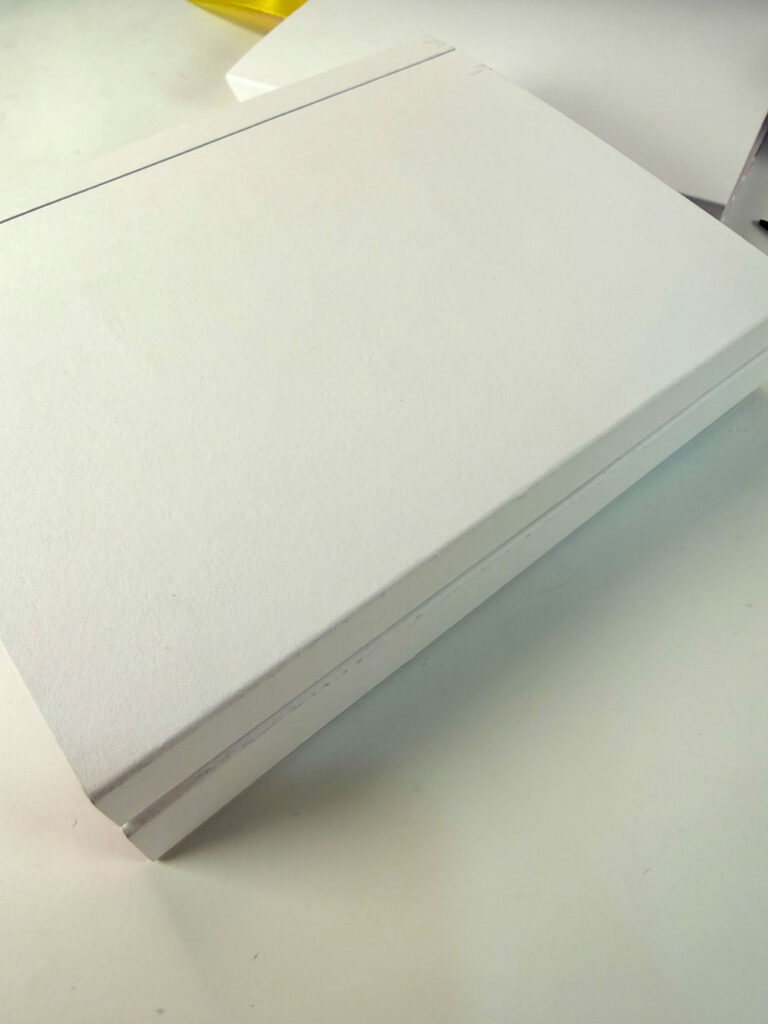
2. Adhere the back of page 4 to the front of page 5.
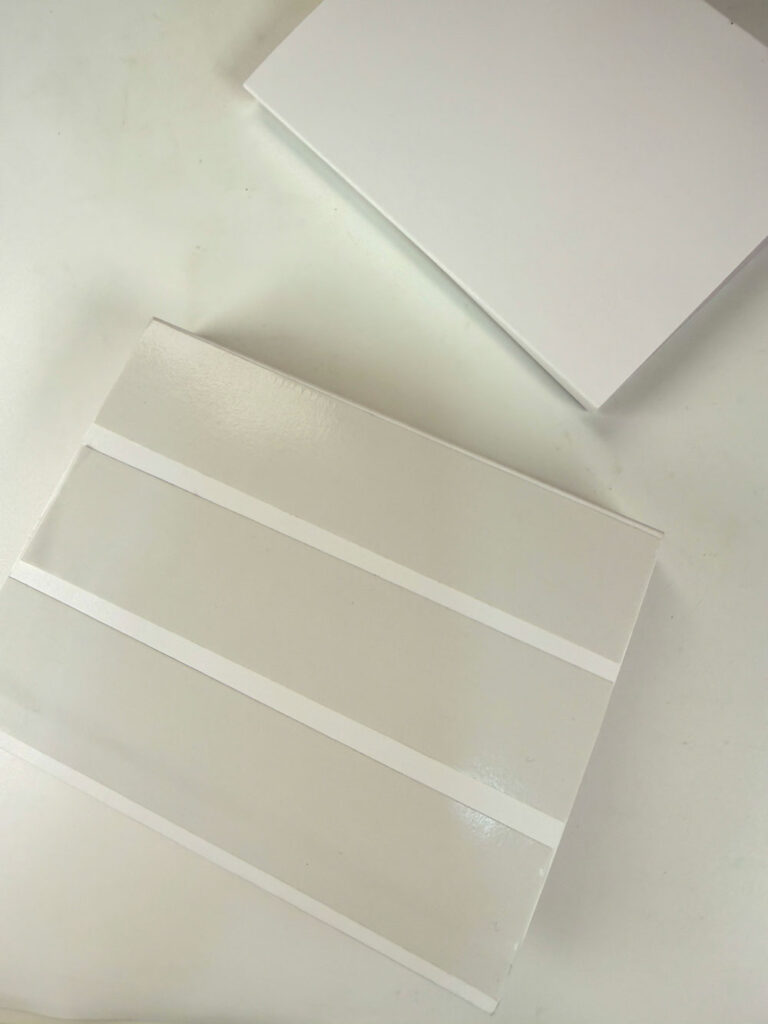
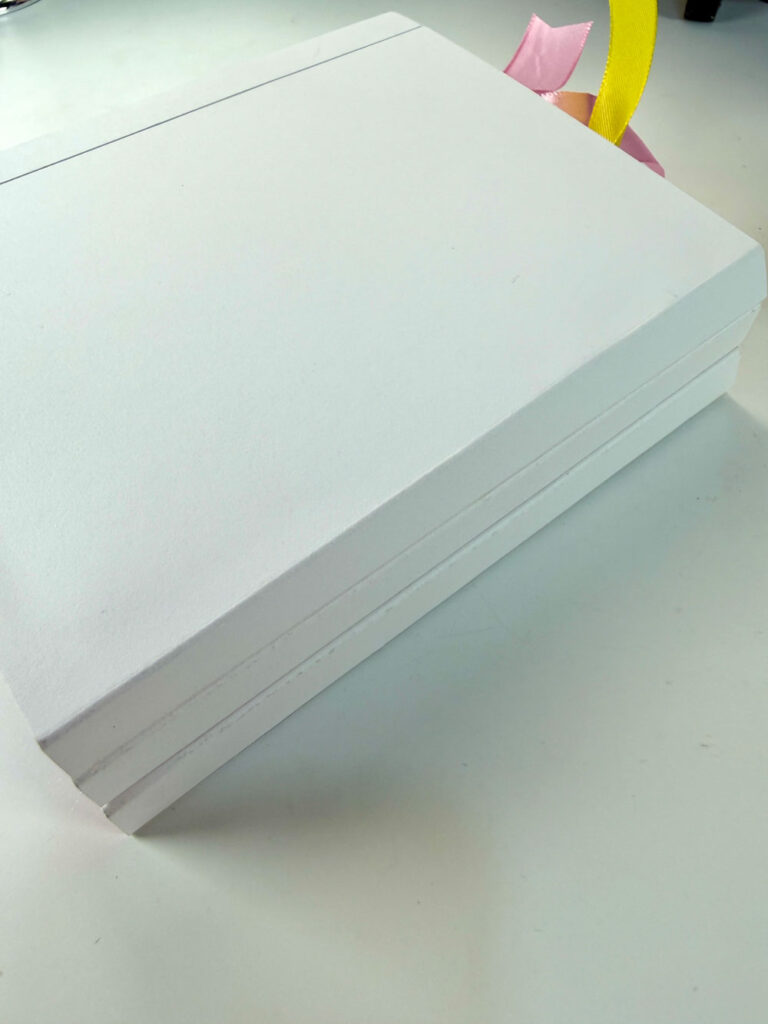
3. Attach a ribbon to the spine (center it and leave enough length for closure).
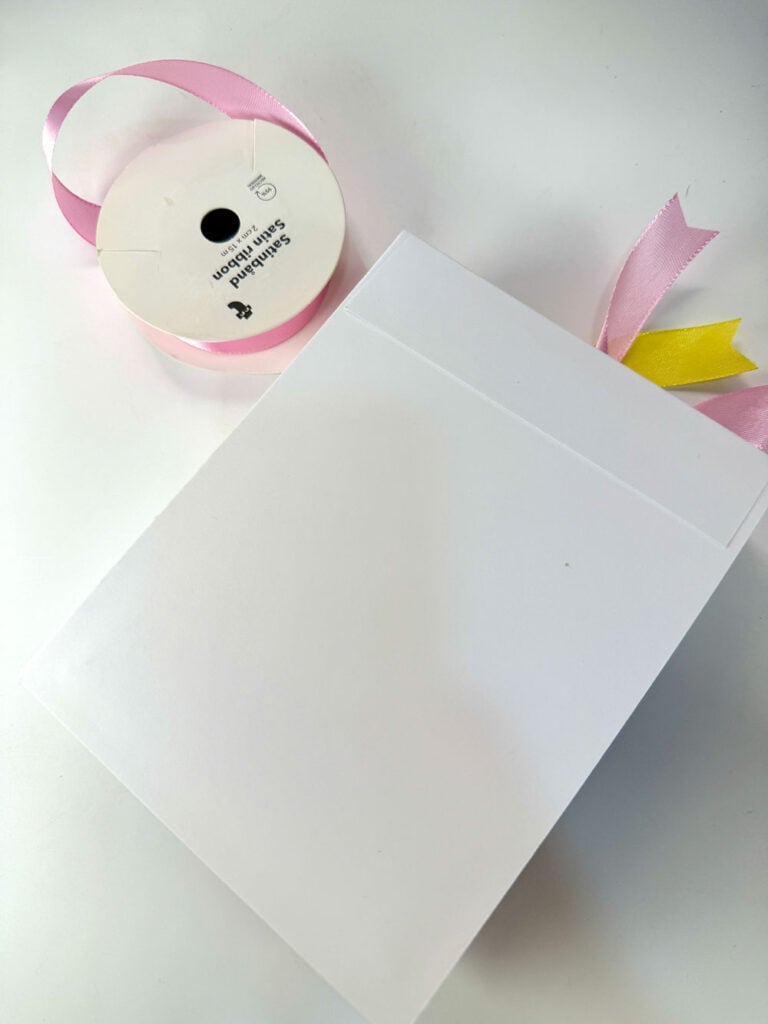
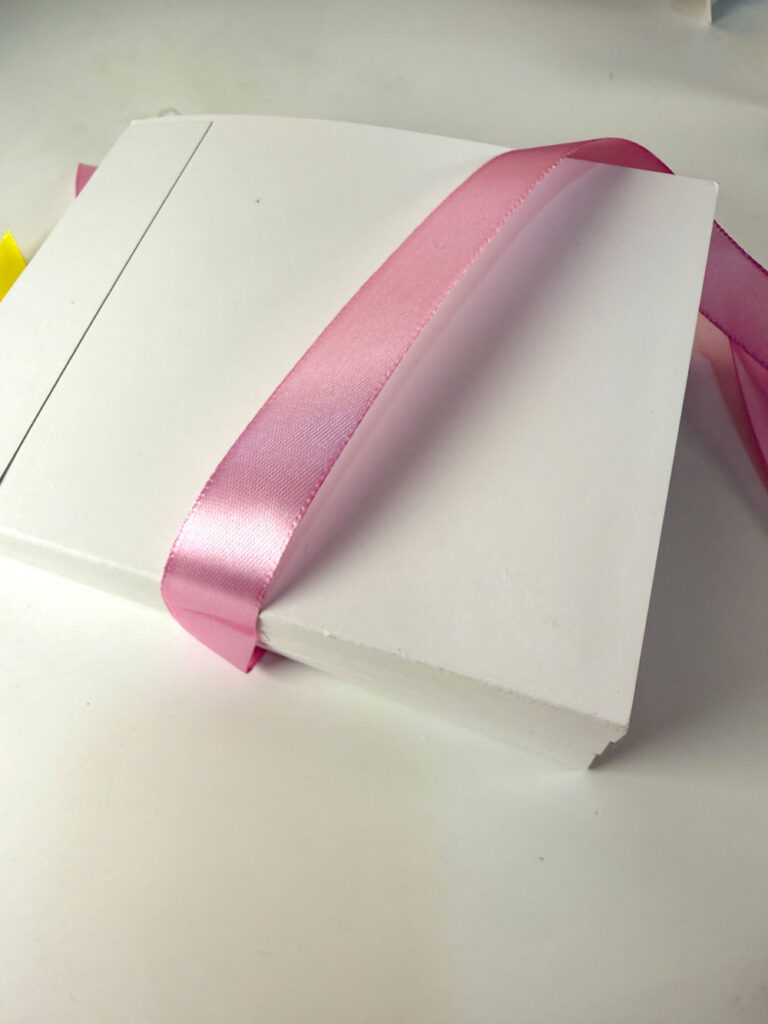
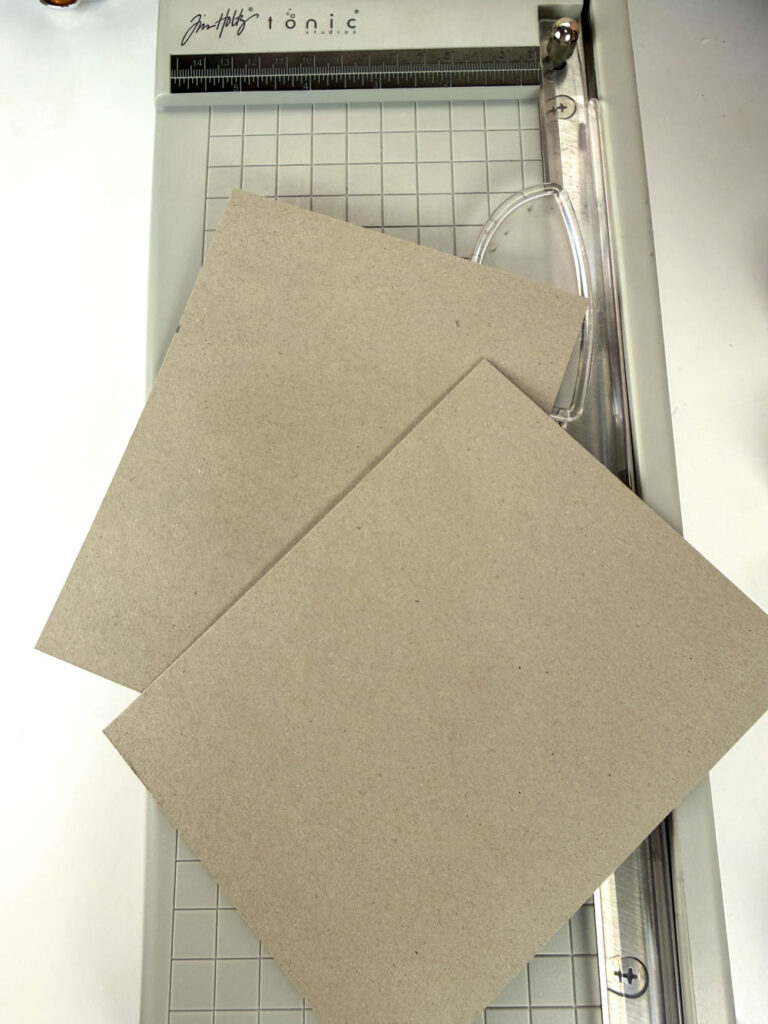
4. Cut 2 pieces of cardboard to 5 x 6.5 for covers.
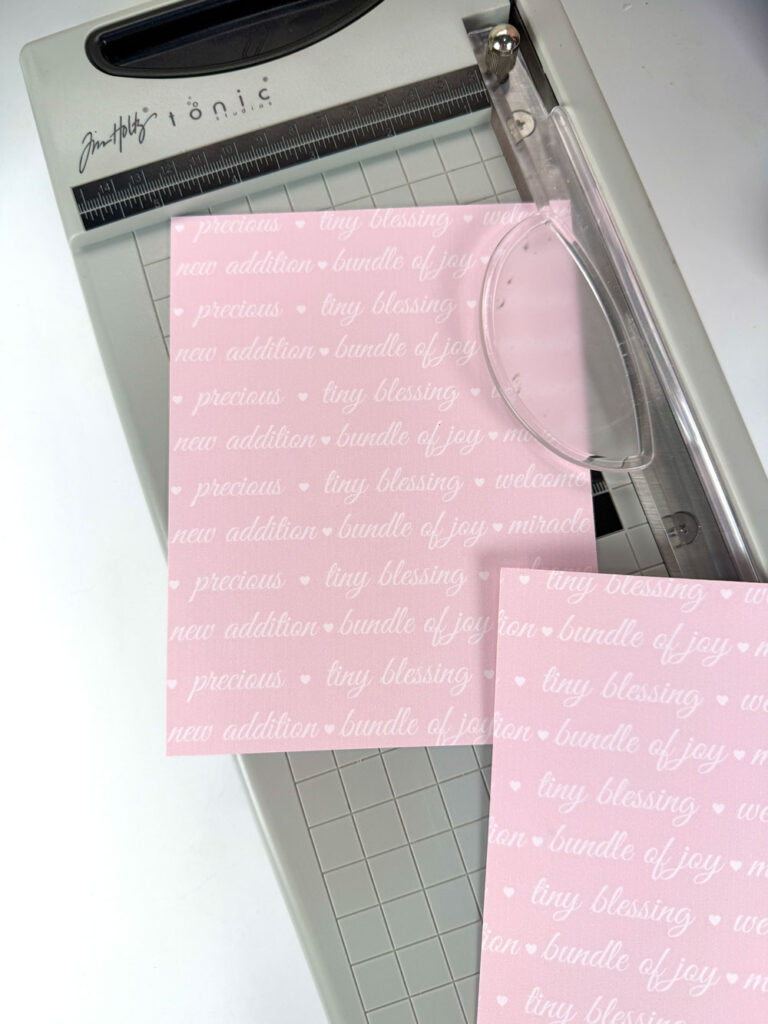
5. Cover them with pattern paper (same size).
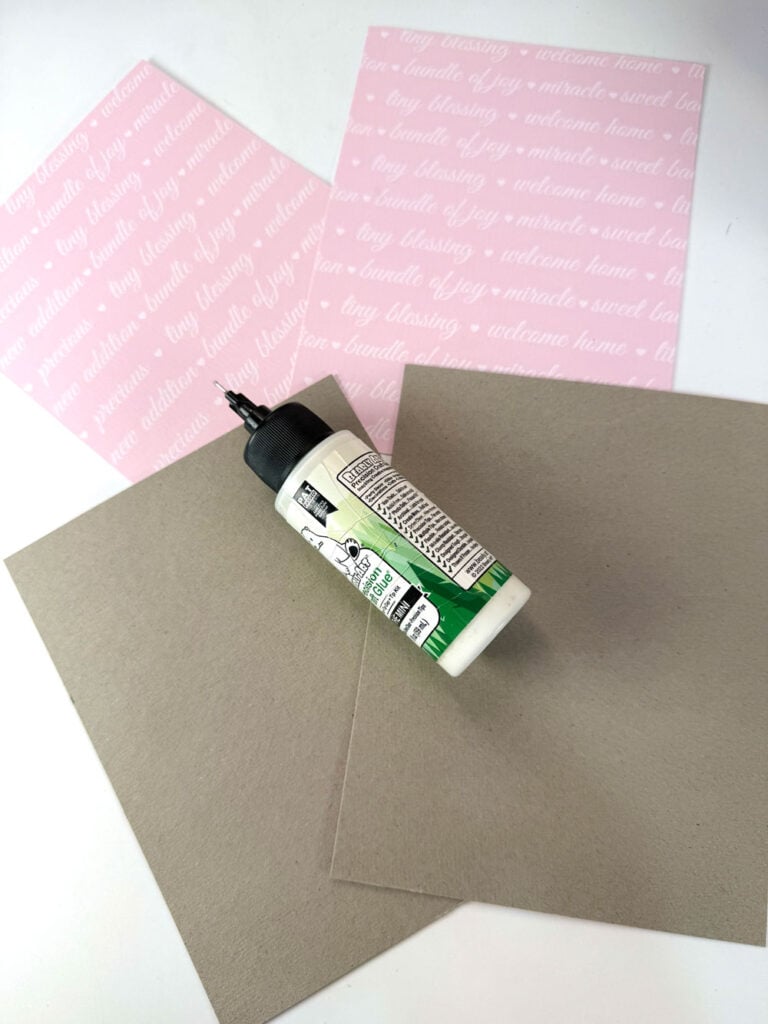
6. Attach covers to the front and back of the album.
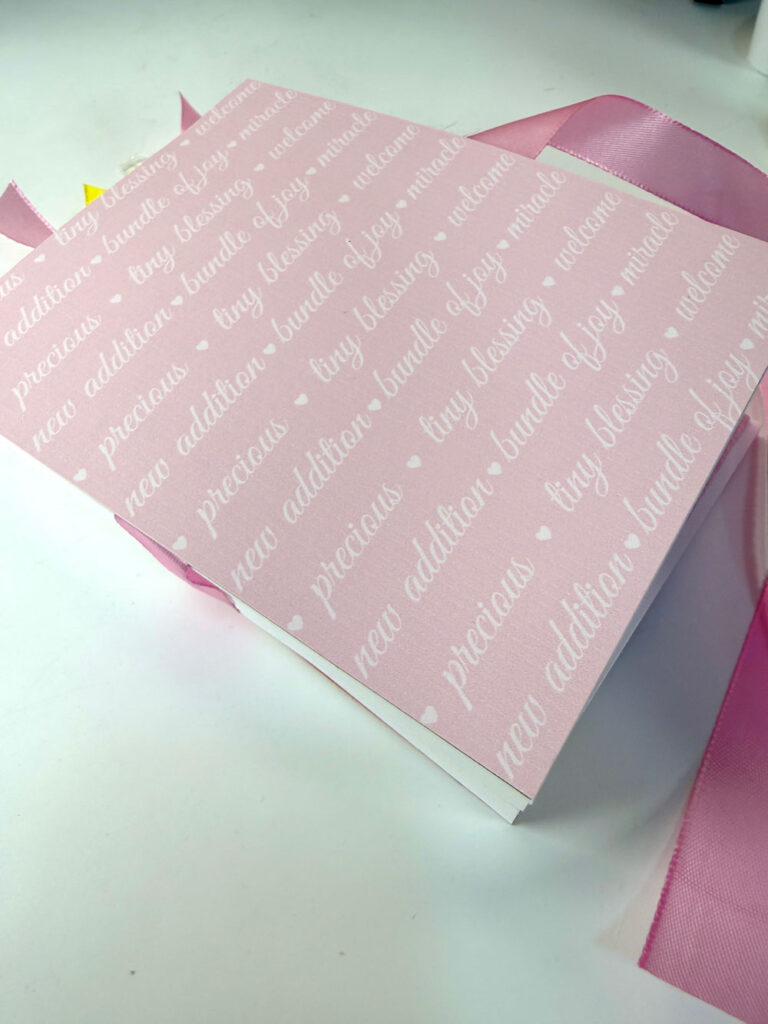
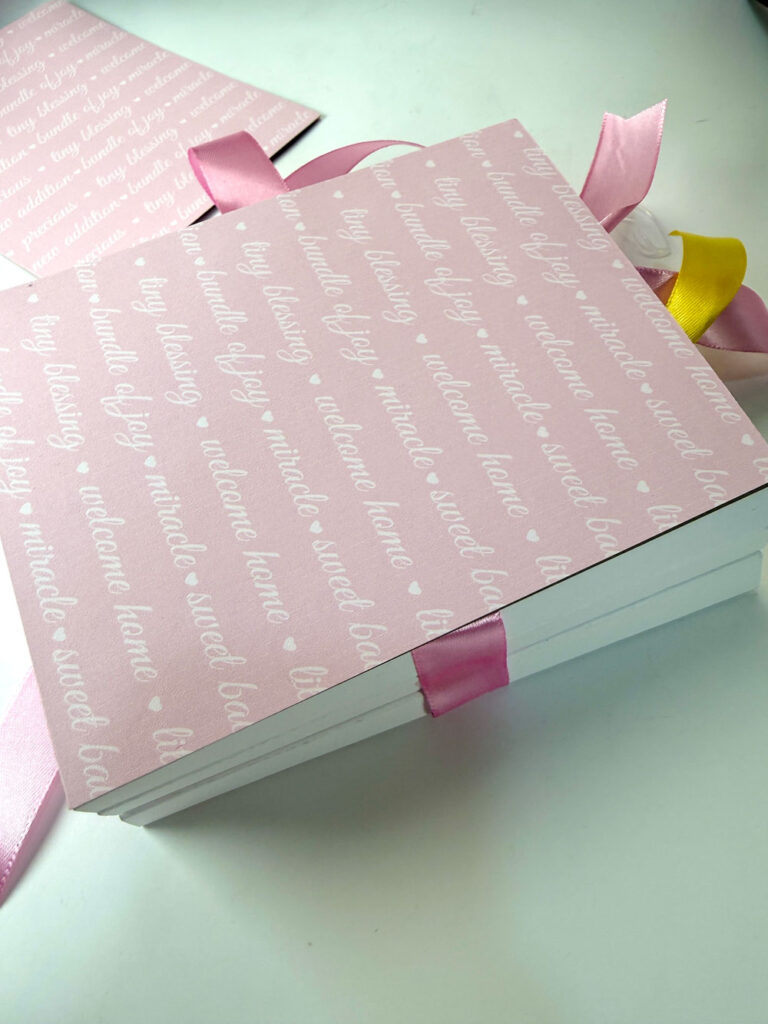
7. Use a glue gun to attach trims along the spine.
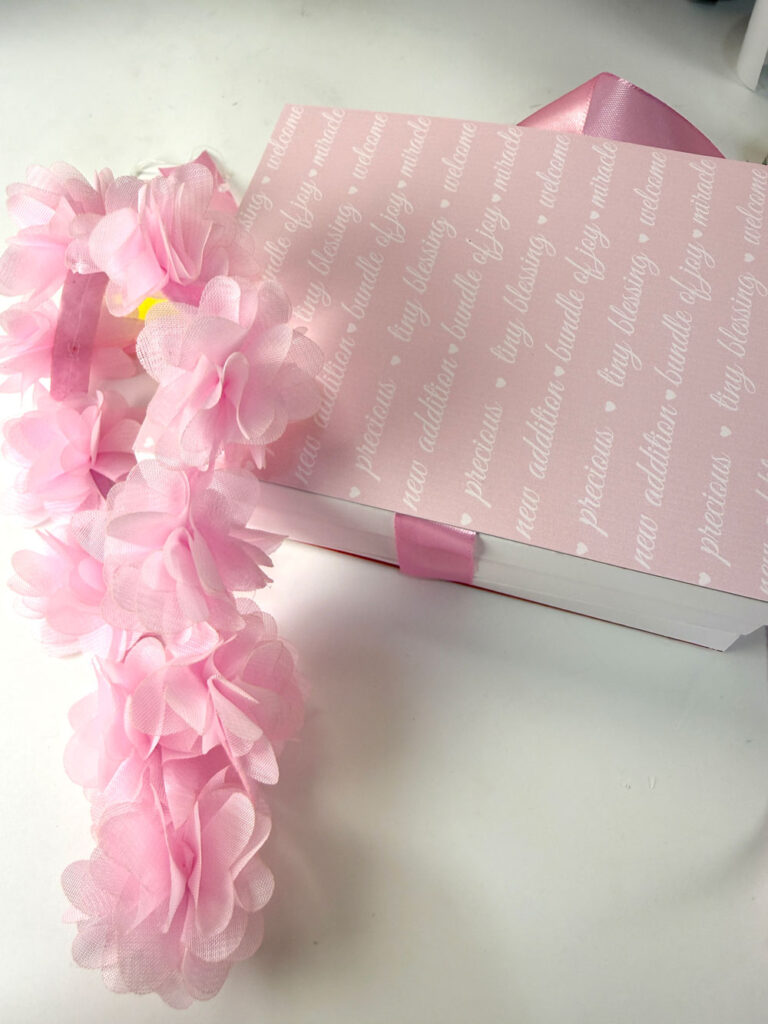
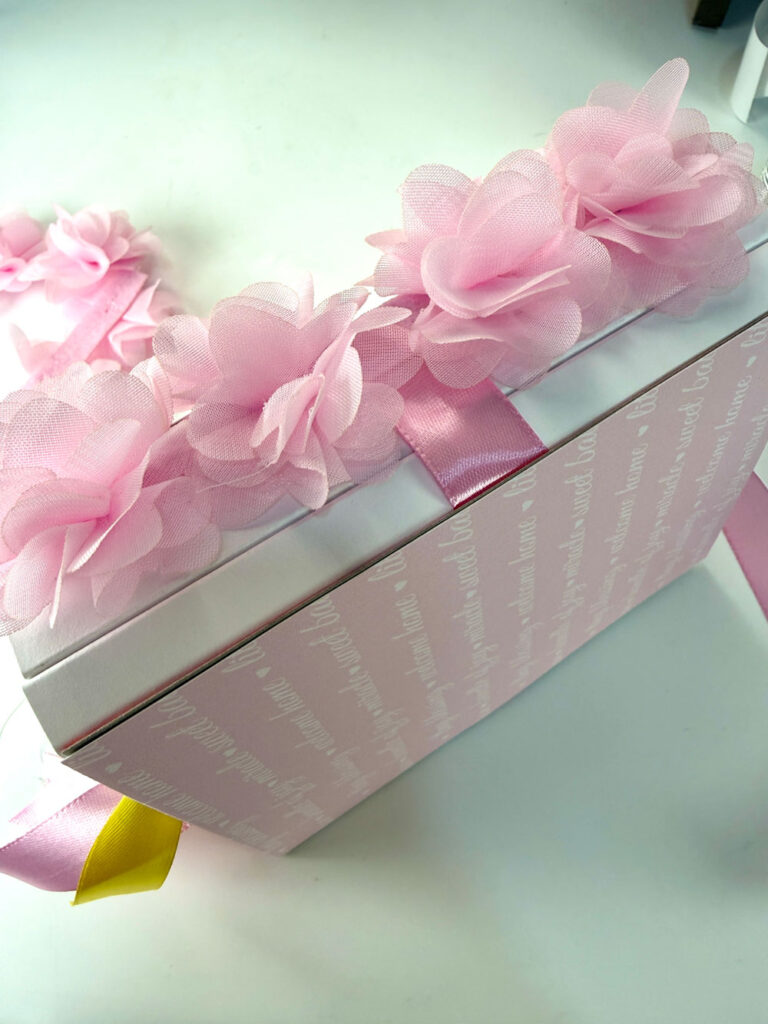
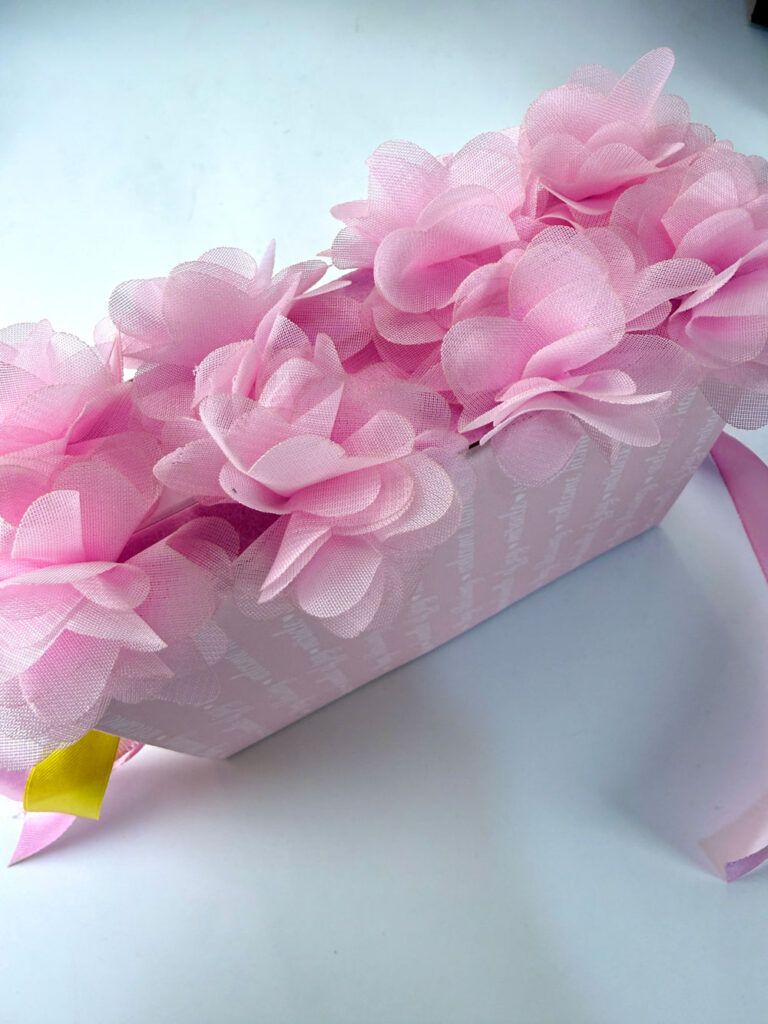
8. Decorate the cover however you like!
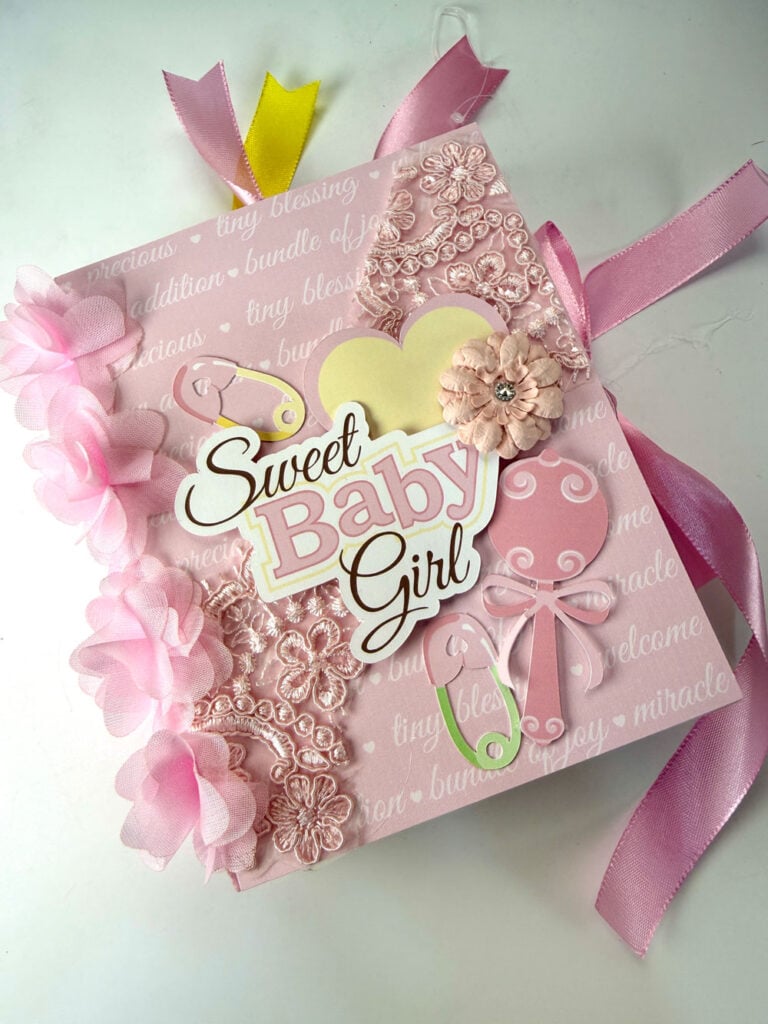
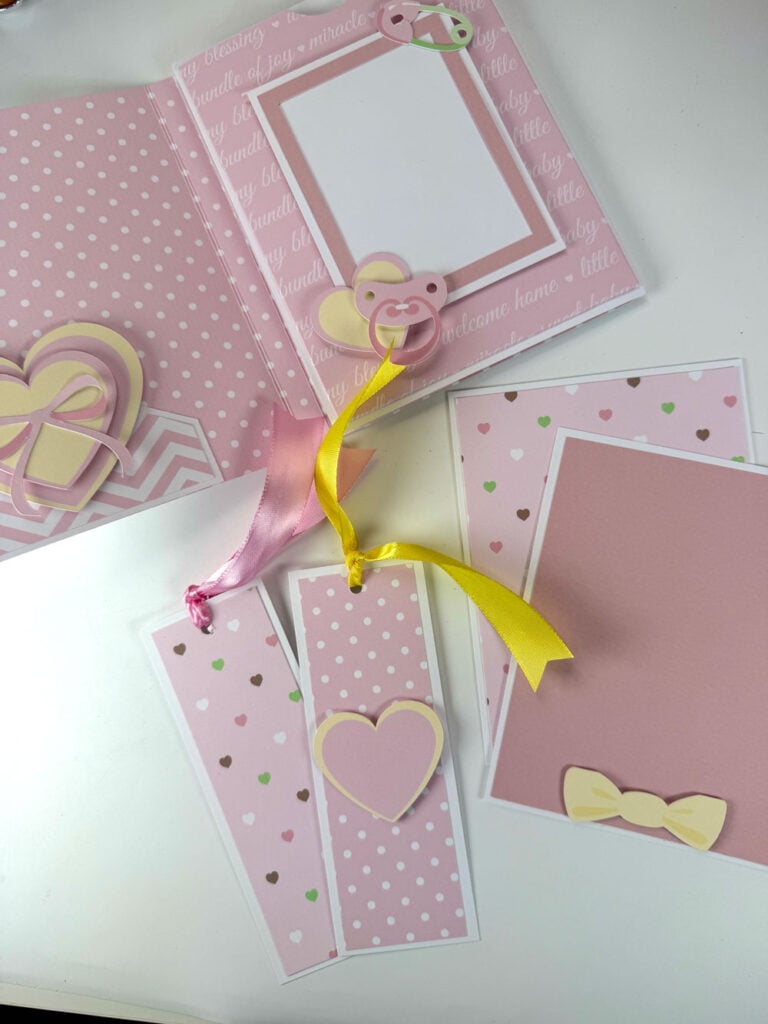
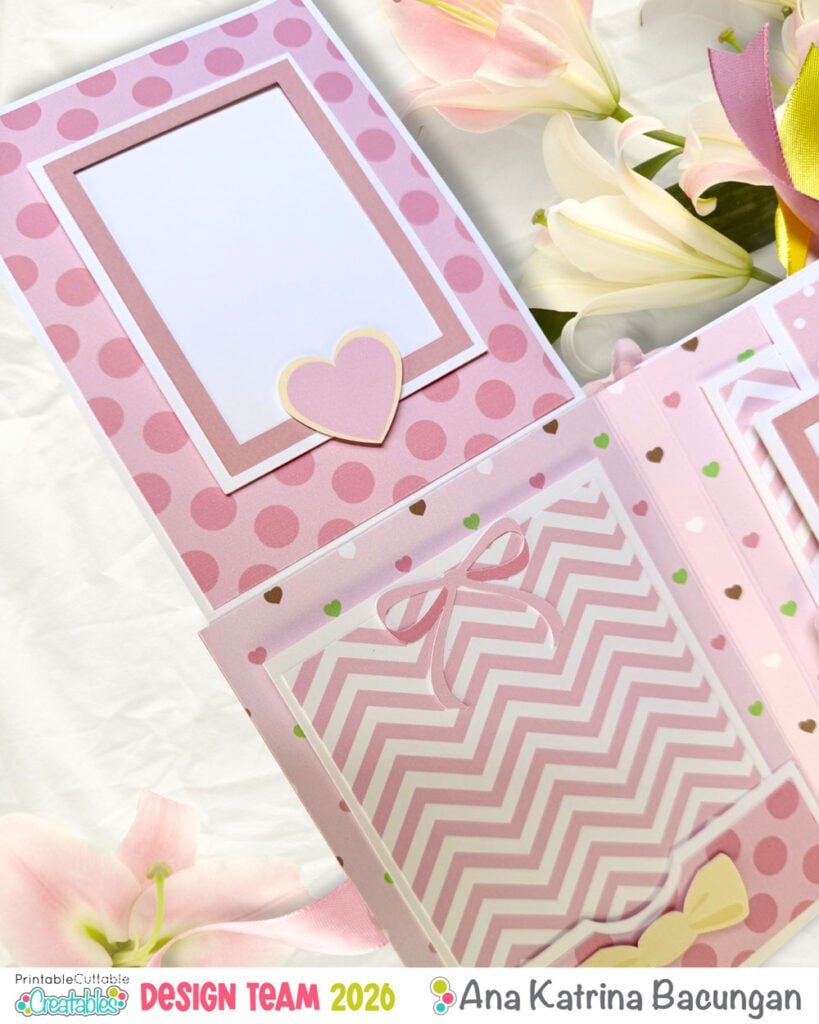
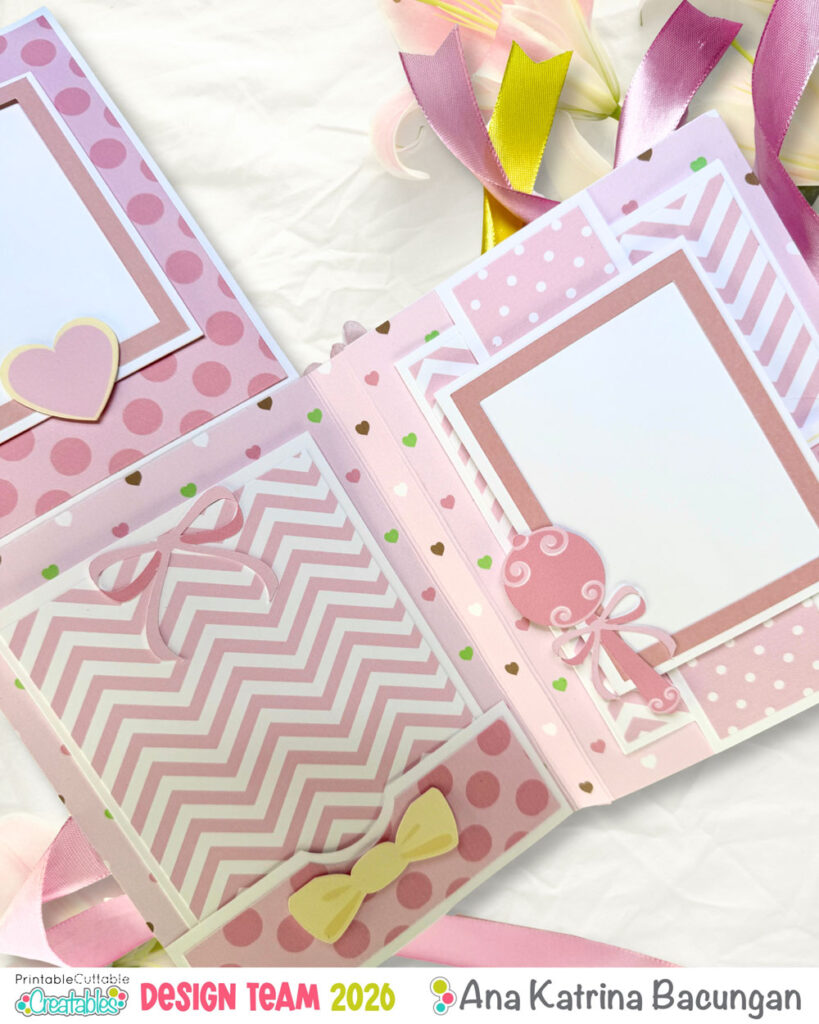
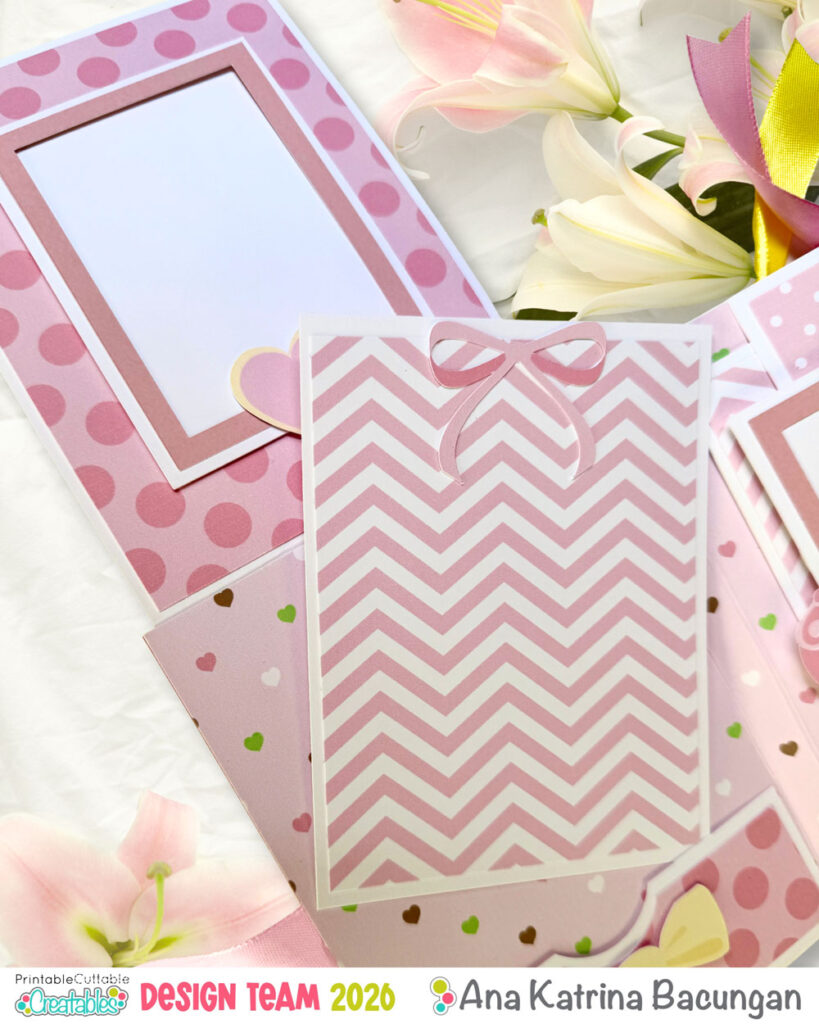
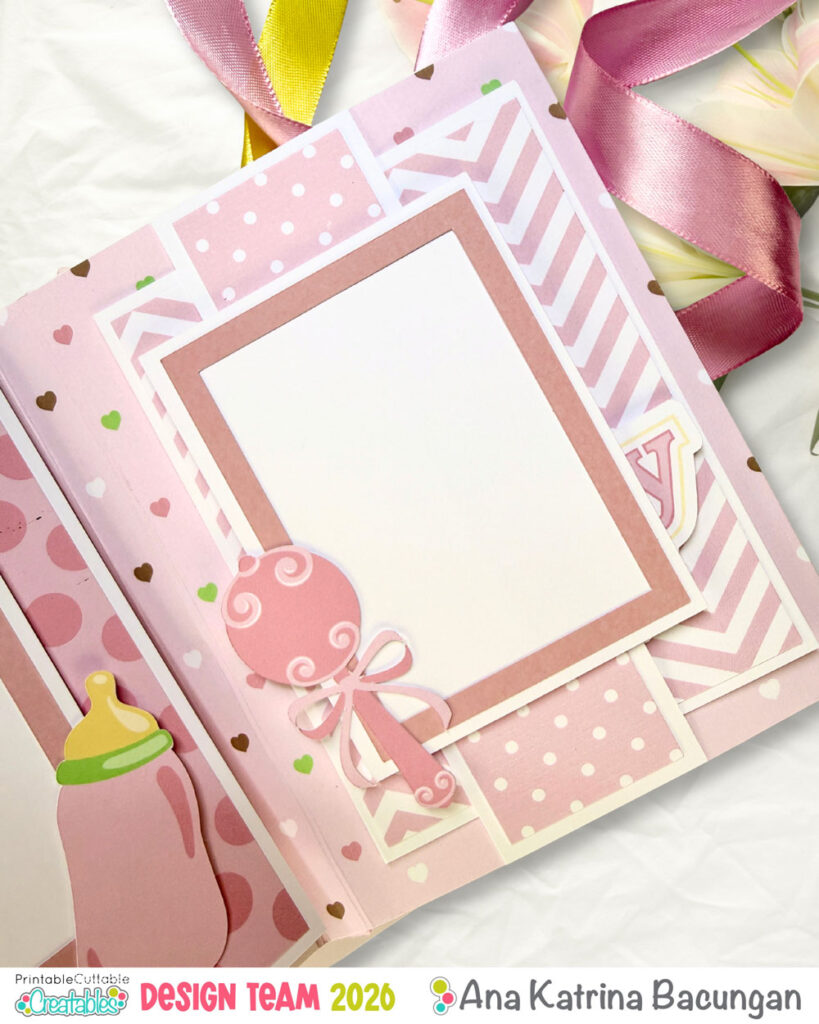
I’ll be adding photos of the inserts I created for each pocket and belly band below so you can see how everything comes together.
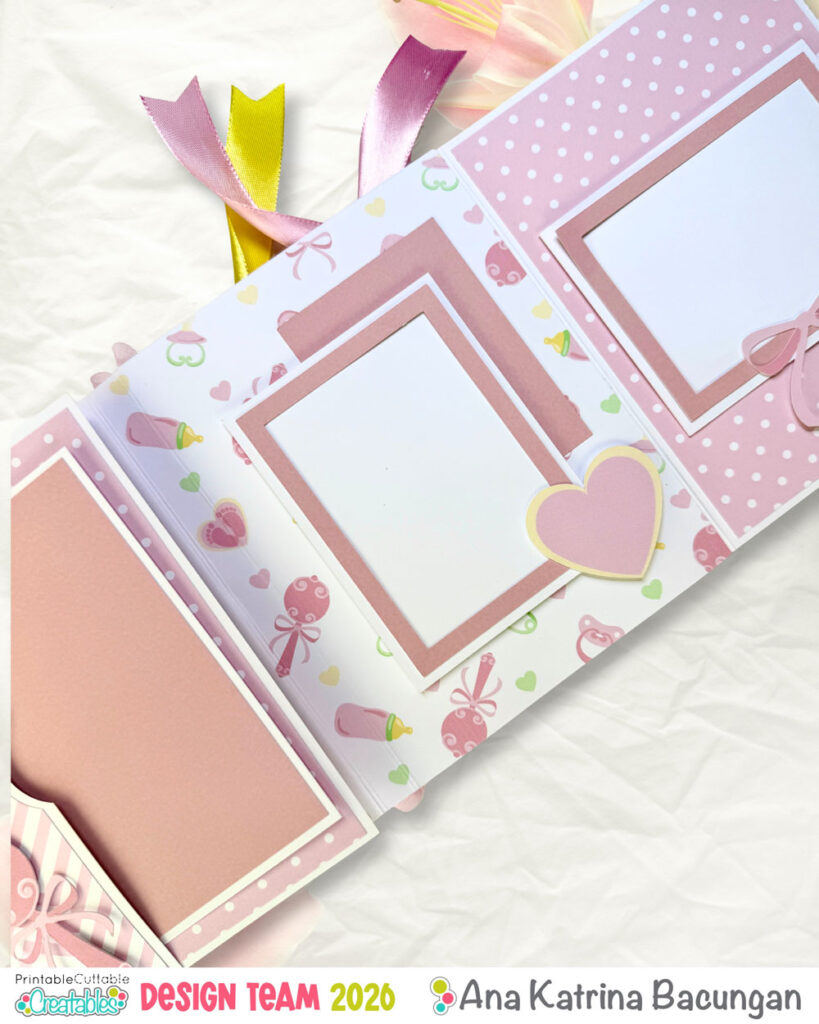
Decorating phase 1 – frames, pockets, and belly bands
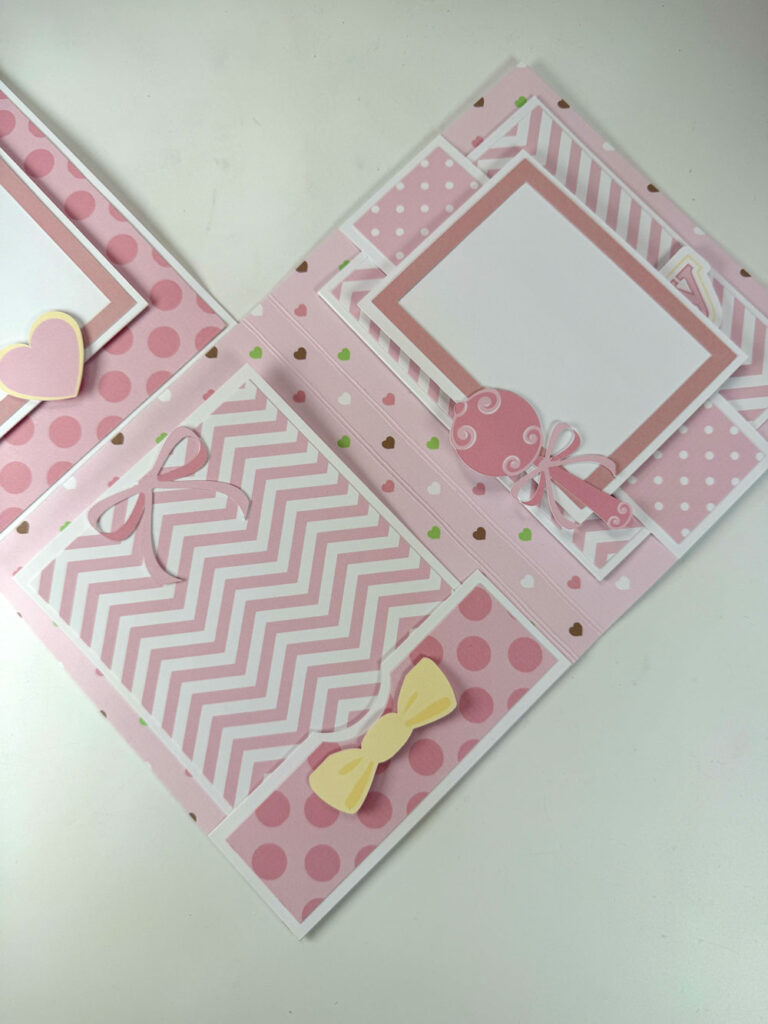
First and Second Page:
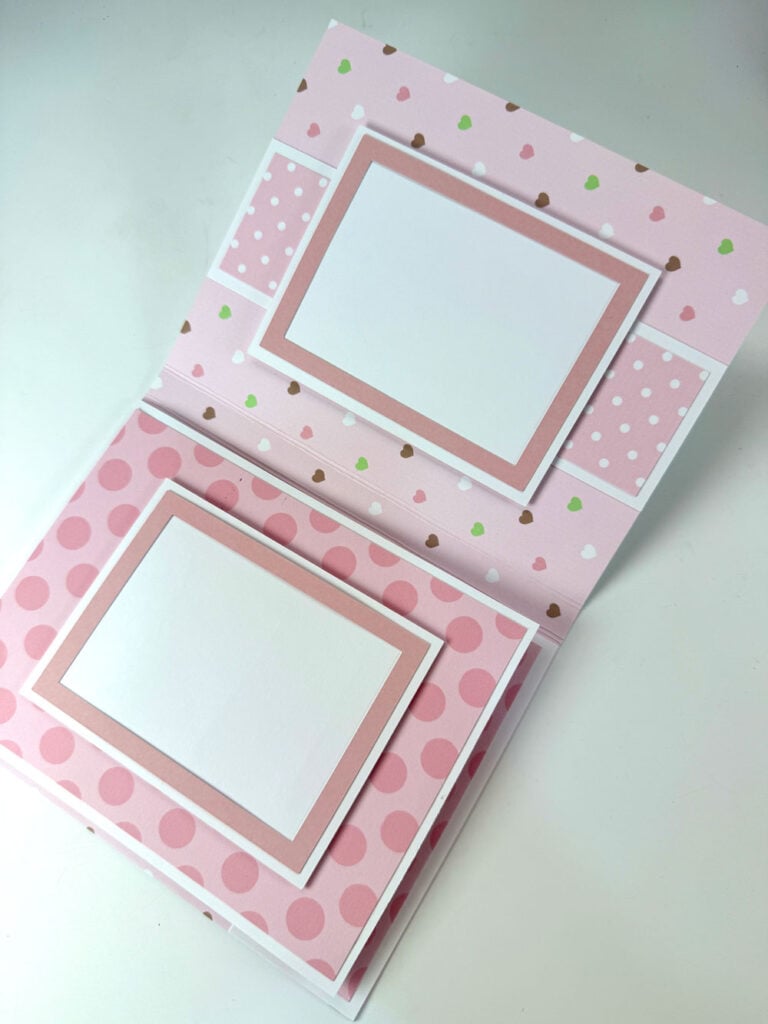
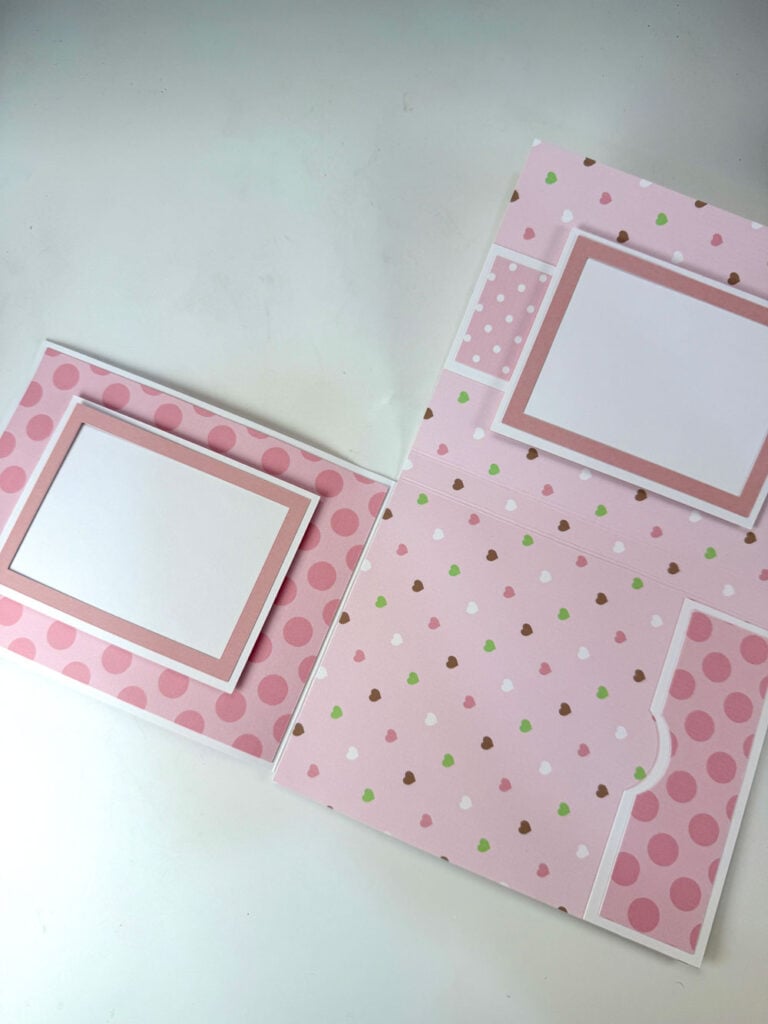
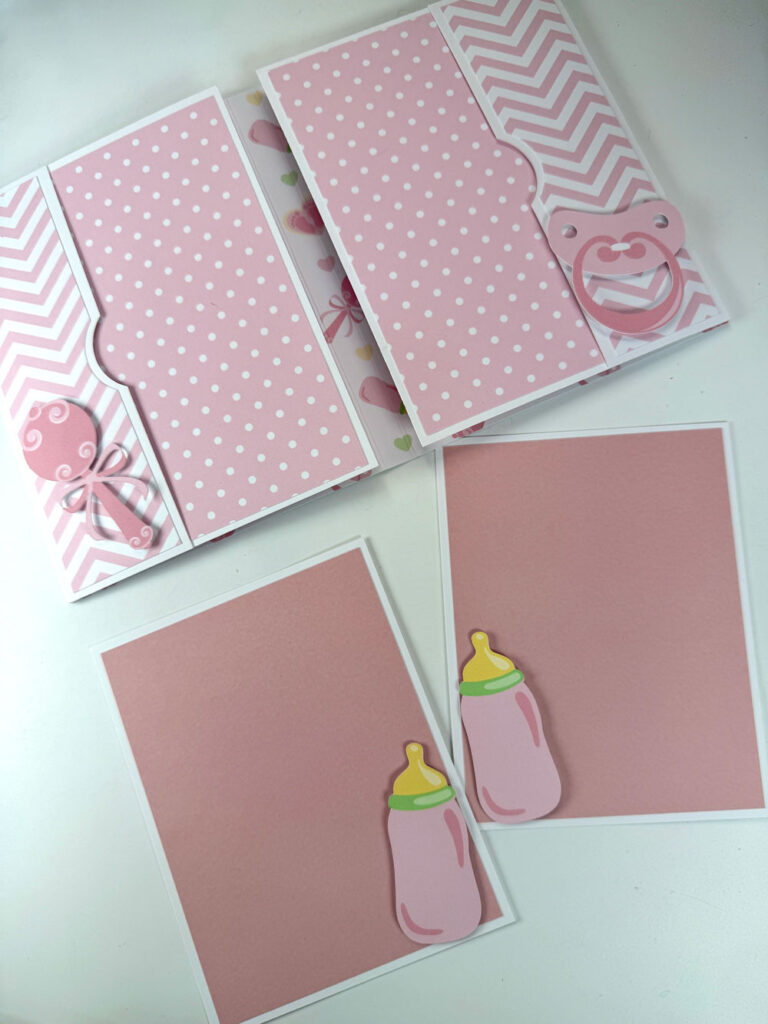
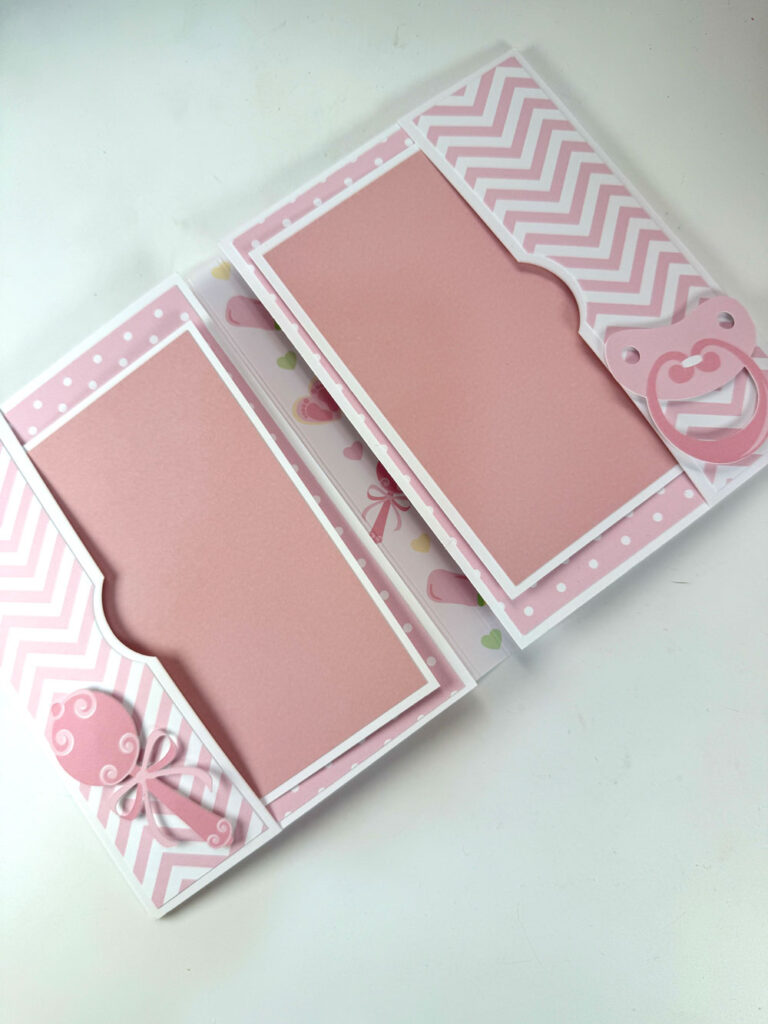
Third and Fourth Page:
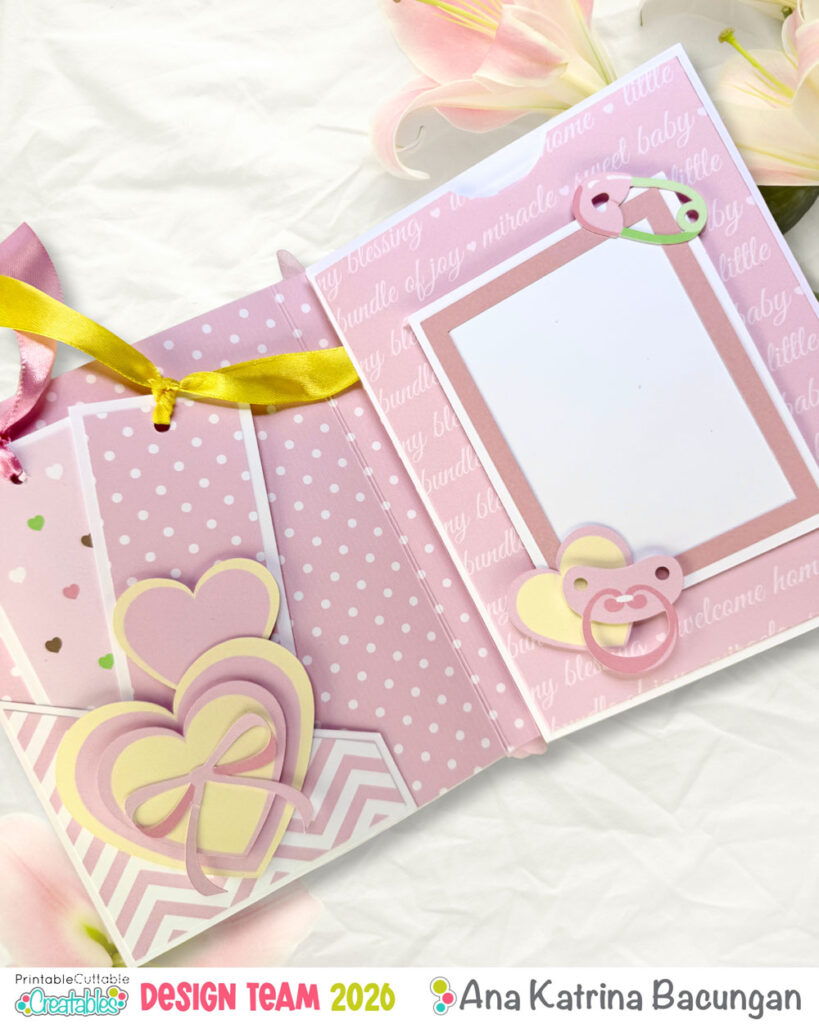
Decorating phase 2 – Embellishment
First and Second Page:
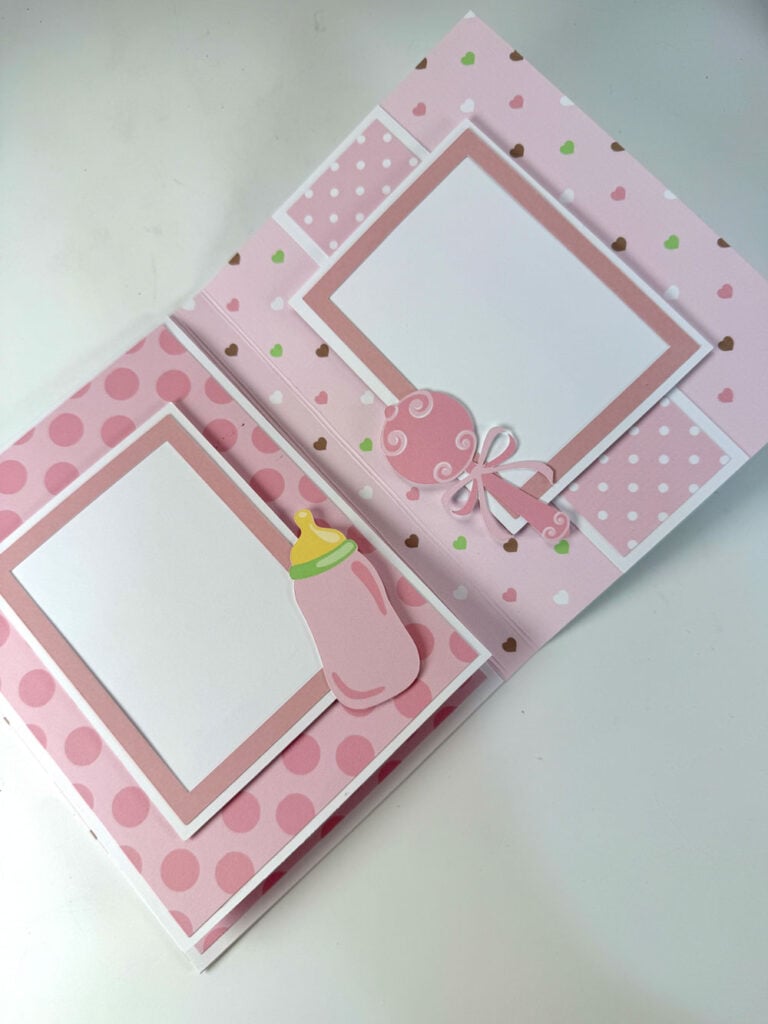
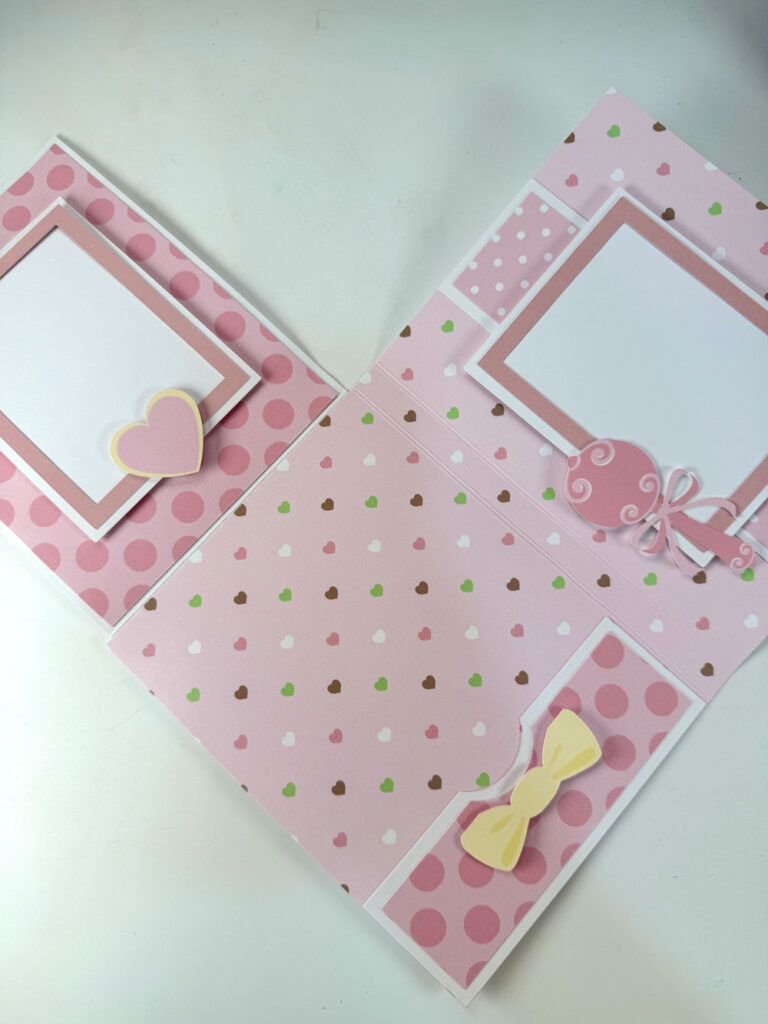
Third and Fourth Page:
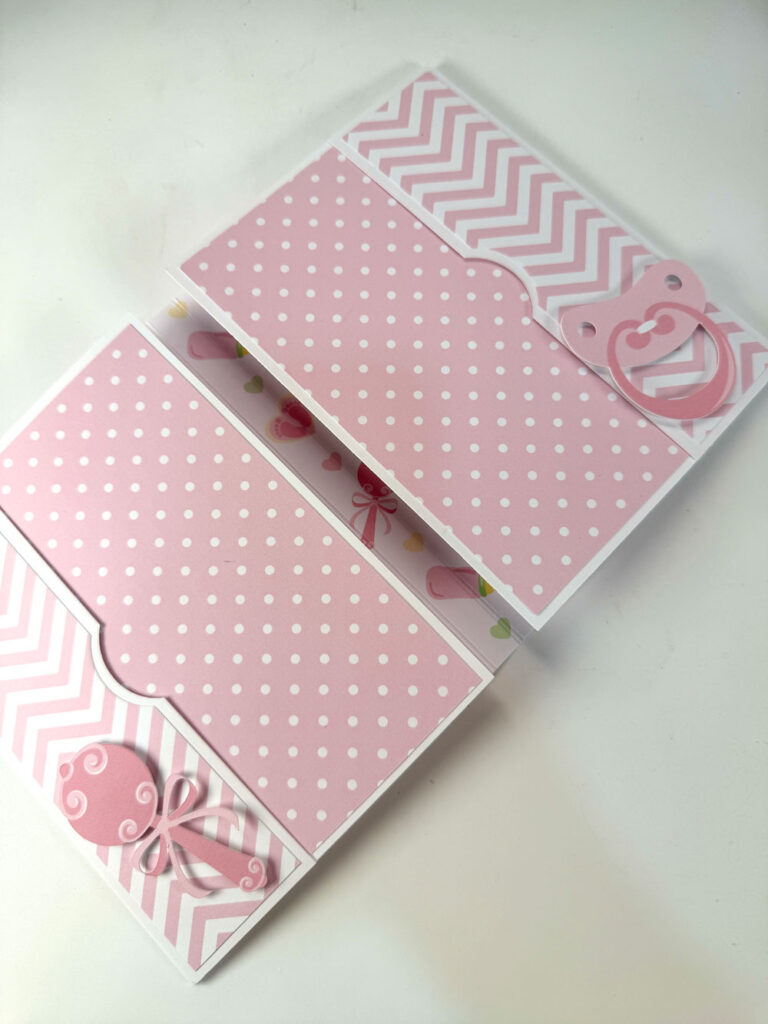
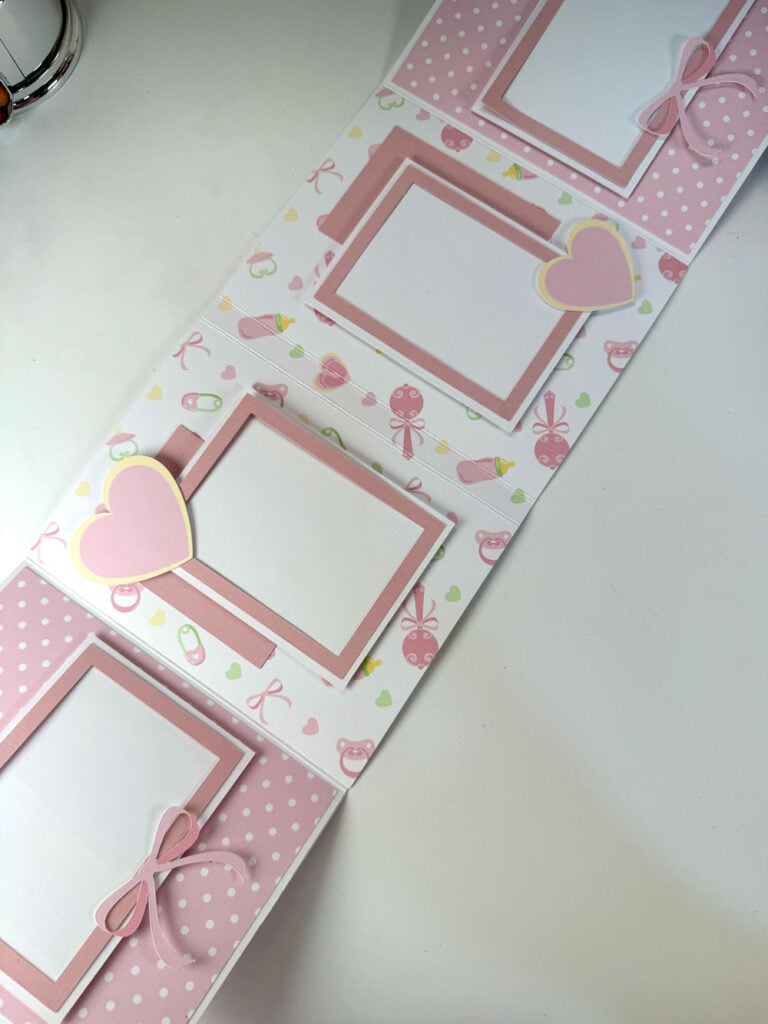
Fifth and Sixth Page:
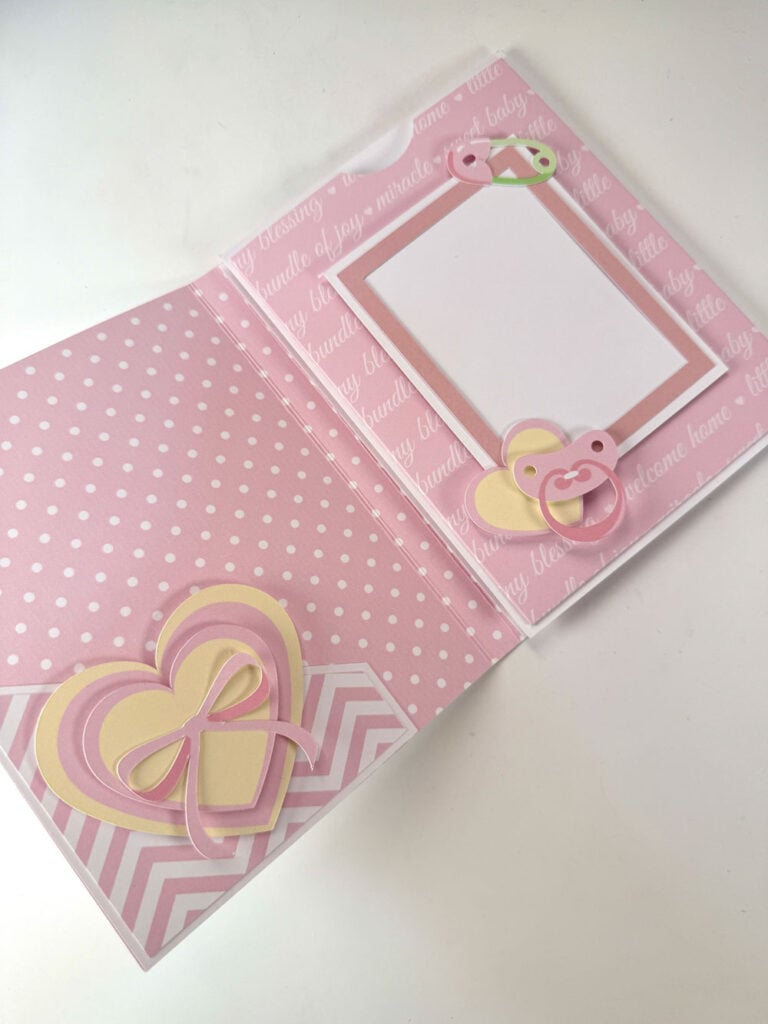
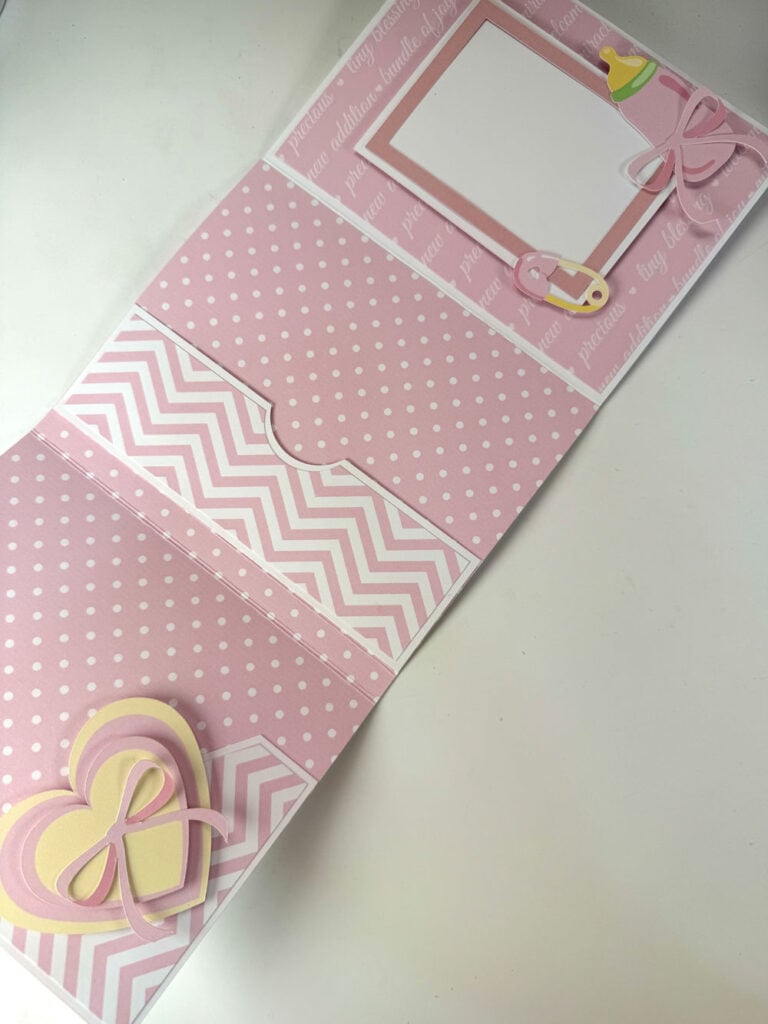
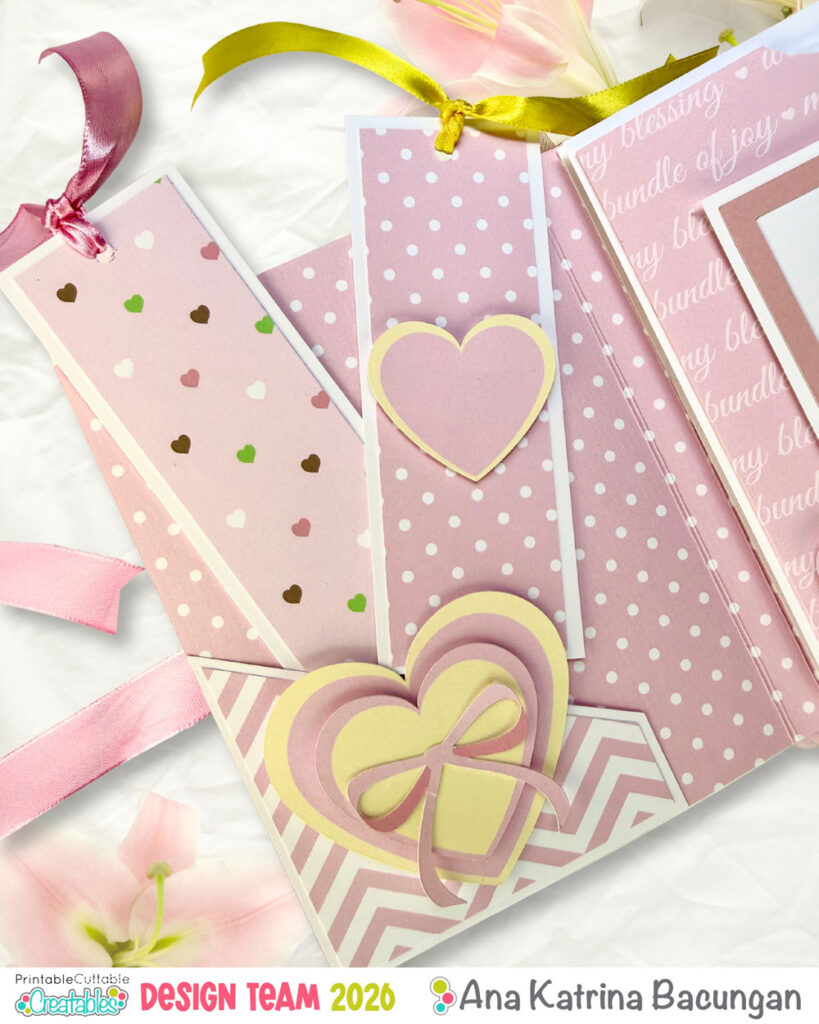
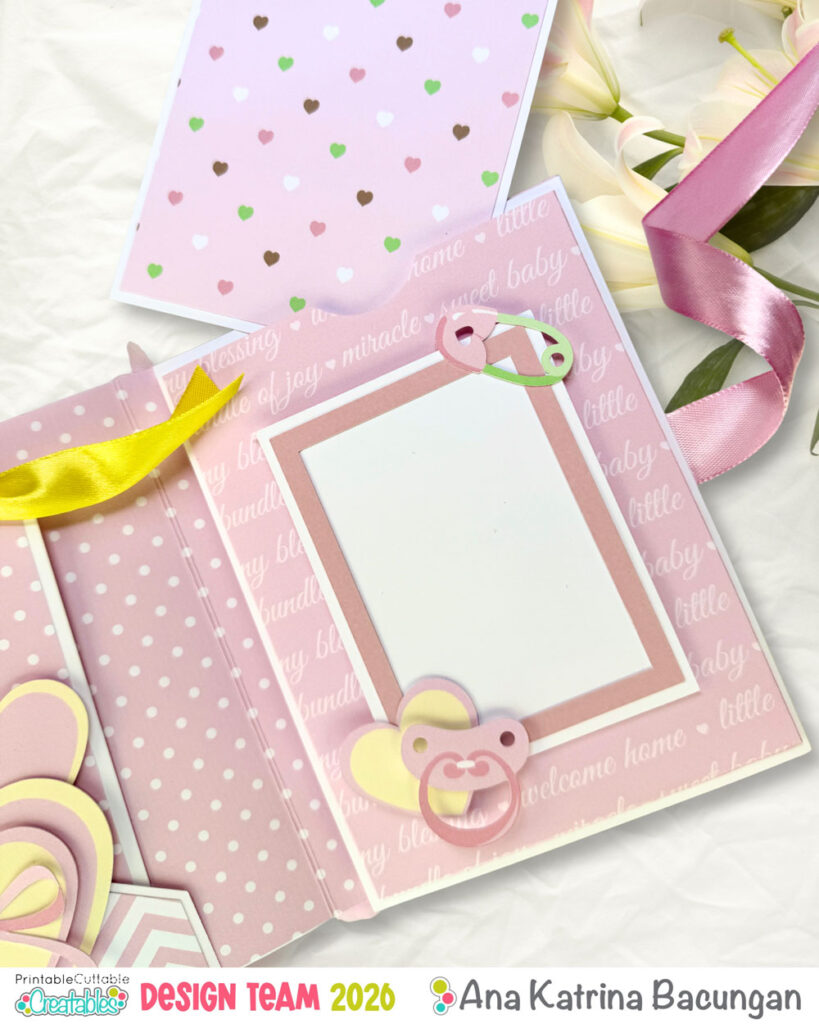
Decorating phase 2 – Inserts
First and Second Page:
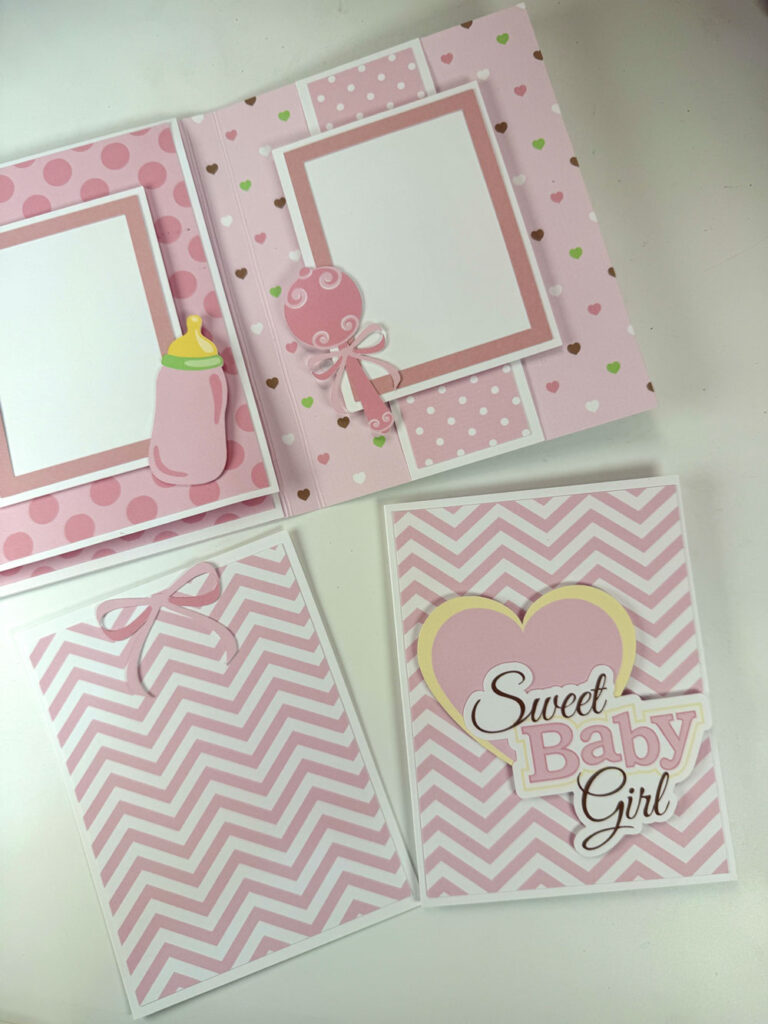
Third and Fourth Page:
Fifth and Sixth Page:
This mini album is truly one of those projects that looks detailed and impressive, but is actually very simple and fun to make. It’s perfect for beginners, great for using up your favorite papers, and makes such a beautiful keepsake or gift.
I hope you enjoyed this tutorial and feel inspired to create your own version. Happy crafting!
-Ana
Affiliate Disclosure: I may be an affiliate for some products recommended in this post. This means that if you purchase items through my links I will earn a small commission, at no extra cost to you. I only recommend products that I have personally used and enjoy and when you order through my link, it helps me continue to offer you weekly free SVG files, digital papers, scrapbook sketches, tutorials, and other fun things. Thank you in advance for your support!